• Folks, if you've recently upgraded or renewed your annual club membership but it's still not active, please reach out to the BOD or a moderator. The PayPal system has a slight bug which it doesn't allow it to activate the account on it's own.

First DIY stand attempt.

Well let me start off with this question. Does everyone know that 2x4's aren't really 2x4???
So I spent most my morning staring at mikem's diy thread and sketched out what I thought would be right. Since I have no real tools I decided to go to home depot with my measurements and let them cut my pieces, mistake #1. So I get what I need and shoot home to put the puzzle together.

Now the fun begins.
While sorting out the pieces. I notice that some are slightly smaller or bigger than others.
e.g. 3 - 15" pieces were all off by a bit. But I continue.
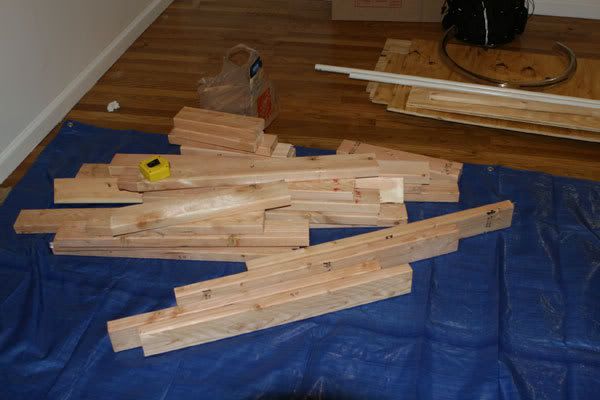
Stand1.jpg


about 45min later
I discover some level issues so I add a shimmy here and a shimmy there.
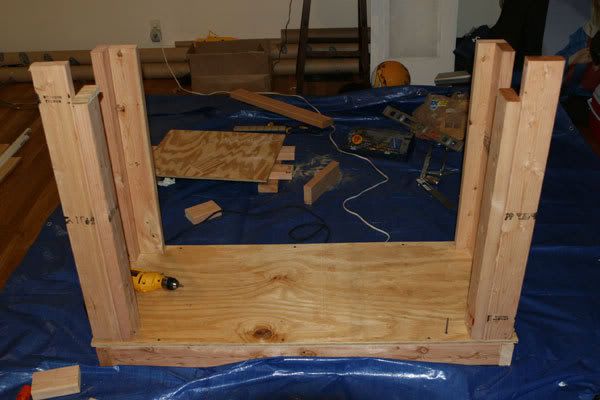
Stand2.jpg


1hr 30min later
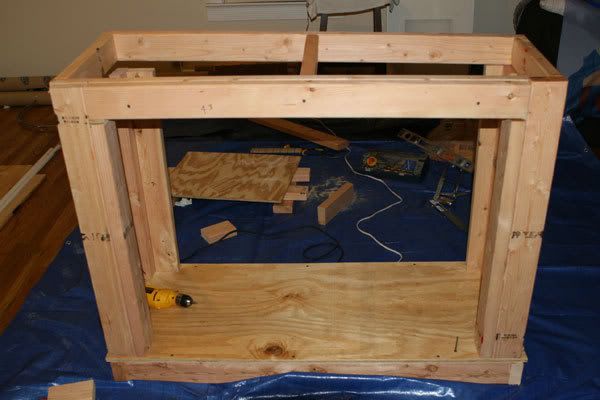
The real problem hits, the top support is way off. It was level on the floor. At least I thought it was.
stand3.jpg


So I force fix my problems and hey it sorta works. And all seems level until I move it to where its going to be.
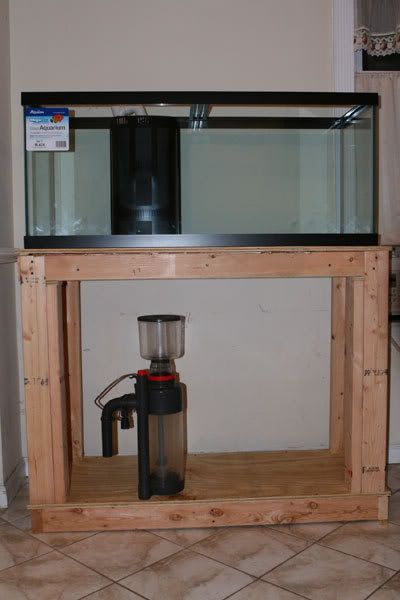
Now the base is not level. So I shimmy it. Got it...place my top plywood on, all seems well. Place the tank on it and it wobbles. So I shimmy 1 corner of the plywood, now the other end of the tank wobbles. Sooooo, I shimmy that side and wow its stable.
stand4.jpg


Well it looks ok, still needs some work.
There's spaces in the top plywood because of the shimmies is this fixable? Also the corners are not flush. This was due to the 2x4's not being 2x4's. Any ideas, suggestions on fixing this baby up will be strongly appreciated.

My wife and I had a blast making this. We just want to get it right.

E
 
Looks good!

See if you can go get some foam at home depot or lowes to put under the tank. It will help level the tank after you put water it.
 
Wow, I can't help but that sure looks good so far. Looks like it's come a long way and is coming along nicely.
 
Thanks guys. I've never built anything from scratch and it feels great...lol.
I'm going to try to fill in the gaps today. I was thinking I can add pieces of wood panel or something a little thicker to try and square things out and get the corners flush. Then hopefully cover(skin?) it with 1/2" plywood.
 

Brian

Officer Emeritus
Officer Emeritus
Great Job! You didn't waste ANY time with that!

Good luck with the leveling...I couldn't be bothered with shims...I (meaning John and Phyllis) poured a concrete pad in my basement to level the tank! lol
 

mikem

Officer Emeritus
Officer Emeritus
Looking good Eric.
Their not as easy to build as they look. When building things like this, a belt-sander is your best friend.
Can't wait to see your canopy build.
 
you're making my procrastinating err...patient pace look glacial compared to your speed. Looks great! Maybe get a can of black paint and coat the entire stand. Even better maybe put a pair of doors on it.
 

redfishbluefish

Officer Emeritus
Officer Emeritus
Eric - stand looks fantastic! Not only do you now have the room for the skimmer, but you will also enjoy that extra little height in viewing the display tank. The normal 30 or 32 inch stands are way too short. Seeing what a first timer can do with a few 2x4’s, maybe mikem could use you with his next project.:eek: Great Job.

Now for building your sump/fuge...are you ready?
 
Thanks guys. I'm really enjoying making this.
Here's a slight update. I went to homedepot and picked some 1/4" pieces hoping that I can fix the gaps and flush things out. Well that didn't happen it seemed the more I measured the more slanted it was. Sooo. I went back to homedepot picked up a circular saw and some more 2x4's. Its taking a bit longer but its coming along. I should have the frame done by the afternoon. I have set myself a deadline to have it covered and ready to decorate by sunday. I'll post some pics tomorrow before I continue.
 
Looks like you made some good progress. Just want to point out that you need to make sure you have an opening for your lines since your tank is pre drilled.....and if you decide to put doors/sides on it you need to be able to put whatever you are using for a sump into the bottom part of the stand.

I have seen enough threads where the sump didn't fit to point that out before you put more on it then cannot get into it. BTW access on either end is really helpful I would highly encourage it. My 55G tank stand has closed ends and if that was the case on my salt water tank I would not know what to do.

Good job on getting so much done so fast.
 
Thanks for the tip JR. I'll try to make doors on the sides. At this point is seems as if my idea of a 40g breeder tank for a sump/fuge will fit, I'll know for sure when I'm done. If not I'll have to go with a 30g tank.
 
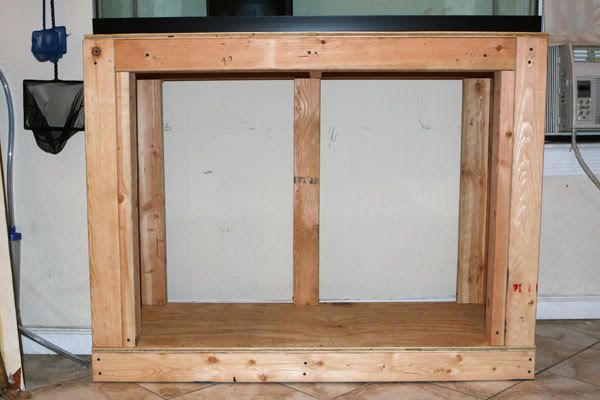
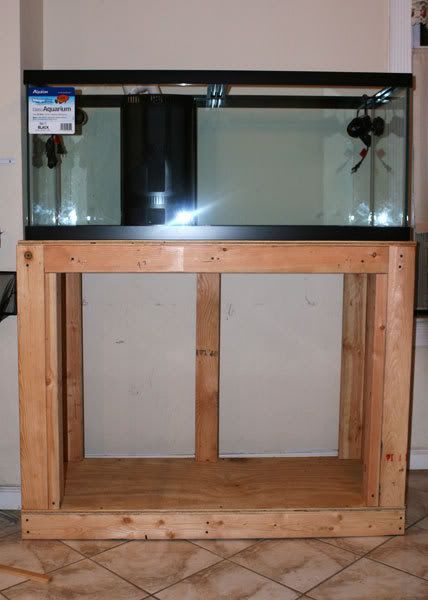
Update: DIY Stand pt2

Thanks again guys. I wasn't able to post production pics of the new pieces, I got off to a late start. I just finished the frame now. I wish I had that circular saw from the beginning I would have saved some $$$. The stand is now redone and perfectly level with only having to shim on one of the back bottom corners by 1/4". Hopefully I can get it skinned up by sunday.

New-Stand-2.jpg


New-Stand-1.jpg


I have some things to take care of tomorrow but I should be able to get the need plywood after. Hopefully I can get started tomorrow night if its not too late. If not, I'll be at it all day sunday. I'll keep you all updated.

E
 
The stand looks great, if a bit over built.

I do recommend you put 3 or 4 coats of marine varnish or polyurethane on all parts of the stand to protect it. It will preserve it a lot better, and it will keep looking nice.
 
Thanks DaveK. Over built? Probably, just don't want it to come caving in. This is seriously the 1st thing I've ever built from scratch. I'm planning on covering it with 1/4" plywood, so depending on how that looks when done determines on how I finish it. Wifey would like me to add molding and paint to it and make it look pretty...lol. I really like the varnish idea. Guess we'll see what happens in the next couple of days.
 

JohnS_323

Officer Emeritus
Officer Emeritus
DaveK said:
The stand looks great, if a bit over built.

Forutnately, you only get demerits (and serious ones at that) for stands that are under built!

Looks great E. Nice work for a first timer. As Bill said ealier, this hobby will test your skills and teach you all kinds of stuff about capentry, plumbing, electrical work, gravity, flow dymamics . . .

Keep the progress pics coming.
 
Esnapz You need wood called Lawan It is real thin venner to cover the sides plywood is to thick and looks gaudy. you can build the doors out of say 1x3s and the cover that also with lawan it stans real nice also. Bobb
 
Today was 1 of those days (major hangover) I didn't get anything done :( but tomorrow is a new day. :)

I'm not planning on painting the back of the tank. I was thinking I would use black contact paper so its not permanent.

Thanks for the tip on using Lawan, hopefully my local home depot has it. If not 'll check with lowes.

I measured the bottom and it seems that I won't be able to fit a 40g breeder as planned so I'm going to go with a 30g should fit perfectly with some room to spare.

I also noticed that the stand is leaning a tad bit to the right. Hopefully it won't be a problem, I'll probably cover the back with plywood completely for more stability cause of the lean. :-\
 
Top