PREFACE
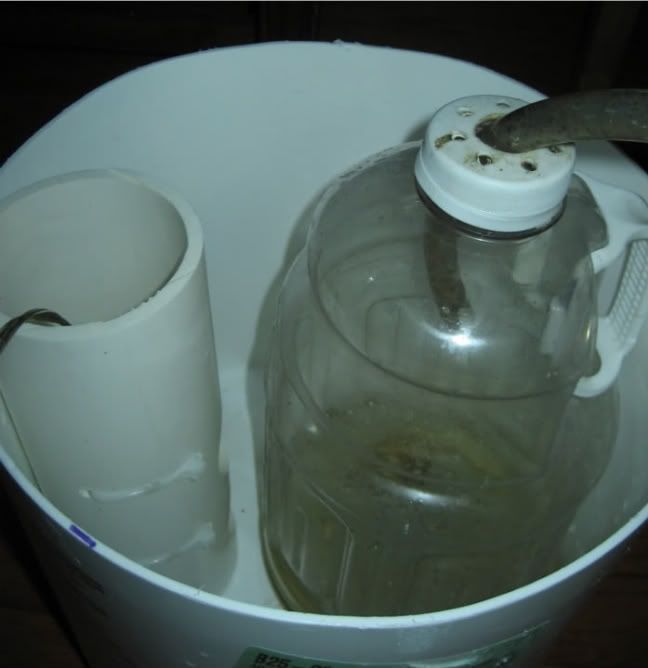
I currently collect my skimmate in a one gallon fruit juice container that sits in a cut-down five gallon salt bucket that contains a float switch to kill the skimmer if the fruit juice container overflows. Functional, but big and ugly.
I looked into purchasing a commercial skimmate container, but was shocked to see them at $150 - $200 for a piece of pipe with two ends and a float switch. So to the shop I went….but first to Home Depot (and Lowe’s).
PARTS
18¾” - 4” PVC Pipe ------------------------(have)
2 - 4” Knock-out Test Caps ---------------$0.36/each
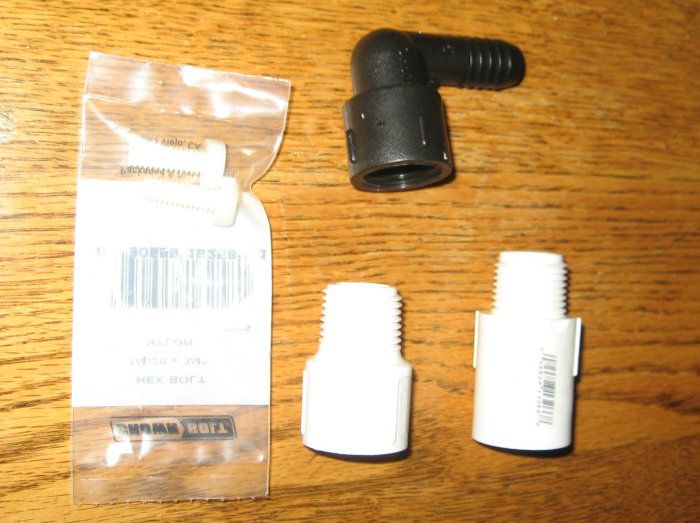
2 - 3/8 Ouick Connect Elbow x ¼ NPT -----$2.38/each
10ft - 3/8 OD Clear Vinyl Tubing -----------$3.11
1 - 4” DWV Coupling ----------------------$2.32
1 - ½” Female NPT Elbow with ½ Barb -----$0.94
1 - ½” Extender (Lowes) ------------------$0.66
1 - ½” Extender (HD) ---------------------$0.66
2 - ¼ x ¾ Nylon Hex Bolt -----------------$0.67
1 - Float Switch (120V) -------------------(have)
PVC Cleaner and Glue ---------------------(have)
TOTAL (without tax) ---------------------$13.18

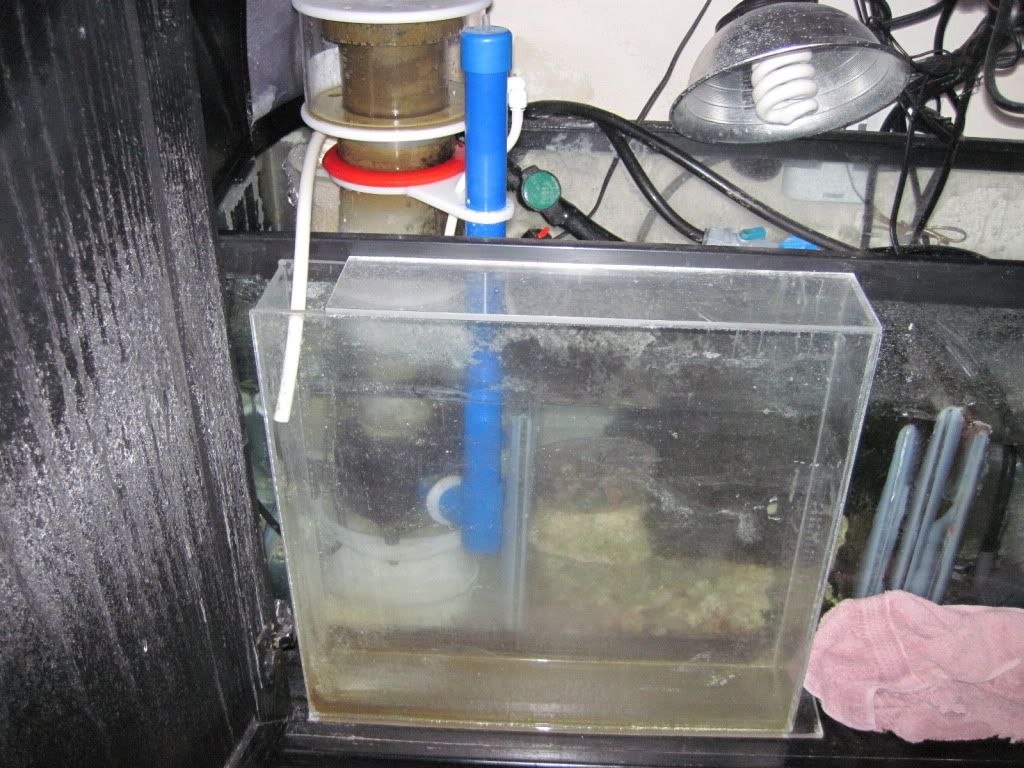
THE BUILD (Base Container)
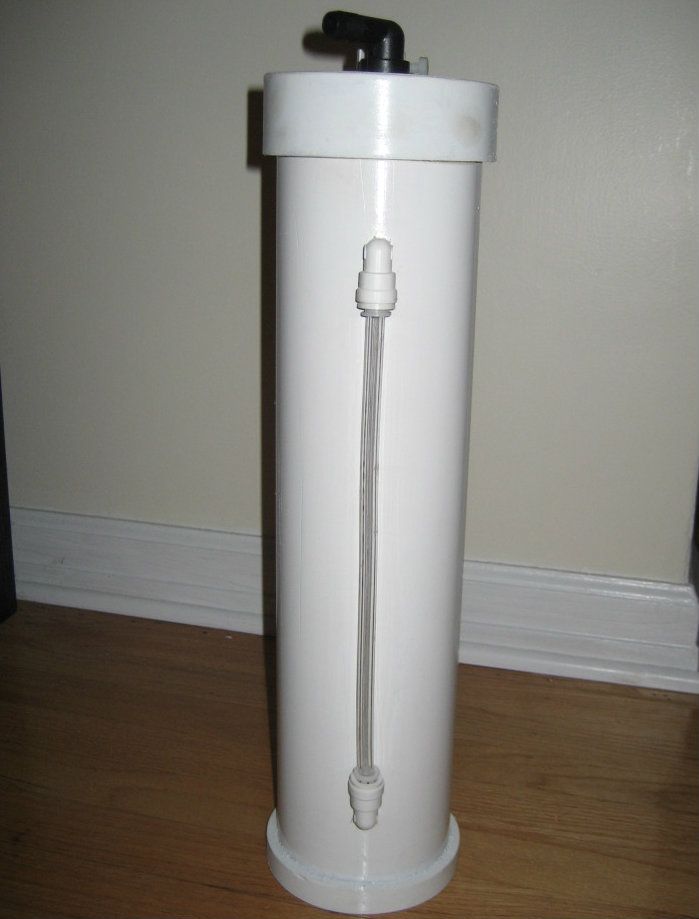
I cut the 4” pipe at 18 ¾” because this was close to the level of the 40 breeder sump I have. This calculates out to a total volume of a tad more than one gallon, if it was filled right to the top. I began by drilling two 7/16 holes for the sight tube three inches down from each end (that eventually would be tapped for the ¼ npt fittings). I didn’t put these holes right at the very top and very bottom because I wanted to leave room if I wanted to put some kind of restraint to hold this thing upright. I then glued the knock-out cap to the bottom of the pipe.
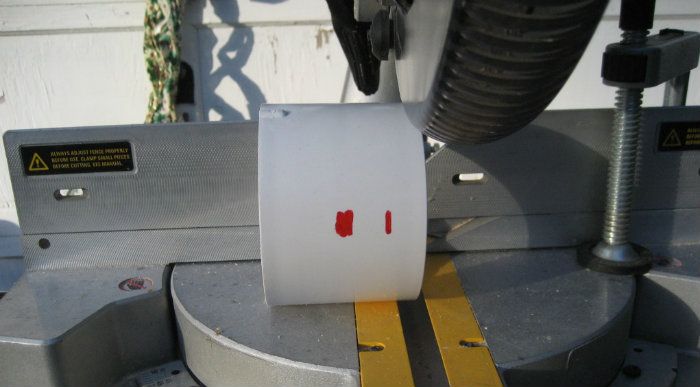
I now cut the coupling into three sections; approximate a quarter of the coupling; and then a second quarter making sure to eliminate the center “stop” portion. The remaining half was cleaned up to eliminate that “stop” portion as well….this part will become the top, while one of the quarters will be used to add support to the base:
One of the quarters was glued to the base to add additional support.
I was now ready to tap the two holes to fit the ¼” NPT elbows….but could I find my pipe tap…….NO! I wasn’t ready to go buy another tap, knowing I had one somewhere. So I improvised by using a brass fitting that acted as the tap. I put the pipe and the fitting in my vise and as I tightened the vise, I turned the fitting. It worked!
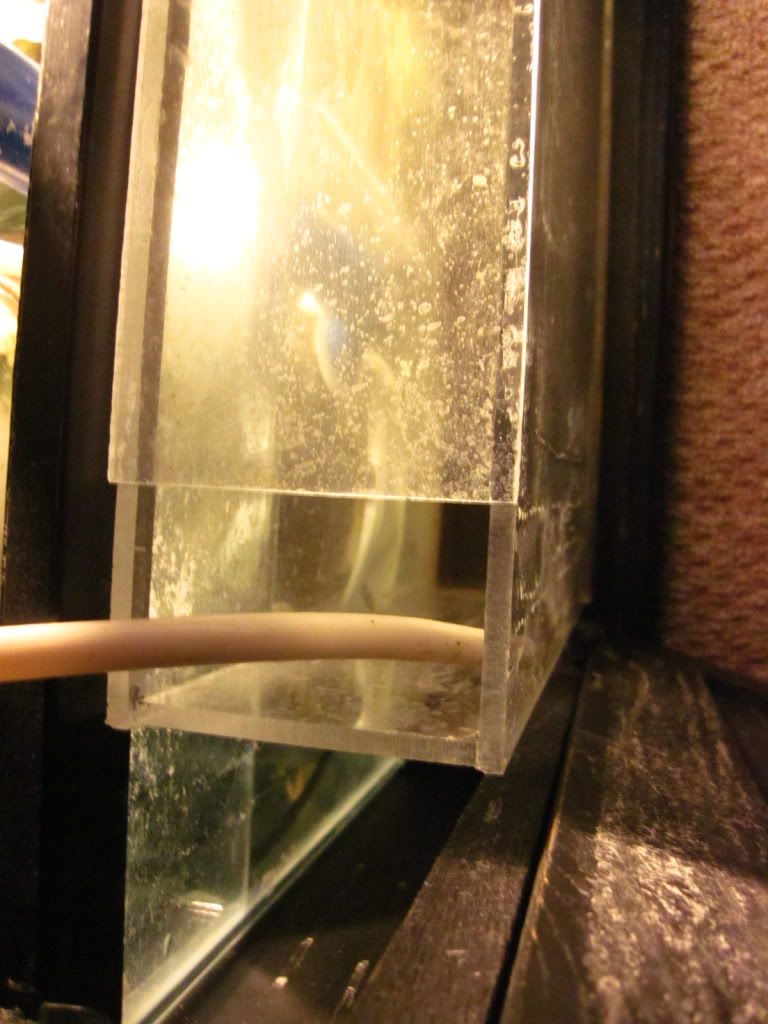
The elbows where installed and a piece of tubing was placed between the two elbows to act as the sight tube to note how much skimmate was in the container.
TOP
An appromate ½” of 4” pipe was cut, and the remaining knock-off was glued to this piece. This assemble was then glued into the half-piece of coupling. This made the top. This top fit too snug, so a power rotary rasp was used to rasp the inside of this piece; until it fit easily on the four inch pipe.
The longer threaded extender was cut just below the male threads. This small piece was used to attach the barbed elbow to the top (through a 7/8” hole), leaving it loose so that it could turn easily. The remaining piece of this coupling was drilled and tapped to accept the ¼ - 20 bolt. This piece was attached to the top with the remaining extender coupling through a second 7/8” hole. And here’s the top:
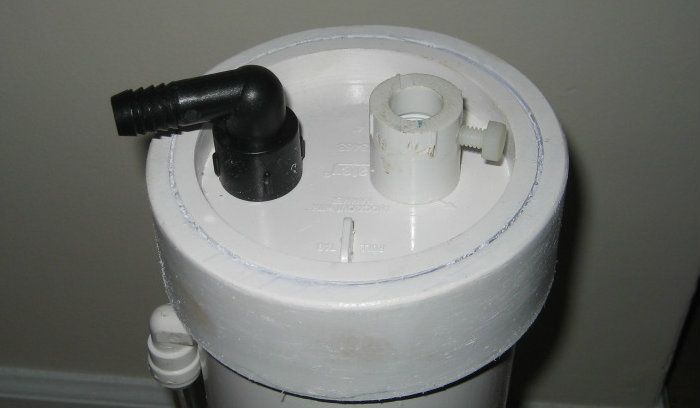
The barb fitting will attach to the drain tubing from the skimmer cup while the other fitting will hold the float valve switch by tightening the Teflon bolt.
When I get it into place, I’ll add a final photo.
I currently collect my skimmate in a one gallon fruit juice container that sits in a cut-down five gallon salt bucket that contains a float switch to kill the skimmer if the fruit juice container overflows. Functional, but big and ugly.
I looked into purchasing a commercial skimmate container, but was shocked to see them at $150 - $200 for a piece of pipe with two ends and a float switch. So to the shop I went….but first to Home Depot (and Lowe’s).
PARTS
18¾” - 4” PVC Pipe ------------------------(have)
2 - 4” Knock-out Test Caps ---------------$0.36/each
2 - 3/8 Ouick Connect Elbow x ¼ NPT -----$2.38/each
10ft - 3/8 OD Clear Vinyl Tubing -----------$3.11
1 - 4” DWV Coupling ----------------------$2.32
1 - ½” Female NPT Elbow with ½ Barb -----$0.94
1 - ½” Extender (Lowes) ------------------$0.66
1 - ½” Extender (HD) ---------------------$0.66
2 - ¼ x ¾ Nylon Hex Bolt -----------------$0.67
1 - Float Switch (120V) -------------------(have)
PVC Cleaner and Glue ---------------------(have)
TOTAL (without tax) ---------------------$13.18
THE BUILD (Base Container)
I cut the 4” pipe at 18 ¾” because this was close to the level of the 40 breeder sump I have. This calculates out to a total volume of a tad more than one gallon, if it was filled right to the top. I began by drilling two 7/16 holes for the sight tube three inches down from each end (that eventually would be tapped for the ¼ npt fittings). I didn’t put these holes right at the very top and very bottom because I wanted to leave room if I wanted to put some kind of restraint to hold this thing upright. I then glued the knock-out cap to the bottom of the pipe.
I now cut the coupling into three sections; approximate a quarter of the coupling; and then a second quarter making sure to eliminate the center “stop” portion. The remaining half was cleaned up to eliminate that “stop” portion as well….this part will become the top, while one of the quarters will be used to add support to the base:
One of the quarters was glued to the base to add additional support.
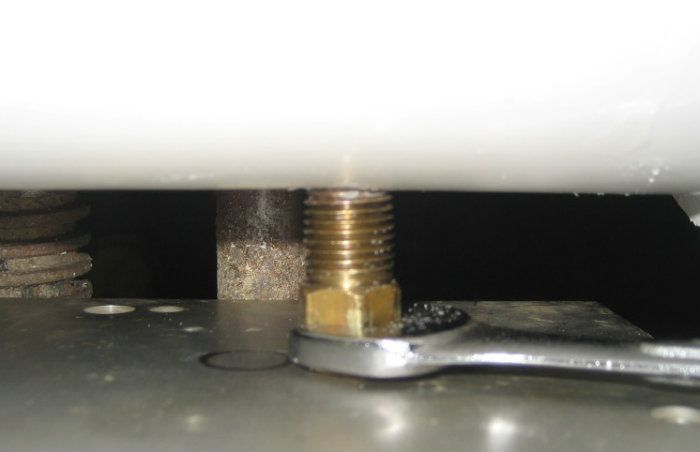
I was now ready to tap the two holes to fit the ¼” NPT elbows….but could I find my pipe tap…….NO! I wasn’t ready to go buy another tap, knowing I had one somewhere. So I improvised by using a brass fitting that acted as the tap. I put the pipe and the fitting in my vise and as I tightened the vise, I turned the fitting. It worked!
The elbows where installed and a piece of tubing was placed between the two elbows to act as the sight tube to note how much skimmate was in the container.
TOP
An appromate ½” of 4” pipe was cut, and the remaining knock-off was glued to this piece. This assemble was then glued into the half-piece of coupling. This made the top. This top fit too snug, so a power rotary rasp was used to rasp the inside of this piece; until it fit easily on the four inch pipe.
The longer threaded extender was cut just below the male threads. This small piece was used to attach the barbed elbow to the top (through a 7/8” hole), leaving it loose so that it could turn easily. The remaining piece of this coupling was drilled and tapped to accept the ¼ - 20 bolt. This piece was attached to the top with the remaining extender coupling through a second 7/8” hole. And here’s the top:
The barb fitting will attach to the drain tubing from the skimmer cup while the other fitting will hold the float valve switch by tightening the Teflon bolt.
When I get it into place, I’ll add a final photo.