• Folks, if you've recently upgraded or renewed your annual club membership but it's still not active, please reach out to the BOD or a moderator. The PayPal system has a slight bug which it doesn't allow it to activate the account on it's own.

187 Funky Dimension Prbly Gonna Flood Floors Build

Well good news is that last night I made my first cuts of the top and bottom rails today i.e. I'll be cutting the legs side and other support. I haven't screwed anything together yet just dry fitting everything

The funny thing was that I had to literally build all of my tools to support my building of the tank lmao. The saw horses alone took like 1 hr for both lmao.


502fdef1d91244f73e223ce12e3c8b97.jpg


4ff9376d84fbe484d3cac9cc19cab6dc.jpg


b675664f4d8d22429256729a4b7a9e17.jpg


1b52f7bb4585fdd4afa2ccc3306777c5.jpg


157b9a1001179abe484f9ab16306937d.jpg


77cc6aea93728117dcc7612fe39297f6.jpg


Sent from my iPhone using Tapatalk
 
Well started the assembly tonight and things were going well before I ran out of light.

2 things about the rocket engineer stand and about wood in general.


8' 2x6 are not really 8 feet. I had to trim off some and will need to trim off the bottom as well.


My measurements are as follows and I cut using a miter saw. The only thing I may not have accounted for was the width of the blade. I cut ON my lines instead of on the outside edge of them leading to what I think added up to be a fraction of an inch all around.

At first I was incredibly ****ed because I cut all my End pieces.

The saving grace is that my 2x6 will have multiple cross braces at the top. After test fitting them they pushed it out the top rails a little bit and I got my 30". After I add in my ply wood wrapping and my top piece I'll have more than enough width and support.

Also the tanks glass is very wide meaning that the full surface of the glass will be supported on braces and the wide section of the 2x6.

Due to the width of the 2x6 I may need to cut the back rail to clear my bulk head holes. I will add vertical supports at the cuts and horizontal support as well.

ae7e9c1137e60c589b6cdf01bbc4ecde.jpg


0d655b84519df34ee0a83572d89f3d68.jpg


ff00ceede87a633eb3965d69f07ef227.jpg


9addf4ced1519fd5b4b0861da573f01c.jpg


Y'all think I should recut the end pieces to make it 30". I want to say it's maybe 1/8" or less


Sent from my iPhone using Tapatalk
 
Nope wood is cheap and I have extra

I recut the end pieces and got my 30" :)

I did this in the garage at like 10:30 lol. It would have seriously bothered the hell out of me. As I suspected cutting on the outside of the line worked wonders.

Good news is that the other pieces I cut can still work as cross braces for the sump!

3f67f61c4ea0500010c826231746aa75.jpg


c9faf6e571eee5d0712704e790867103.jpg


I'm traveling for a few days so next update will be Monday. I should have the entire thing framed out and ready for some Kilz paint. Then the wrapping begins.

Update!!!
With all the stress of my build and stand issues the last few weeks I took some time to spend Father's Day with my dad. He's a carpenter but in jersey so he couldn't help me too much with my build. I did take the time to show him my plans and we tweaked a few things. We also murdered some porgies and sea bass in Massachusets.

1e979827c7b6d49abfad85d06a99cbb3.jpg


61d979af134d81817ad8ae7776c12cce.jpg


46d3e96236a621d2b21479ad2cd2c05d.jpg


389e2bad38060b16147ad223d6df170f.jpg


6bbf8e2f06bba715b759bf5780d681de.jpg


Tonight I'll be back to the stand getting the rest of it framed out!

New update tonight


Sent from my iPhone using Tapatalk
 
Update !!!!

Got a lot of progress done tonight. I traded back my harbor freight table saw for a nice kobalt one from lowes. It was on sale and seemed to be better quality than the harbor freight one plus it came with a rolling stand!!!

1a5c50e7eb5c05d3add73306b7f40057.jpg


6467307523db40d7a6cb73268a43912a.jpg


6f767b93725b27c55d47bcbb84ec239b.jpg


5652f39a40e190d73481c18b2945f0d6.jpg


and I also bought a Krieg pocket jig for when I place the uprights under the tank. Here I am testing it out.

0c97f41c5c0ebdeebdb986961abc2b53.jpg


Sent from my iPhone using Tapatalk
 
So some more updates tonight!

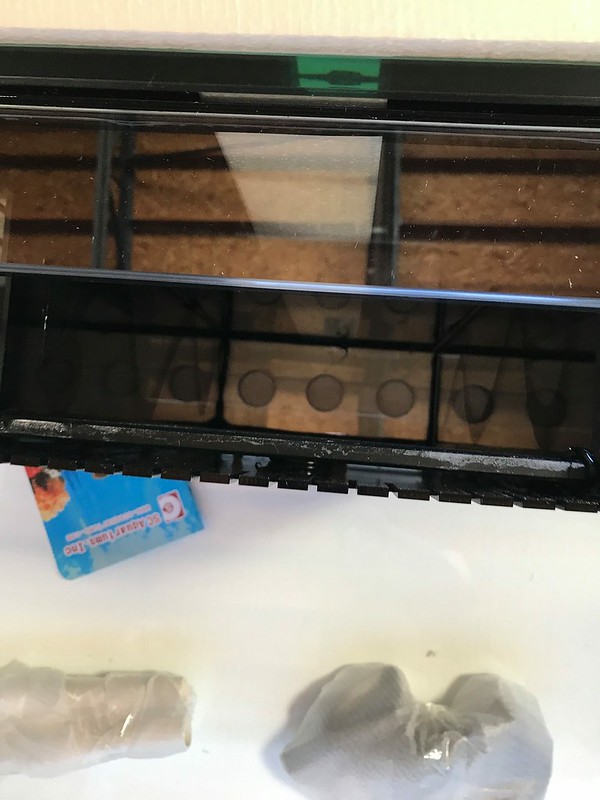
I cut the uprights and supports for the tank which will allow it to be centered on the 8 foot stand and have adequate support. I was able to finesse the template out of the SCA tank and was pleasantly surprised to see that it should fit without having to cut the uprights to clear the bulkheads. If it does I can notch the uprights and add a cross bar and 2 additional supports to take the weight off.

I was also thinking if I need the bottom middle brace at all. I wanted to put a piece of plywood there seal it and use the flex rubber stuff to water proof it. If my sump leaks or something leaks the bottom would contain the leak without getting on the floor.

1498a1cd091ea6c7cc899a96bd1acfcc.jpg


822898f748531973fd48ece9e3c3fe66.jpg


7a30d503f8f3273bc318927af417e563.jpg


I also picked up a plane to smooth and even the frame. I was able to remove the majority of "lips" from the frame to even it out which should enable me to skin it more efficiently.

I have decided on 4 doors. I

f1e242288ebcf451317cfd514e48a9cf.jpg


Traded in my harbor freight table saw and stand for this sexy one from lowes for the same price after discount.
a20c2b1d78ad2526673fb88cfa8b652a.jpg


Pocket hole jig working wonders

913517a131a70f70c05ca49a00e89b69.jpg

Update:

Sorry this has been slow going. I'm a new wood worker so I have to buy my tools as I go if I don't already have them lmao.

Tonight I was able to install my 1/2" floor and upright columns.

874cfcd76548a4bf41b738feee302a3f.jpg


52309cfa688d015c2e62b4250afe7d8e.jpg


My thought process here is that my sump will sit INSiDE of the stand and directly on the floor of my stand. I am sealing and kilz the floor of the stand and using the rubberized flex seal item from lowes to make the bottom waterproof for the most part.

Also this allows me to have the maximum height of the stands interior to work with.

The rocket engineer plans if I'm not mistaken rely on weight being transferred to the bottom frame at the sides and along the length of the tank. Since my tank is going in the center of the stand I added vertical supports all 4 corners using 2x6. It should take the weight and then some.

(Please advise me if not lmao) tomorrow I cut my sides top and front.

I also build my table saw lmao.

13374abc3b9bd841b6919812d0fe1788.jpg


Did a bit of gardening. This is today's harvest

9f539192555f7cc3a46b696f707df398.jpg


Sent from my iPhone using Tapatalk
 
Update been skinning this thing all day almost done !!

510b2c54860a3a6450caa21df0e59746.jpg


825b6b0896f646fb3517795ffae6e9ea.jpg


f6867c2dd6d32d9d40306df491dd5294.jpg


Just picked up some trim from lowes

Finally skinned OMFG this is a lot of work but I spent the day cutting and measuring and cutting some more and measuring and routering and planing.


4943315885aafb0af7302ecd08b91e43.jpg


1dc2bdf1d6ea1931c6ee06af324280a1.jpg


47409ff312ab4e9b3c38f82f73c5af5b.jpg


Added more cross braces to the top of the stand


e7b1149c5d54fbedc1ef813a00570be5.jpg


77beb6584a10d5daedab6b093cfa1448.jpg


Trim ready to get mitered and installed

0e3765b53ff2e0c790e8096aa439c25e.jpg


More tools lol harbor freight sales are awesome

1233b853d34807eabc098ebfa693c180.jpg


Also the employees at my local lowes love me lmao. They have been following my build even hahah. They recommended some tools to me and the manager gave me a 30% discount on some stuff for being a loyal customer in the form of discounting some returned/open box stuff.


Sent from my iPhone using Tapatalk
 
Update!

Last night I was able to get all the trim installed. I went with very simple trim.

3614463cf46e72dc8397961e81380abf.jpg


76af543af10aba8c4d8180878e841280.jpg


73bb65ae1d0269fee136728dea1b7bbd.jpg


This was a major accomplishment and I can't believe I'm so close to being finished.
Tonight I was able to triple kilz the interior of the stand. Arguably this was the hardest to get every crack, crevice and hole filled. The wood ate up the first coat and the second coat didn't give me the coverage I wanted either. I ended up with 3 light coats that really sealed the deal.

I put 2 light coats on the exterior of the stand as well. This coat will be lightly sanded with 220 grit sandpaper before I put on the exterior paint. I still have not figured out doors yet. Doors won't stop me from getting the tank up and running though.

83bcac1b084f388581b16615bec99766.jpg


69ed1f73c4004c6bd4e1bb3cd35482aa.jpg


d208133632bd41a85462533bb2c074a8.jpg


5db1e5406244a48d9be0709cbff3f581.jpg
 
What a busy Monday!
My doors arrived unexpectedly

965e8a9ce047021542286c2c4d0e23ad.jpg


The tank made it into the stand after me and the guys moved the stand inside.

0199a293e5ba0d8101b30cc46ed2efa0.jpg


Then the doors got mounted up

237717cafd709939c6645b852ddf88a4.jpg


But it was back to the garage to fabricate the center doorstop because the 3rd door from the door manufacturer wouldn't fit!! I plan to engrave and do a really nice raised emblem of the family crest.

df72ad5a379c1418e2066e7f19b1ea83.jpg


c6178df85f347058b347c40e38585829.jpg


Then it was off to my remote controlled waterproof led lighting

6cc848ef9ce7a9f704abe9e78fc7227b.jpg


02c8d2da83c58734713c938e219251aa.jpg


da38e7489c3c0f31029370a650fc0611.jpg


e44fec065399e4dc1d2830ef29803aa9.jpg


I have infinite and DIY colors as well. Very bright and easy to see what I'm doing inside. Tomorrow I'll be painting the doors and maybe test fit some plumbing.
 
Massive update almost time for water!

So I have been having terrible luck with some aspects of this tank. Let's start with drains!


The SC Aquariums come drilled with 3 1" holes. This is great but traditional overflow plumbing won't work. It comes packaged with a. 1" Durso and a 1" return that gets reduced to 1/2" at the top.

We all know 1" Durso sucks because the tricks won't work with it to make it quiet 1 1/4" is needed.

So I built 2 and found out that they won't fit for shiet in the overflow. The eurobrace makes things very difficult to get my bear arms inside.

9ffe6d6c657fde6ad6ce8d57f312443a.jpg


I went with the herbie! 2 cracked bulkheads later and it's plumbed.

During this plumbing and during a blackout my friends and I were able to fix the pad under the tank and give me some peace of mind that an edge of the pad won't buckle and destroy my house.

That blackout also taught me that charlotte
Has frequent blackouts and they typically last a few hours. During that blackout I started pricing out a generator for the house and although that's a next year project I was able to pickup 2 used ecotech battery backups.

They arrived like this!

9b8d8a09f10462cbf0d5bae89e475485.jpg


d5fdb474bc0fb1ccf13893f779349470.jpg


47e92c731dc69002186e07c817fc1d45.jpg


They were packed well and it's no fault of the shipper usps sucks hard. These were obviously heavy and obviously thrown.

I worked it out with the seller and got to work since one battery was ratttling inside which meant possibly plates were broken or the battery was internally damaged I decided to replace both batteries and keep the other 2 as backups. I got out my hammer, grinder and Sandee and got to work salvaging the cases.

64582803e66e7822c4d0411f7e033518.jpg


42dae5d7934d7aa97c46f26a5f26da66.jpg


fc0bb9dc2939256ef7f8b3c118a6056c.jpg


New batteries

b26305f26325d64144686471f98563d8.jpg


All done

9743efe072357bb76c1be28ee2d81e04.jpg


Prime day hit and I used points and the discount to grab one of these to run my apex and monitor the tank

b475de6a3beb09f33a42fccfee1e9b0b.jpg
 
Remember those cracked bulkheads? Well a quick overflow water test revealed that 2 more cracked and you guessed it. I had to disassemble the overflow replace the 2 bulkheads and re assemble.

Since I was up there I decided might as well hang the light.

My ceiling drywall is 5/8" thick which meant handing my light from the drywall using the anchors was needed since of course not a single stud lined up with my tank.

d5ecaca856ced27d40527161be455c87.jpg


2150f13246a63898248cd61106e06d38.jpg


Hung the lights and tested for deflection and saw none. I'll install the bulbs later on but right now it's time to get my stuff plugged in.

Got my herbie installed. Waiting on a gate valve. Light is up and I've been playing with settings. This light is amazing!!!!


475b24e8058102b8066e21843b53fe26.jpg


b521dcffb6a2b9b42f435400e0b5238c.jpg


22de37a8b3b1494eafeced5923b2144e.jpg


f8134698feec00a25ba11ebef62f572c.jpg


So much wiring cleanup! Waiting for my cable organizers.

Almost there!!! Will def be full by tonight. And I can turn on the pumps and test out my herbie. Or spend the evening ****ed off because it didn't work at which point I'll make 2 Durso's and say fcukit


07f286fbeb16a8d6feac134523e22a83.jpg
 
Update time:


So I swear I have not been idle lol.

So I was able to get the tank full of RODI and salt

49504b4eef4d796296650b259f11cdf0.jpg


3 40lb bags of caribsea ocean direct later and I have a completely cloudy mess

c48fd6075c4ff6f0c25b417a5c583cd5.jpg


So I figured I would put my skimmer in and crank that summabish up. Remember my sump area?

3983fdd9f75b3aa4aa84465e77ff7d35.jpg


Not good. My skimmer could not fit due to the elbow!!! Earlier in my build thread I found out the 200sss was unavailable for weeks from my retailer and instead got the 250sss. Well it's to big.

85lb braided Fishing line later and I was able to cut out the first baffle.

Look ma it fits!!!

d4516f69e0349c7e091d68a7b34e9f3c.jpg


Finally set this bad boy up.

01064b188781c0724382892eddd834b7.jpg


Threw a bunch of this in
c806e460acf00c2428a86c5b92150a77.jpg


About ready for rock I say !

3f06eeaf48e78300674d59bec384061f.jpg


Sent from my iPhone using Tapatalk
 
The gifts keeps on giving:

So this one time I legit spent like 100 dollars on a cleaning magnet. I know right dumb. Just grab a magfloat and keep it moving amirite? Lol

Today I opened my box of goodness and pulled out ye' olde' magnet - goin on a few years old now and naturally it has a lump.


9785902e83eee8872b1588da14663597.jpg


So being the good little reefer that I am I figure maintenance!! And pulled off the Velcro to replace it


Da FUQ?!!?!?

7c37b198c2c602414024a81fbc7ae525.jpg


Oh right I forgot EVERY SiNGLe thing must challenge me for this project cuz why not fuq me right lol.

76b87d0031e6b8328161ca7d336c3215.jpg


So I shot off an email to the manufacturer algaefree and after apologizing for the wet side failure he will be sending me a nEw replacement wetside for free and that my fellow Reefers is why I spent 100 bucks on a f*!&@:!& magnet.

My back hurts a lot. It took us 4 hours lots of wet floors lots of buckets and 3 tubes of epoxy.

The tanks too cloudy to show you pics of the final scape but there in some more clarity and hoping for the best.

Skimmer went crazy of course considering it's not broken in yet and temperamental...

5c46296ed0bae673f8167565787b6cb5.jpg


b650ad64655952c04649a4748ea4c3e6.jpg


7fc32daefaa086a1c00e9707637e2de7.jpg


75ba3dd5159a4292074f80c6da2cf9d8.jpg


Sent from my iPhone using Tapatalk
 
Alright you scurvy reef pirates I got a pic of the scape

My inspiration is Chingchai

My thought process was to go slightly less than 3/4's to the height of the tank.

I'll be using 4 MP40's with random flow .

8be85122ab2e63b1730b4162d15906f0.jpg


15e52e2853bd61c05f8c24041af170f4.jpg


0d9a4b3645fa986d8380d1cd066294b1.jpg


8d614a9c225360cc8b6ee95fb9236b24.jpg


5821eba6909c32fa2b1791367f46d927.jpg


fad0d0a7c2ca393f2da2ed116762c5d7.jpg


Sent from my iPhone using Tapatalk
 
So last night after a ru day doing rock and other tank stuff it was like midnight when I started doing the manifold.

3733f8b8bb594cac9f614cd25da2406b.jpg


1437d4d52872d0b576a687b2b8b86381.jpg


Wife came in found me taking a nap on the job. In reality I had lay down on the floor to stretch out my back after crouching under the stand routing wires and closed my eyes. I eventually drifted off a bit lmao.

(That hose was the wrong size btw)

1b778c7d9a3b809c4e166059d11b30f8.jpg


Woke up finished the job and my wife forced me to come to bed.

068d729359e7f185a3b8bcbfabd9dc8d.jpg


bb179994ff827acdf46ee20a7faf6596.jpg


d9876b28c90b495bd339fa533b20783a.jpg


Sent from my iPhone using Tapatalk
 
Update:

I have been busy the last few days!

First up I took a trip to GREENSBORO,NC to checkout Daves shop and see a few of his custom fixtures in action. I will definitely be ordering 1 or 2 for my new frag tanks soon. It is a absolutely gorgeous facility.


58ea40c6af45389b479c1d0ef29261f9.jpg


538e1fb515cb24bdef07d0f247ce823e.jpg


b0a95e29c5e35b0bc3902554393b1bee.jpg


While there we decided to checkout the science center while Dave worked on a secret upgrade to my light fixture!

a3f80f73bfeb08aa5d00ee277527009e.jpg


9e269270e3b4b4be8231f9d3b721d540.jpg


27b1cc37802feae706713a6b6b664056.jpg


Some very cool stuff there and only 12.50 to get in!! Easily an entire family day there and well worth the trip! After a few hours we decided to check out a new fish store in the area Reef Architect run by Earnest and his family.

cdccf67293563bd71d7177f1cf127e55.jpg


We must have spend about 2 hours in there checking out his livestock and dry goods. In the end I walked out with 7 corals (Softies and LPS) and a quarantine tank!

Continued:

After the Greensboro adventure and picking up a quarantine tank my wife and I discussed a lot of my failures as a reefer and what caused them.

We considered that at any point we would have thousands of dollars in equipment, thousands in fish and corals, and yet take risks with those investments by not quarantine fish.

We realized that the reason we didn't was because we didn't have space for the tank, or the tank was on the floor where it was hard to work on or see in, or too small, and all these excuses that over time cost me hundreds of dollars in fish and frustration.

This time we decided to do it right.

8520f413a282b3fb3f4f59b8434f60be.jpg


8bd559b9e7c920dbdc6d90cc12d94dc1.jpg


Using my new tank stand building skills I whipped this up and painted it in about 2 hours.

c784a3ccb1e84e5d6925d806f964da6f.jpg


ecef340519138525052941815a835f1d.jpg


4fc7d82feb911ca6da523f086fb18b1e.jpg


Sent from my iPhone using Tapatalk
 
Moved it in and setup the quarantine. I've been thinking of whether or not to black out the sides of the quarantine but I might want to or use the tank for some other purpose so I opted not to.

b7be3e65db37b3ca5e165f73b263ae0f.jpg


0978558fe6aa46076856bea3c1f005f3.jpg


For filtration I got a biowheel filter and I'm gonna grab some dr tims and marine pure media

Update time:

So I had an eventful "vacation" and now that it's officially over I'm glad that I took it.

Over the last week I have been working on the tank daily!

Fist up I took care of my wiring
4c8b8f4152dd6bab670f345e894ba000.jpg


39f3dcaafd18e7ce5f66741dd54dc0b8.jpg


Then I turned my attention to the quarantine tank.

ffb8da1e664d0b715585c7ed8df821c8.jpg


I mixed my salt water and also got some bioballs in my sump for when I dump in dr tims

1e16ce614e10120ec23580110a6907cc.jpg


I also painted the doors for the display

3bf407a05af99c6df2dcb87f71f838e2.jpg


ed774cf9614d35a63e332c424b939d9a.jpg


117d6ee447e0e9ece1af93a77919db54.jpg


Current stocking list is
2 snowflake clowns
1 red fairy wrasse
10 hermit crabs

fc83f4a06f0c9660fad8df71407d91a8.jpg


Corals so far have been loving the light from the leds.


Sent from my iPhone using Tapatalk
 
Update Time!

The Fish arrived

7d756c0cb063ae209c7c4c98a6f62447.jpg


b850f21a96d07292f76060ab749b8bd1.jpg


So did the worst 40 bucks I ever spent. Decorations for the quarantine tank. These things are so small

ea43b636907617dfd55f8f9f685ef70f.jpg


9587696b3c10741259c89ec6a39054b8.jpg


9fe18a51b7db7a1188e70e83d4cde545.jpg


Everything arrived ok except the geometric Pygmy hawk fish. He survived acclimation but I think it's going to die. He did NOT look well in the. bag and frankly I thought he was dead.

I saw movement so I added him to the quarantine tank.

I ended up doing 4/5 hours of drip acclimation at 3 speeds.

Things to note:

The water the fish came in was cool to the touch. The cool packs worked.

They came in very small amounts of water.

The salinity in the bags were between 1.018 to 1.020. All the fish were the right size. (I was told the fish would be 1.025) so what I did while dripping the fish I refilled the lost quarantine tank water with fresh saltwater at much lower salinity. Ending salinity in the tank was 1.023 and I changed roughly 15 gallons.

All of the fish showed signs of stress but no diseases are present. I will start prazipro in a few days once everything is eating. I have not fed them yet and probably won't today.

0eec4f023a5625f5b5403011f05bb634.jpg


9a06ea9f8f72d562b96629cb6a4c8933.jpg


95b329f5440bf0c9dd8acca35e3bed46.jpg


55852a9adccf2aeead0966349878ad45.jpg


Just a Quick Little update. So far the fish are doing fine. I made a little video after I made a few small changes to the quarantine tank.


Trio91

Administrator
Moderator
Tank was supposed to get here April 25th - Apparently there was some miscommunication and SCA thought I wanted a modern stand instead of the classic stand and refused delivery by the cabinet maker. After no shipping details and no stand details I contacted SCA and told them that we did in fact decide to go with the white oak furniture grade custom stand with 3 doors etc etc. I was told that It would be shipped Monday May 1st with delivery window to be Friday/Saturday. Well its obviously Wednesday and no shipping details or anything. Finally got in contact with the company and was told that there were some issues with the stand internally and that my stuff would be shipped Friday May 5th. Supposedly with an expected delivery date of Friday May 12th .

Well I'm going to be out of town May 13th-18th. If an attempt is made It will be refused I guess because not a single friggin person will be home. So. Curbside free Tank and Stand -_-;;

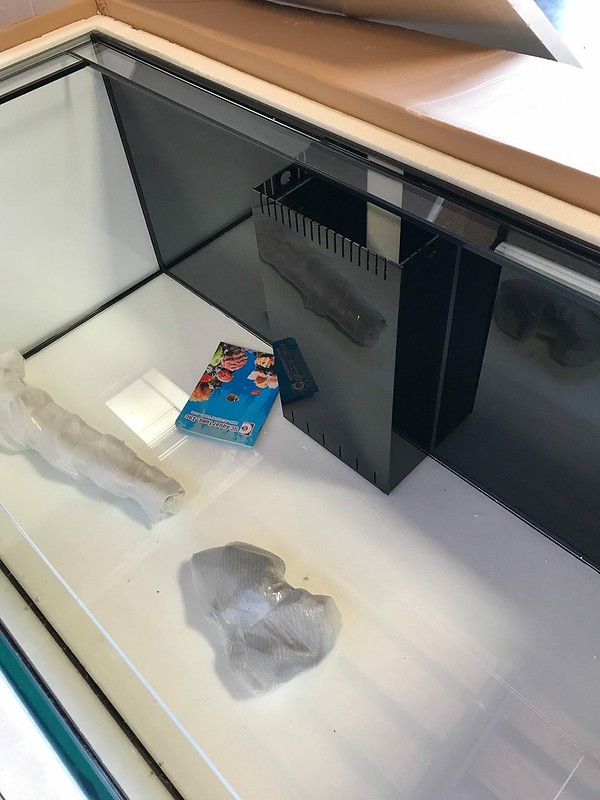
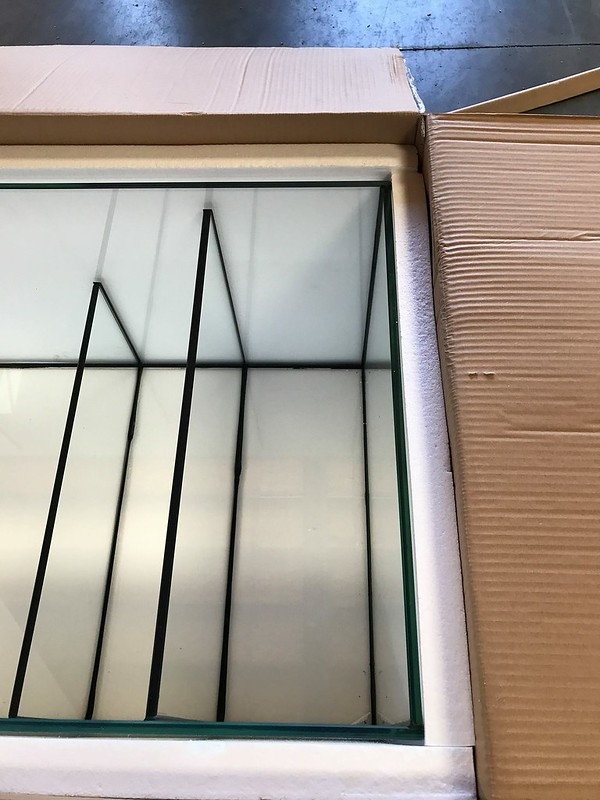
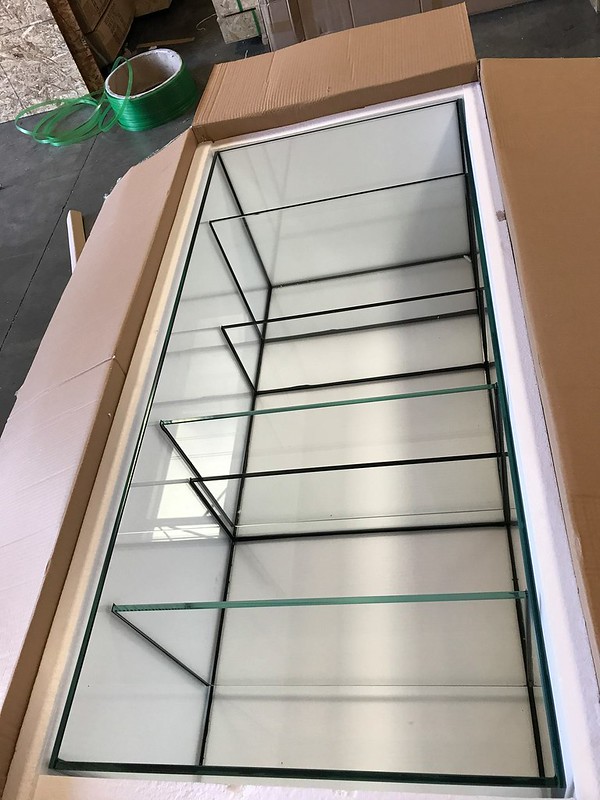
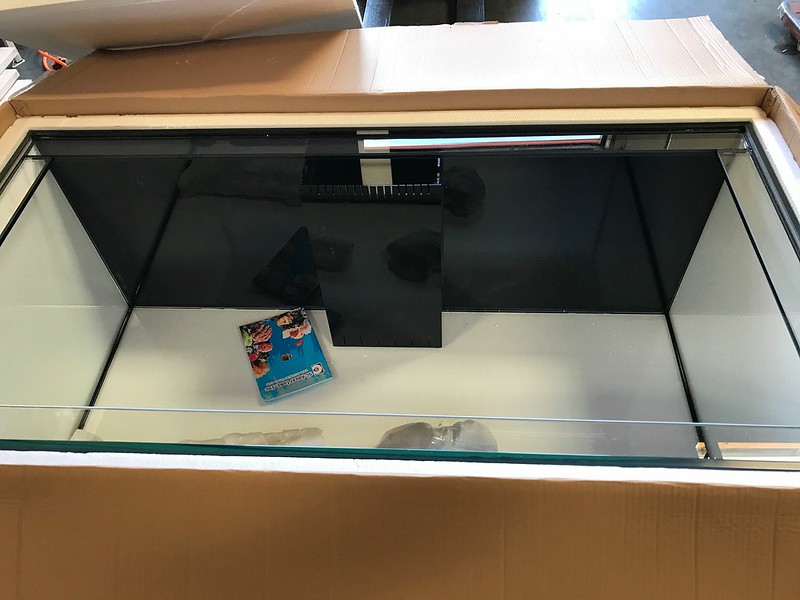
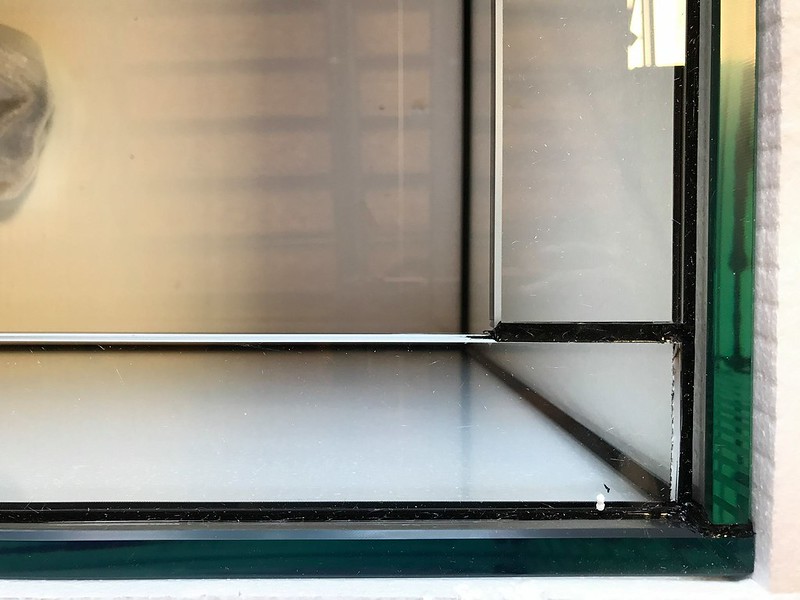
I finally got some pictures of the boxed finished products. I give you THE TANK and Sump. It looks beautiful. Now if it can only get to me before I freakin leave!


34439419565_0140aea5e3_c.jpg


Starphire 80ish Gal Sump!
34397911246_d6d0ac96fa_c.jpg


34308839841_5197237eb7_c.jpg


34308839821_7689c62324_c.jpg


33629397573_a0de568448_c.jpg


34397911176_3599872cc4_c.jpg
it looks so nice...n "sharp"
 
Top