• Folks, if you've recently upgraded or renewed your annual club membership but it's still not active, please reach out to the BOD or a moderator. The PayPal system has a slight bug which it doesn't allow it to activate the account on it's own.

55 to 75 upgrade

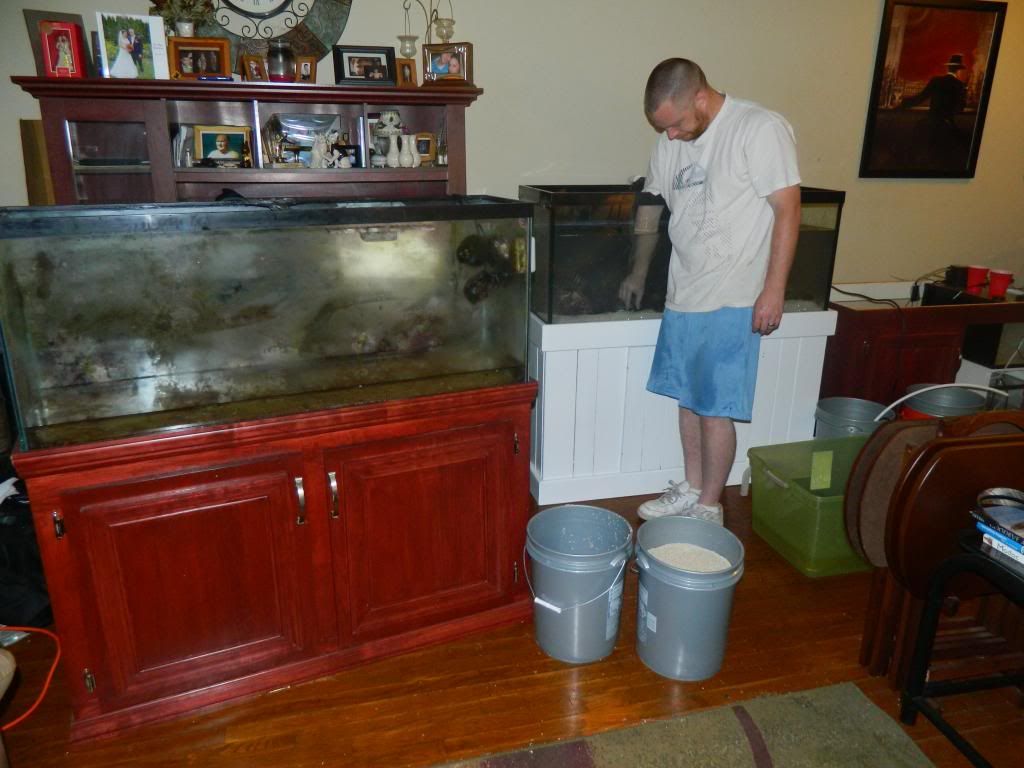
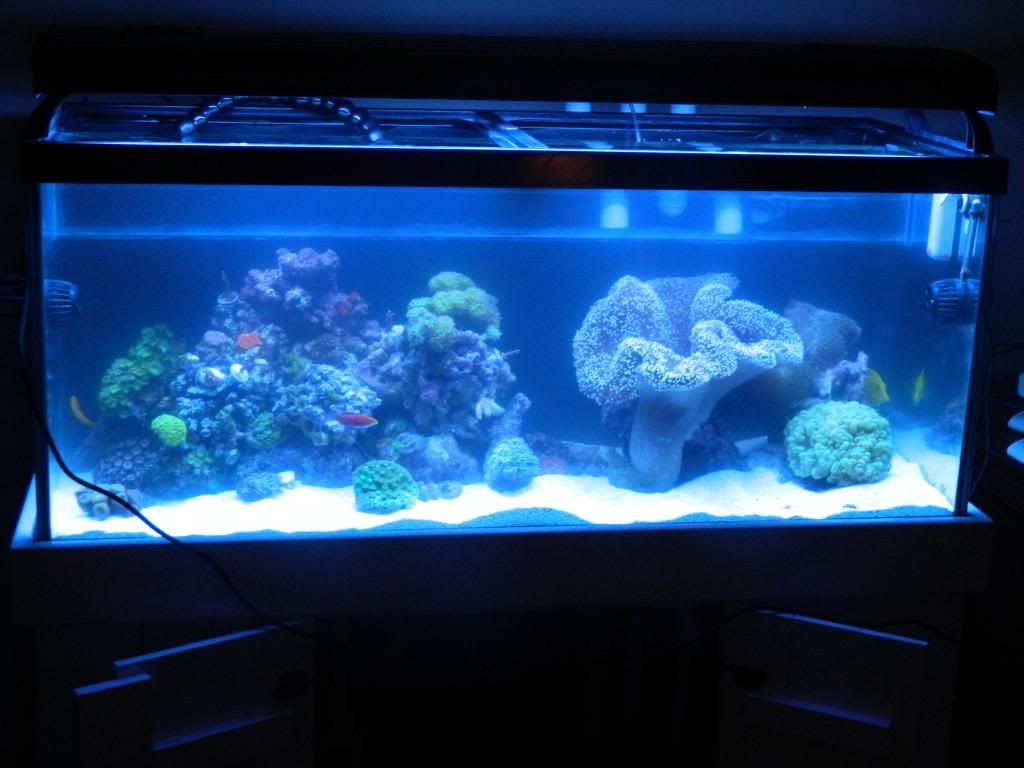
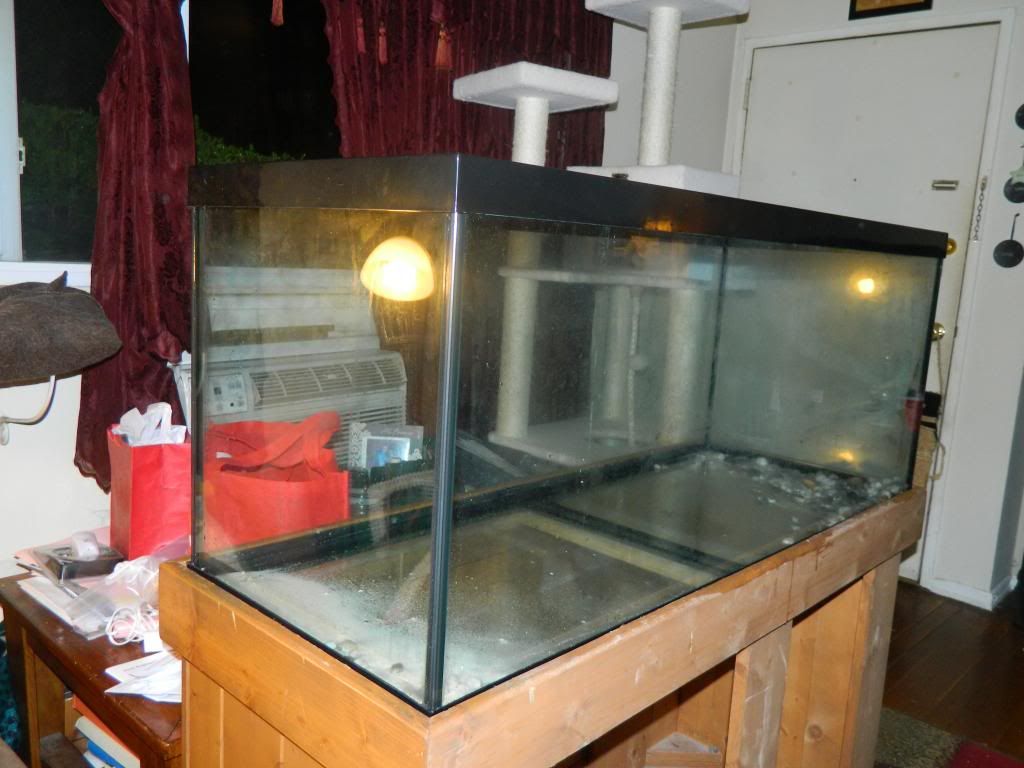
I got my 55 gallon from a friend about 4 years ago, for free, on the condition I make it a SW aquarium. I didn't know what a coral was at the time, so I said sure, how hard can it be..It came with a canister filter and a dual T8s. I promptly filled it up and start stocking fish and coral like they were going out of style. I'm sure you guys know how that turned out. After a year of GHA, Cyano, and livestock losses, I started researching. Little by little my tank started to come together. Here are some pics and videos of the 55. Some of my coral and fish are beginning to outgrow the narrow front-to-back dimension of my 55 gallon. So, thanks to Sunny (Monroereef), I picked up this Deep Blue 75 gallon and a stand for a great price.
015_zps16d32597.jpg
 
Last edited:
Now, onto the build. I am going with a Beananimal overflow. I'll be doing the full length coast to coast overflow box as well. The goal is to have it up and running within a month.
So far, so good.
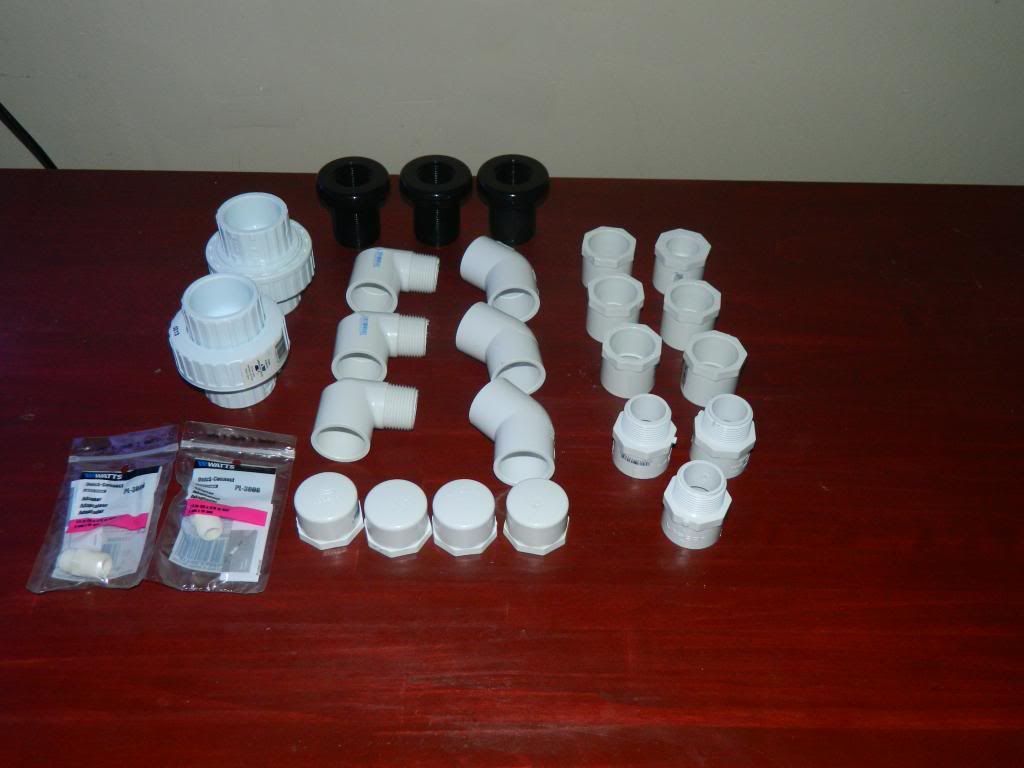
Random plumbing parts
048_zpsbda82c3e.jpg


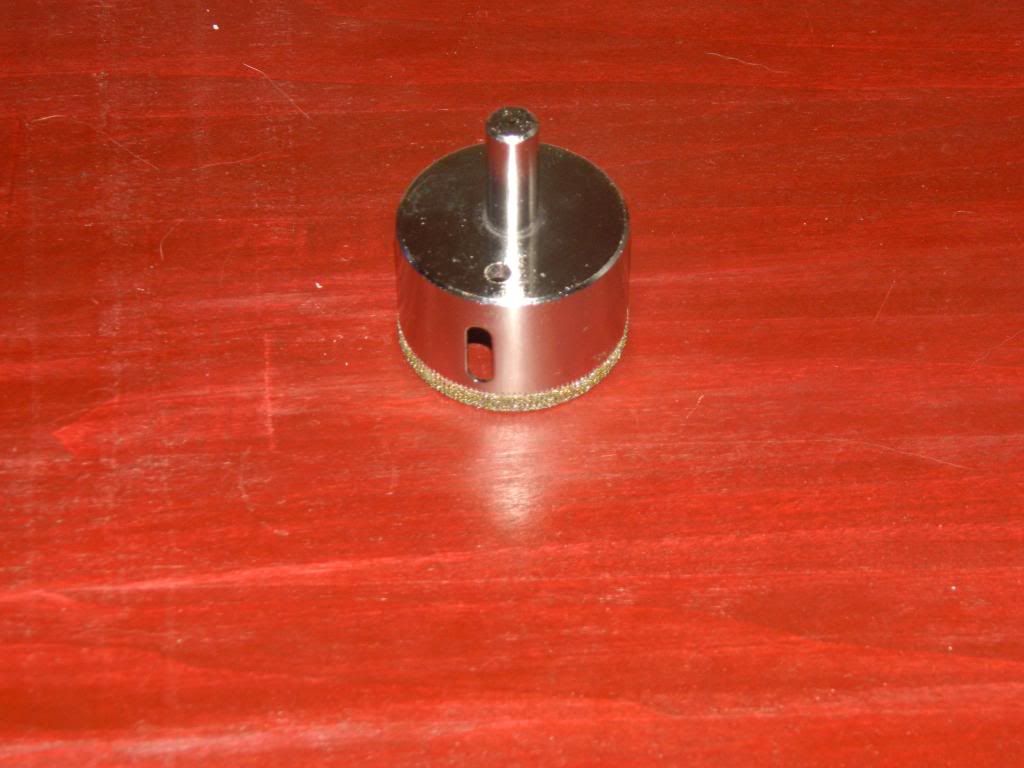
It took forever for my hole saw to come. I got it from ebay for about $13:D
003_zpsb0111274.jpg


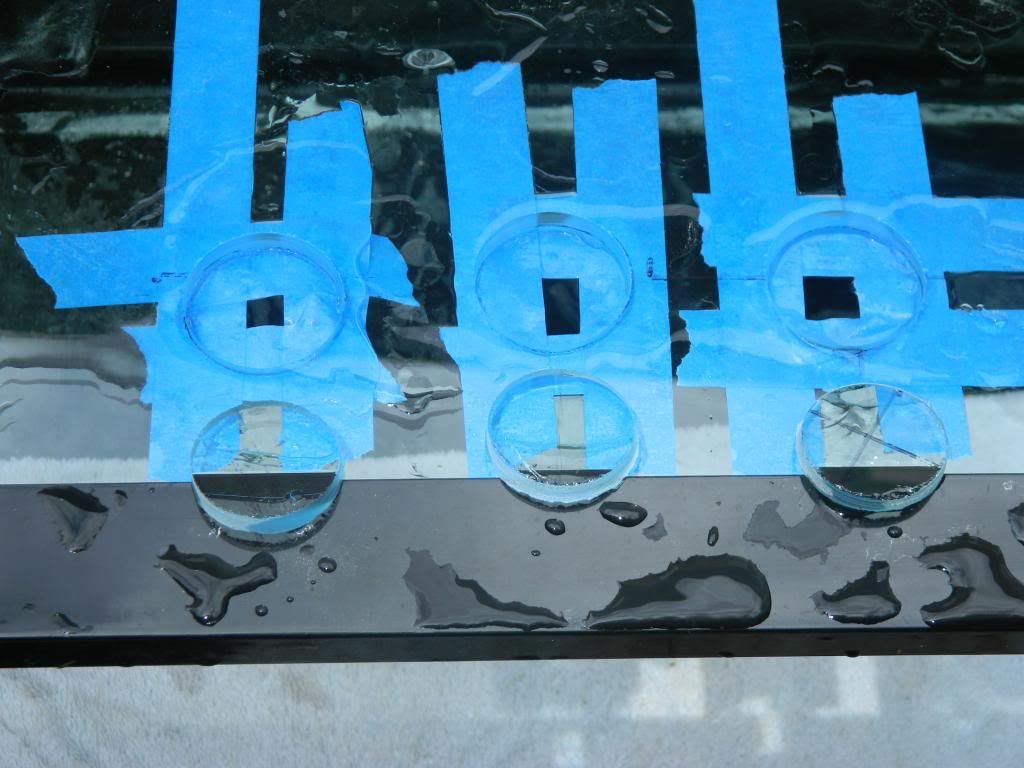
Yesterday, was the moment of truth. I drilled my three drain holes without a problem.
0032_zps5cbcfcbc.jpg


Today I'll be painting the stand and the back of the tank. More updates to come, hope you enjoy!
 

redfishbluefish

Officer Emeritus
Officer Emeritus
Looking real good….although the plumbing inspector will be looking for purple cleaner. :grin: Love the DIY projects with pictures.


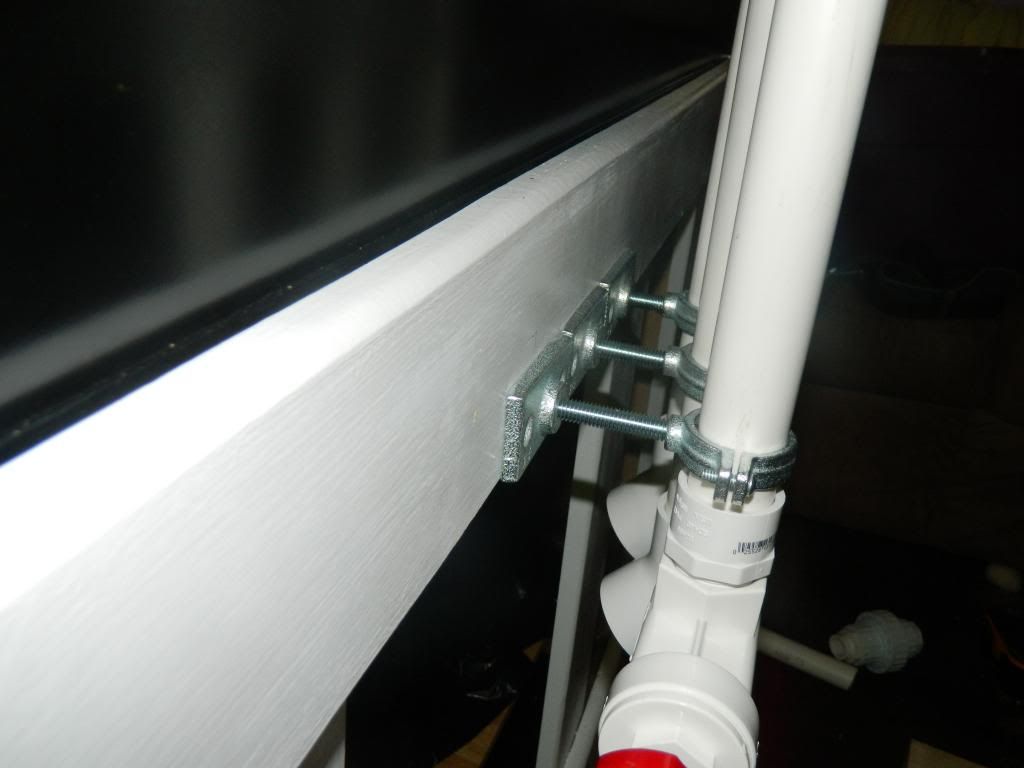
My only comment regards your stand-off pipe clamps….being metal, they are going to rust. I would suggest pitching these and making up the stand-off distance with a block of wood. Now clamp the pipes to this wood using PVC conduit clamps with stainless screws. The plastic conduit clamps are found in the electrical department of HD or Lowe’s, and are available in standard pipe sizes….1/2”, ¾”, etc.
 
Looks good, nicely done.
Thank you sir.
Looking real good….although the plumbing inspector will be looking for purple cleaner. :grin: Love the DIY projects with pictures.

My only comment regards your stand-off pipe clamps….being metal, they are going to rust. I would suggest pitching these and making up the stand-off distance with a block of wood. Now clamp the pipes to this wood using PVC conduit clamps with stainless screws. The plastic conduit clamps are found in the electrical department of HD or Lowe’s, and are available in standard pipe sizes….1/2”, ¾”, etc.

I was worried about rusting and the metal possibly wearing down the PVC over time. Thanks for the suggestion, I'll do that.
 
Canopy Plans

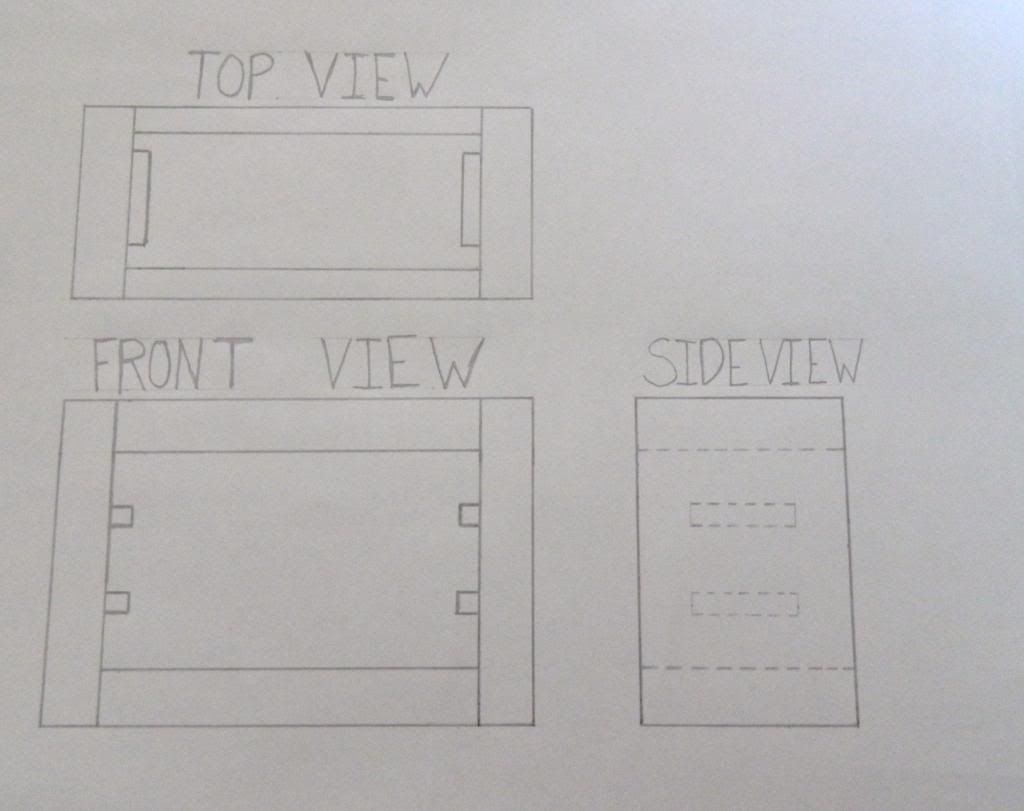
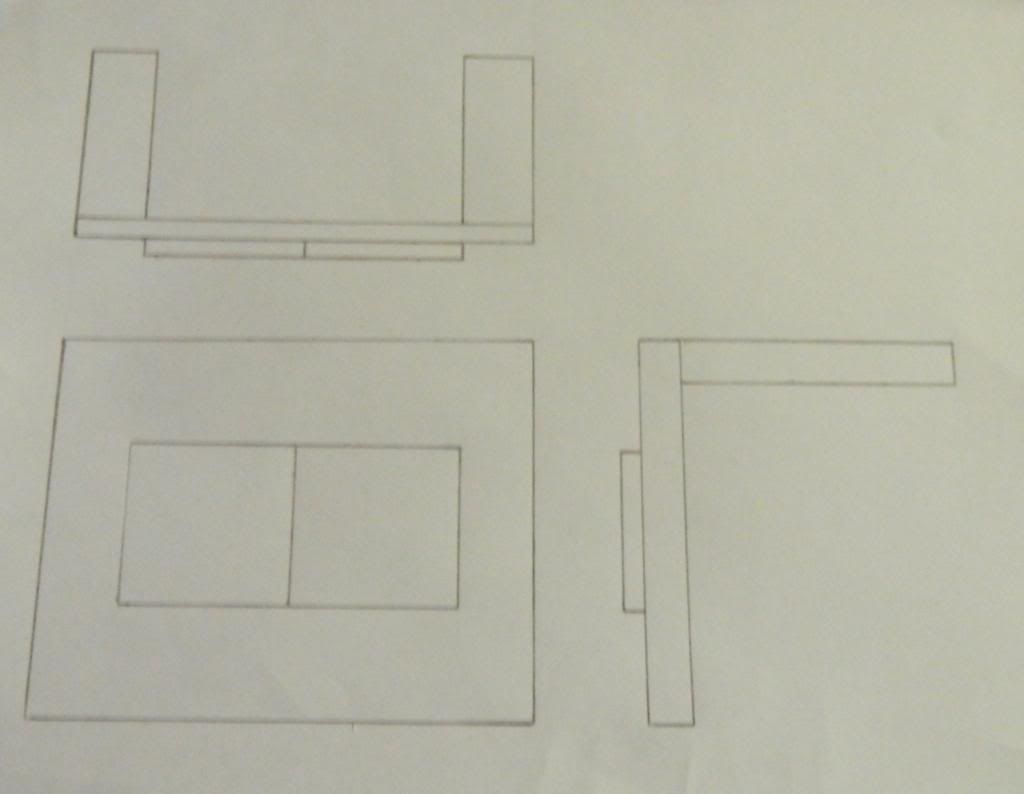
This is my plan for the canopy. The canopy will be two separate pieces. The front and top will be removable for water changes and such.

This is the structure or skeleton of the canopy which will hold the lights. The bottom "shelf" will support the lights and the top "shelf" will hold the lights during water changes and other maintenance.
001_zps30262774.jpg


This will be the face of the canopy. It will have doors on it for feeding. This is the removable piece.
012_zps851f4e06.jpg


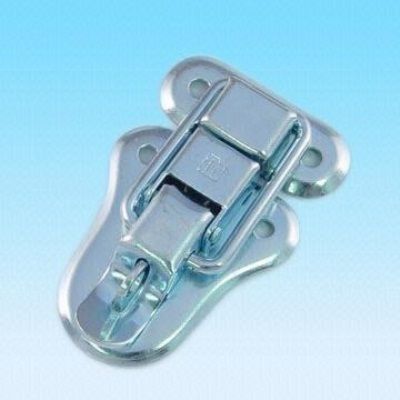
I'll attach latches on either side towards the back of the canopy.
chest_latch_zps62be920f.jpg


Thoughts and suggestions are always appreciated.
 
Chugging Along

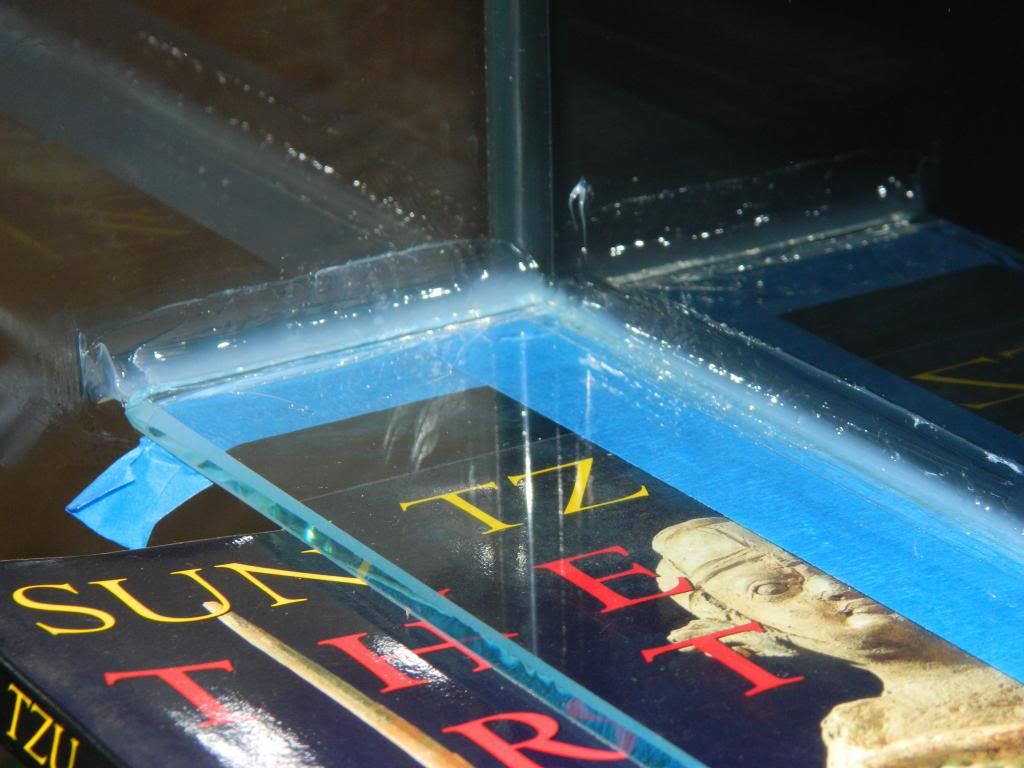
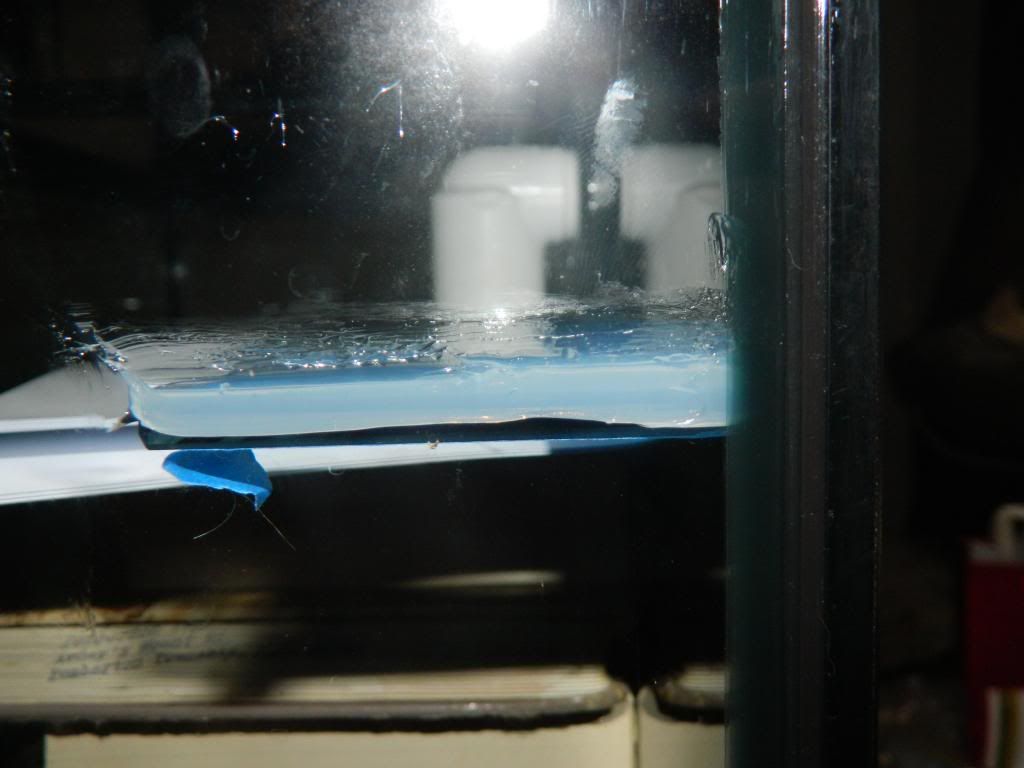
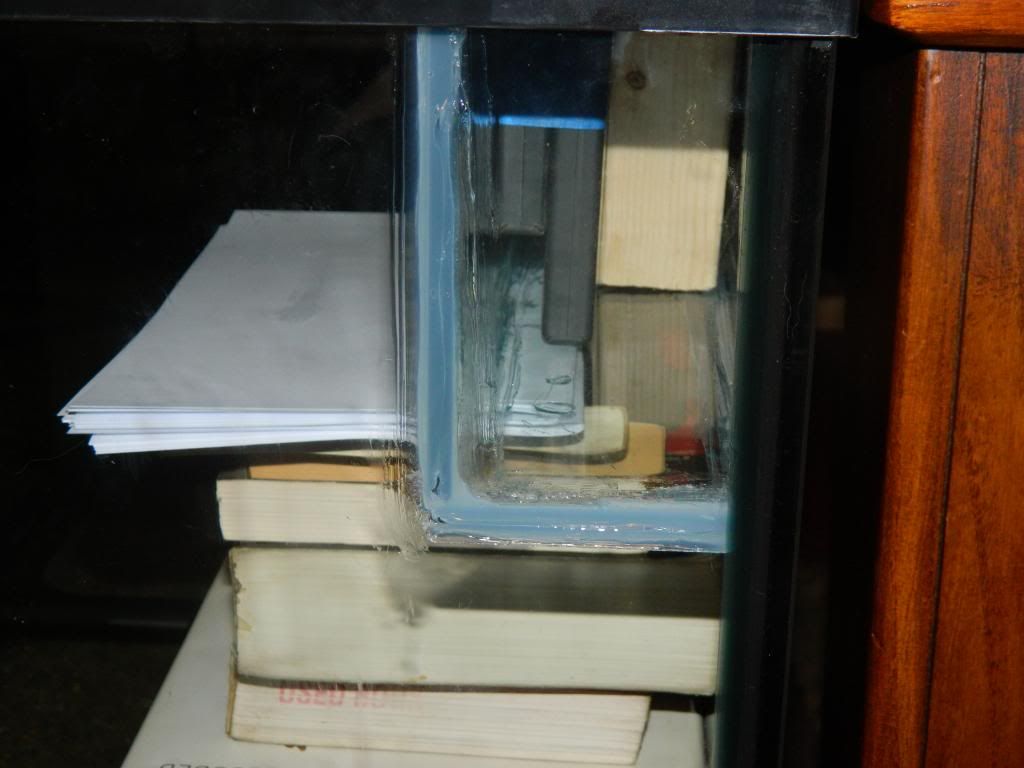
I got the bottom piece of the overflow box siliconed into place today.
This is what I'm using
0012_zps1593e879.jpg


I'm using all cutting edge technology to level the bottom of the overflow box.
012_zpsdfd106a3.jpg


I'm not good at siliconing but I think it will look good after I clean it up a bit.
009_zps95b0bab1.jpg


006_zps4b048681.jpg


008_zpsb0d171a9.jpg
 
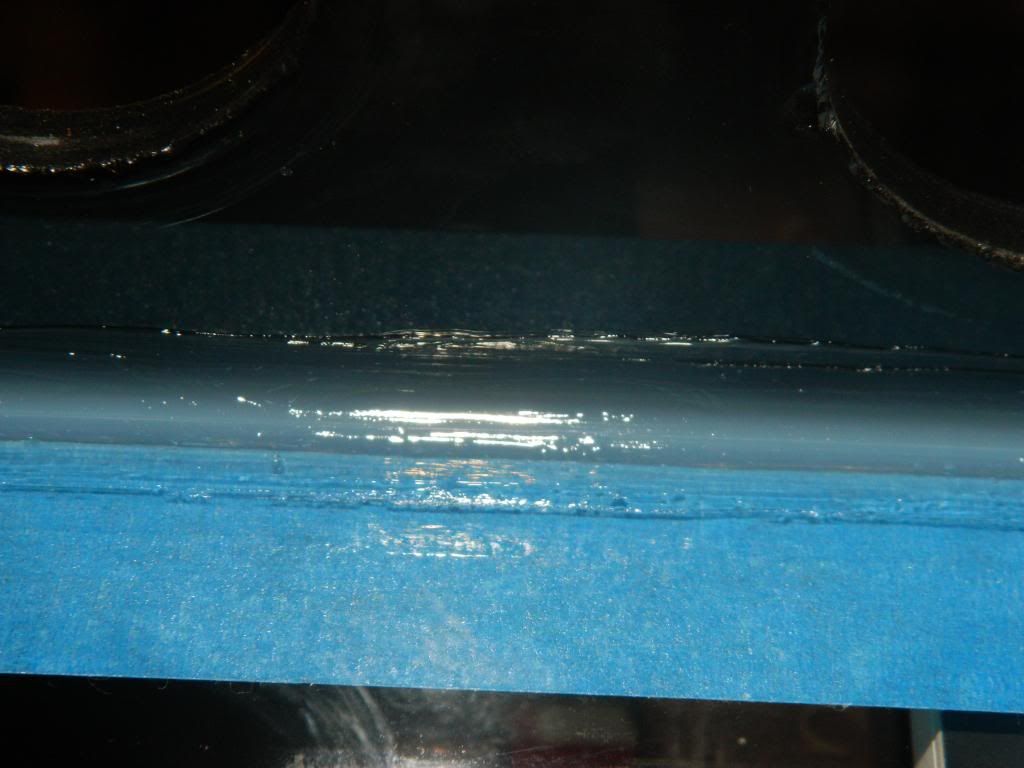
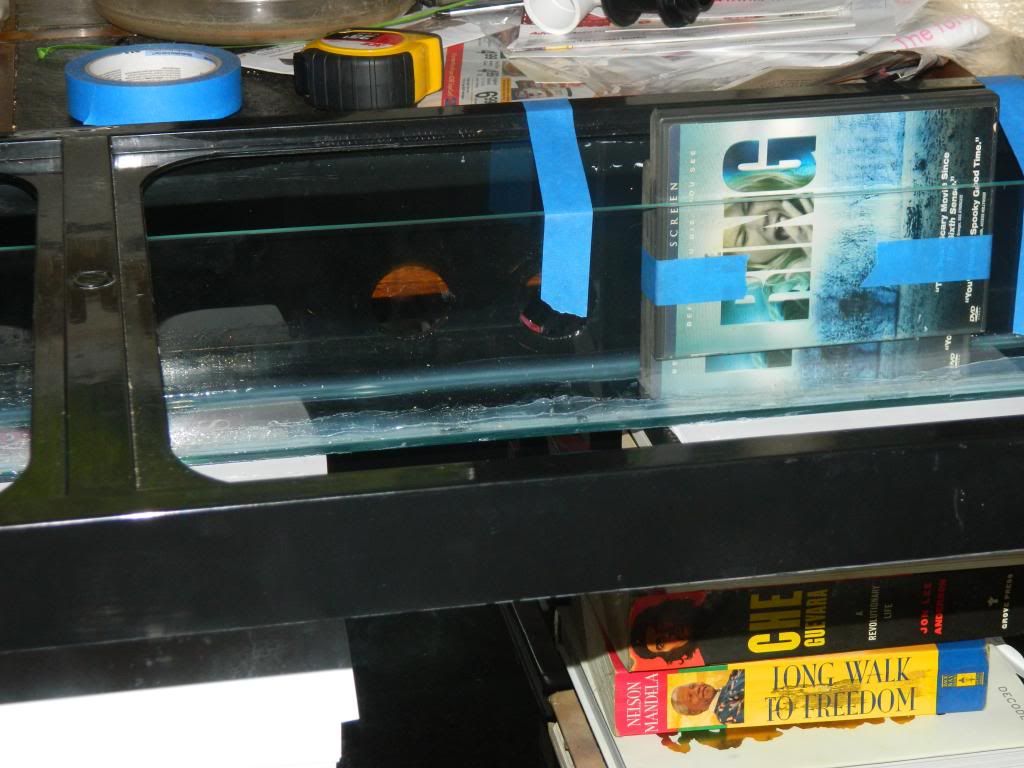
I got the entire box siliconed in today. I did a very sloppy job. I'll take a razor blade to it when it's dry to clean it up a bit.
001_zps45f99dee.jpg


002_zps1b25e58e.jpg
 

redfishbluefish

Officer Emeritus
Officer Emeritus
Great photos on your DIY….Ioving it!


My problem is that if I wanted to do this one I’d have to start reading more. :grin:

012_zpsdfd106a3.jpg


Good stuff!
 
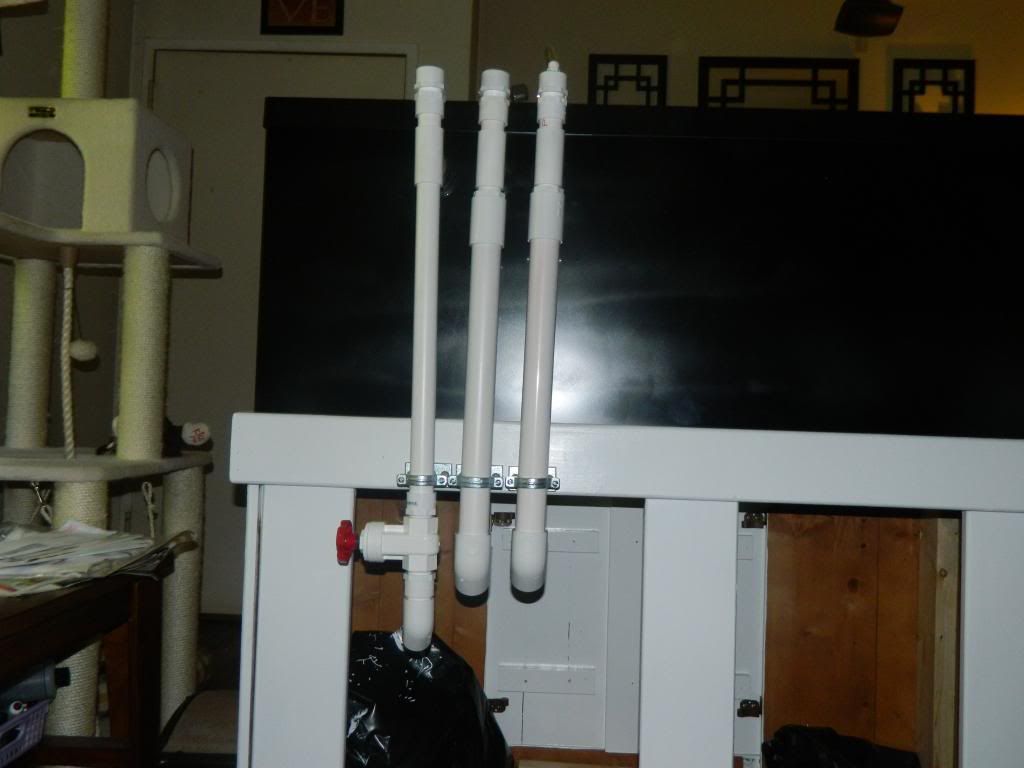
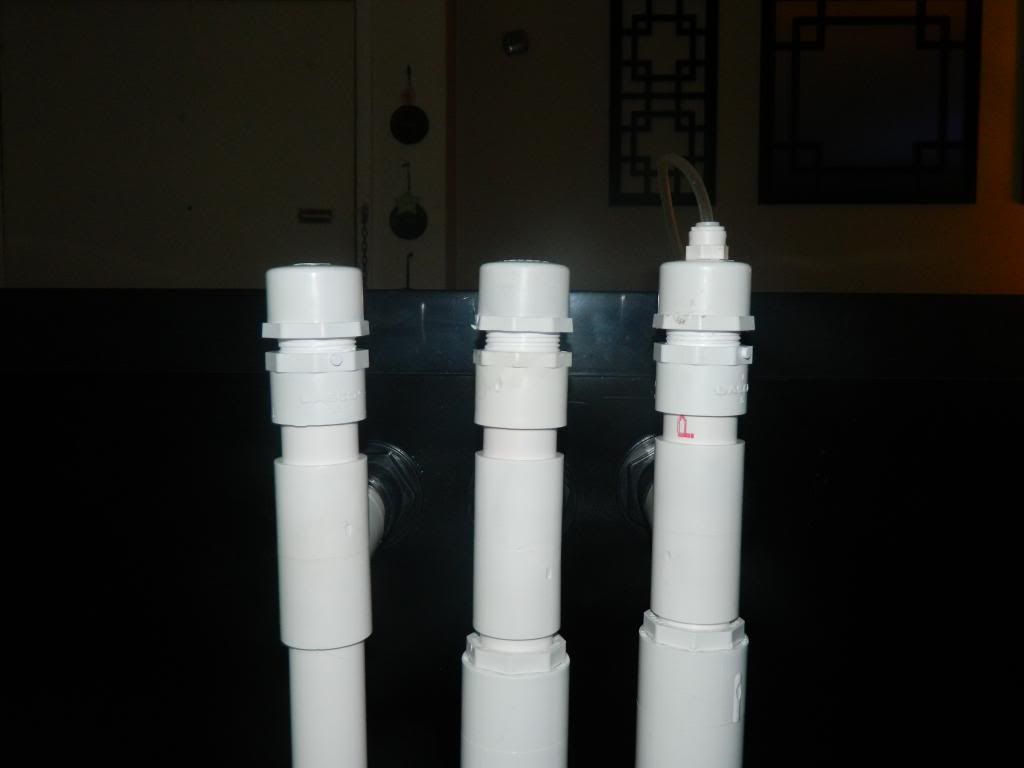
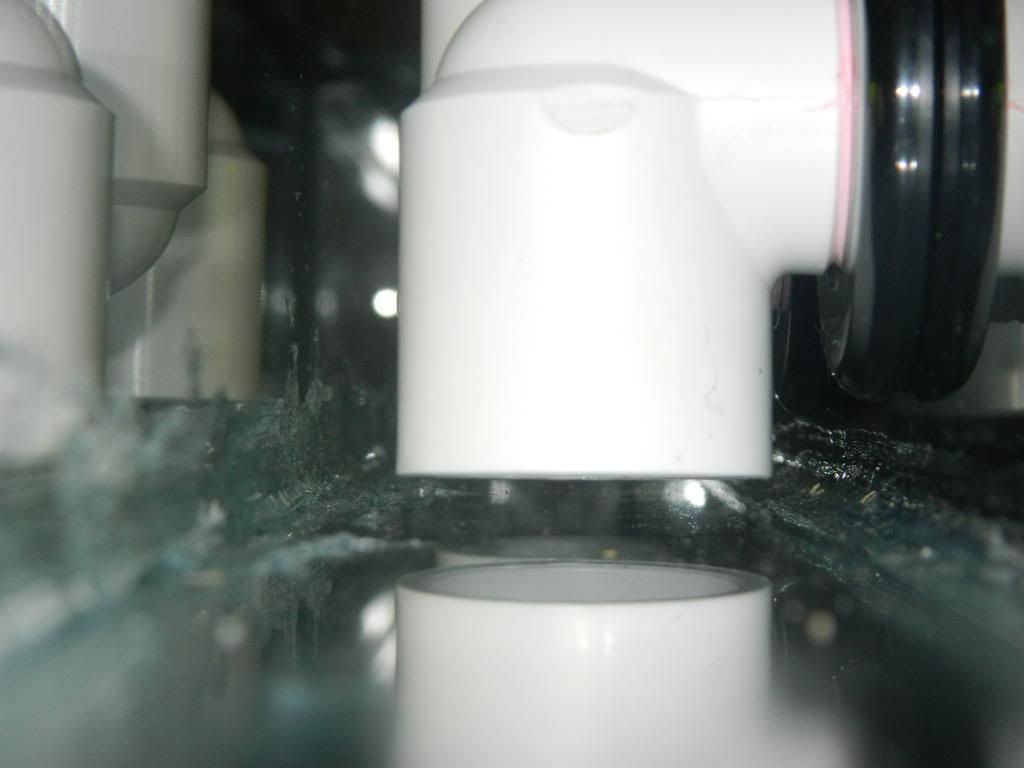
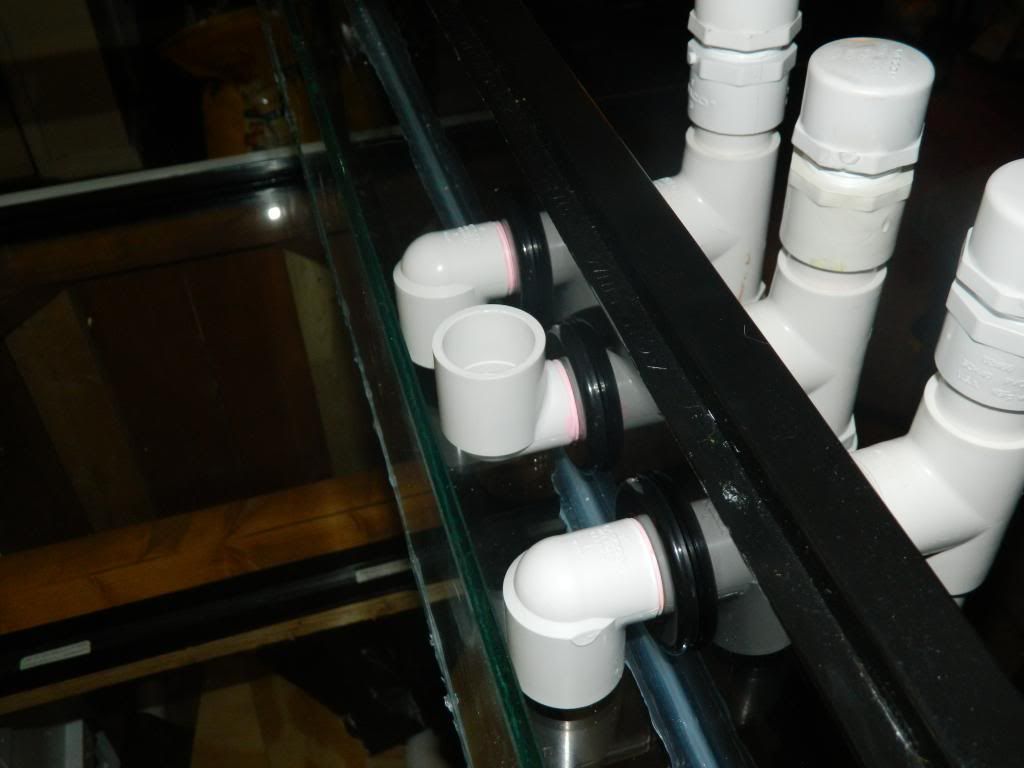
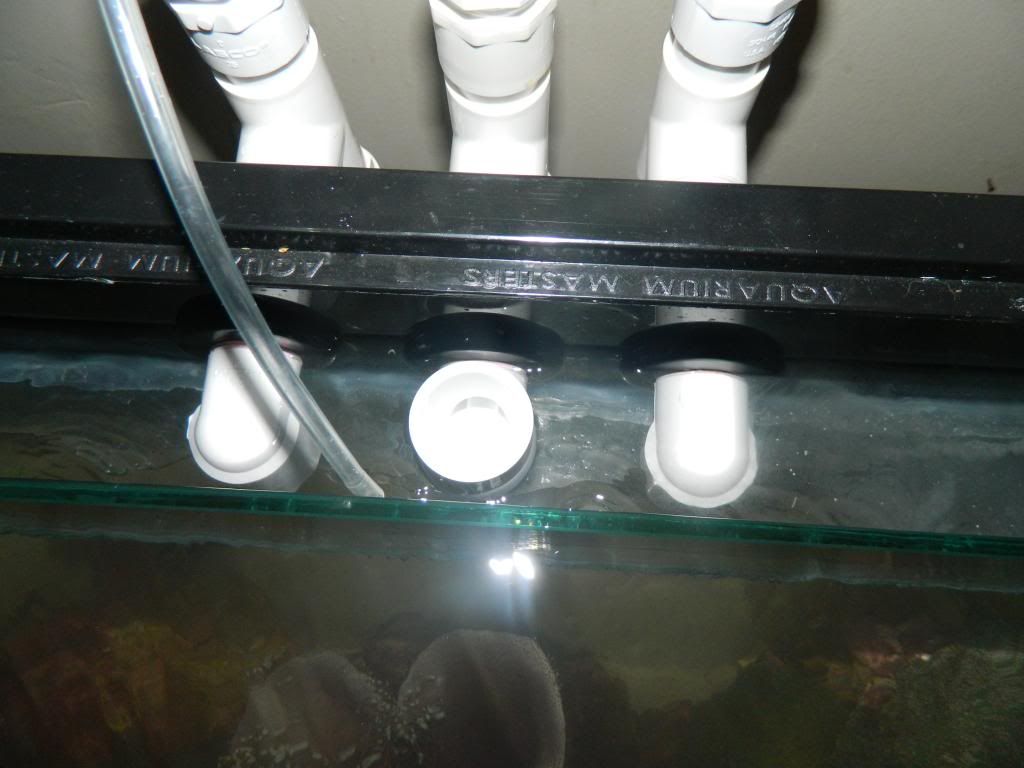
Today I got a majority of the plumbing glued into place. All threads are taped with heavy duty teflon tape(pink).
013_zps8c89d2b0.jpg


008_zpsa2c2079e.jpg


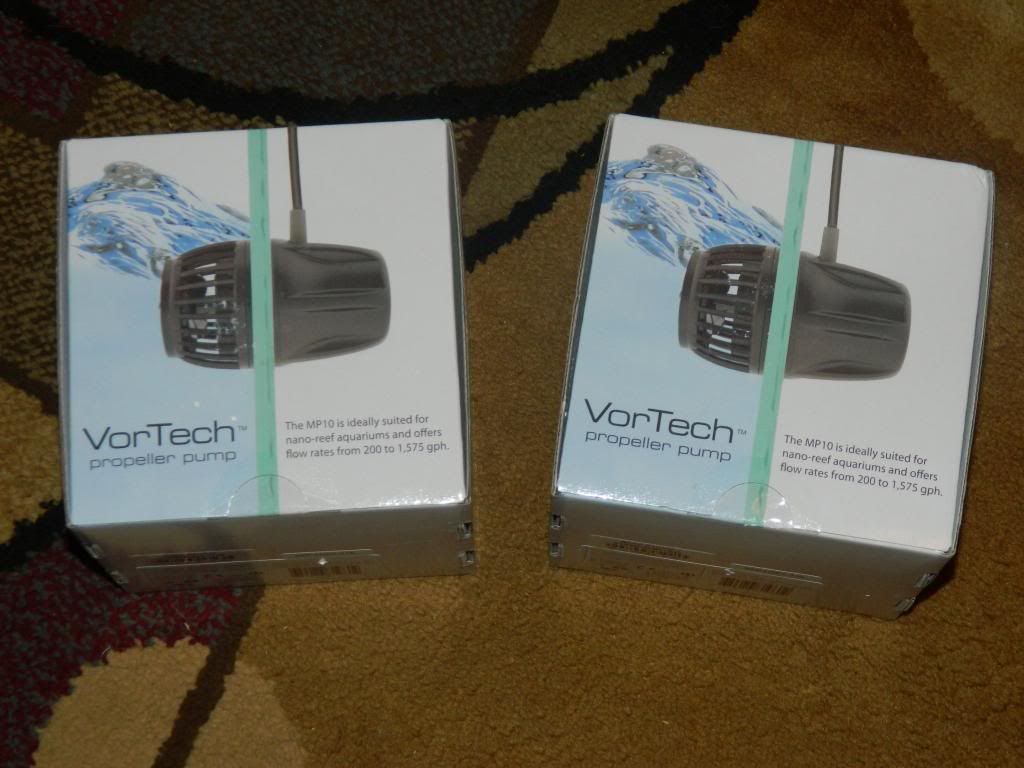
I also got some really cool toys in the mail today.
011_zpsd32ac8f4.jpg
 

redfishbluefish

Officer Emeritus
Officer Emeritus
Dirty, looking great. I’m not familiar with “pink” Teflon tape, but it just doesn’t sound like it should be “heavy duty.” :grin:


Now I’m not familiar with this overflow, but assume the two “down” elbows are the normal overflows, while the one “up” elbow is the emergency overflow if the “downs” clog or fail???

The down turned elbow to the far left is a siphon drain. Yes, the upturned elbow is the emergency. The other down turned elbow is an open channel(There is an airline tapped into the top of the standpipe). The idea is that the siphon is the main drain. I have a gate valve on that line to fine tune the system. Ideally, the open channel stays dry or takes on minimal water at best. Then of course the upturned emergency. All three lines would have to get clogged for a flood, I'm not the smartest guy in the world, but it seems like a great set up. Check out the Beananimal article I linked in the first post of this thread. It can explain much better than I could.

lol, why pink for "heavy duty"?
 
Transfer Success....well sorta

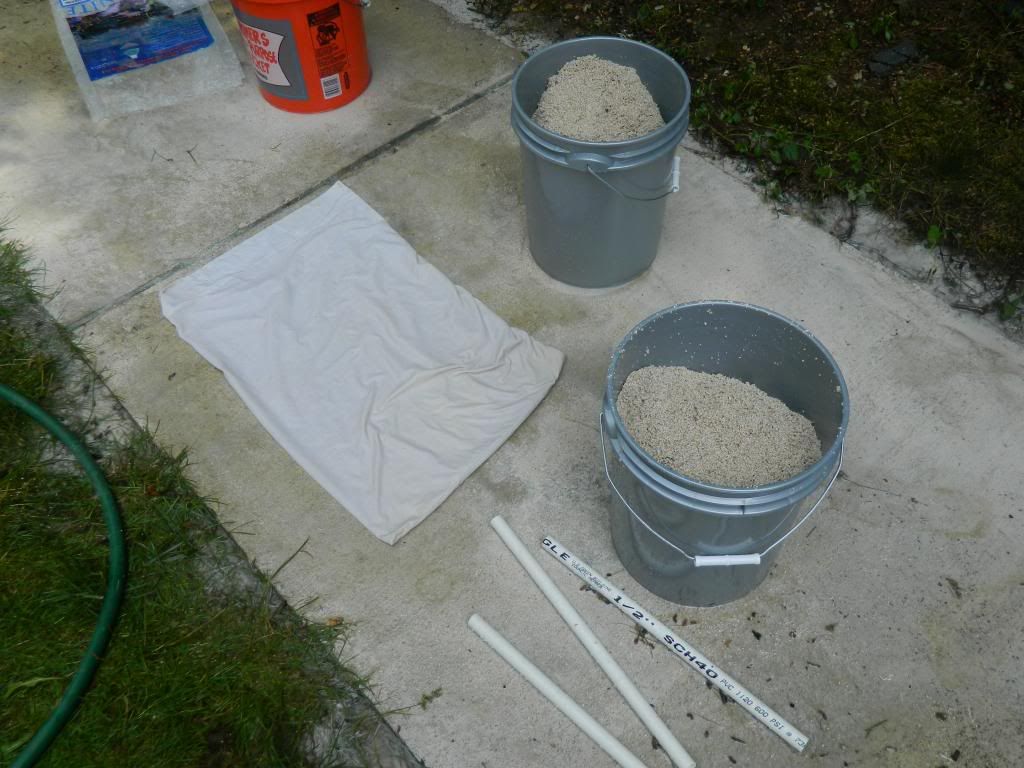
I started rinsing my sand in a bucket, about 4" in a HD bucket, and it took about ten fills and dumps for the water to run clear. I then dumped the rest of the 40 lb. bag into a pillow case. I blasted the sand while digging the sprayer deep into the sand until it ran clear. I read it somewhere and IMO it's the best way to do it.

010_zpsc3a421ef.jpg

P.S.
The RC sand calculator said I needed 60 lbs. of sand for a 1.5" SB. 40 lbs. was plenty.

Here I am placing some frags in the SB. My wife likes to sneak pics..
013_zpsc4543a5f.jpg


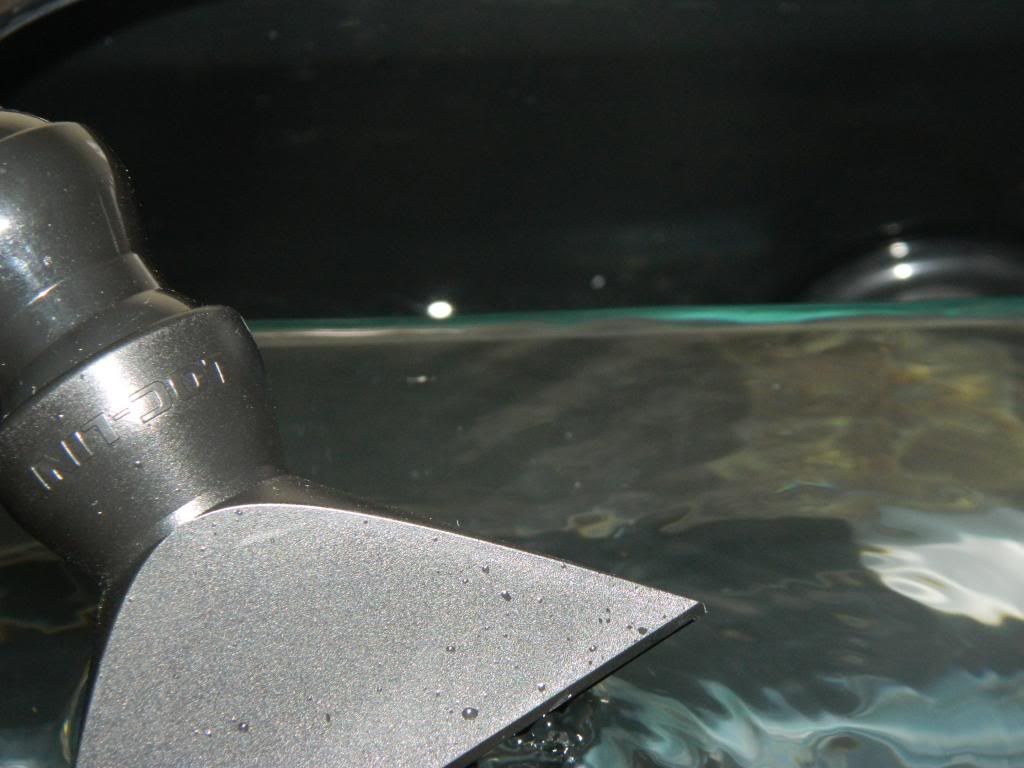
This is the overflow up and running. Water is spilling over the entire weir. It's kinda crazy how thin a sheet of water is spilling over. I was happy that I didn't have to shim the stand to level it. If anyone is thinking of a C2C overflow, it being level is key.
014_zps29420523.jpg


Top view of the bean at work. I'm not sure on how to fix the airline tube to the rim of the tank?
018_zpse73a1de2.jpg
 

horseplay

NJRC Member
You can ziptie the tube to the pvc behind it.

A more elegant solution is the following. Get a 1/2" length of 3/4" pvc. Cut along the length of the pvc so it becomes a clip you can clip to the rim of the tank. Then drill a hole in the pvc and thread the airline thru.

Sent from my ADR6350 using Tapatalk 2

Thank you for the ideas, I ended up just zip-tying it to the top of the emergency elbow.

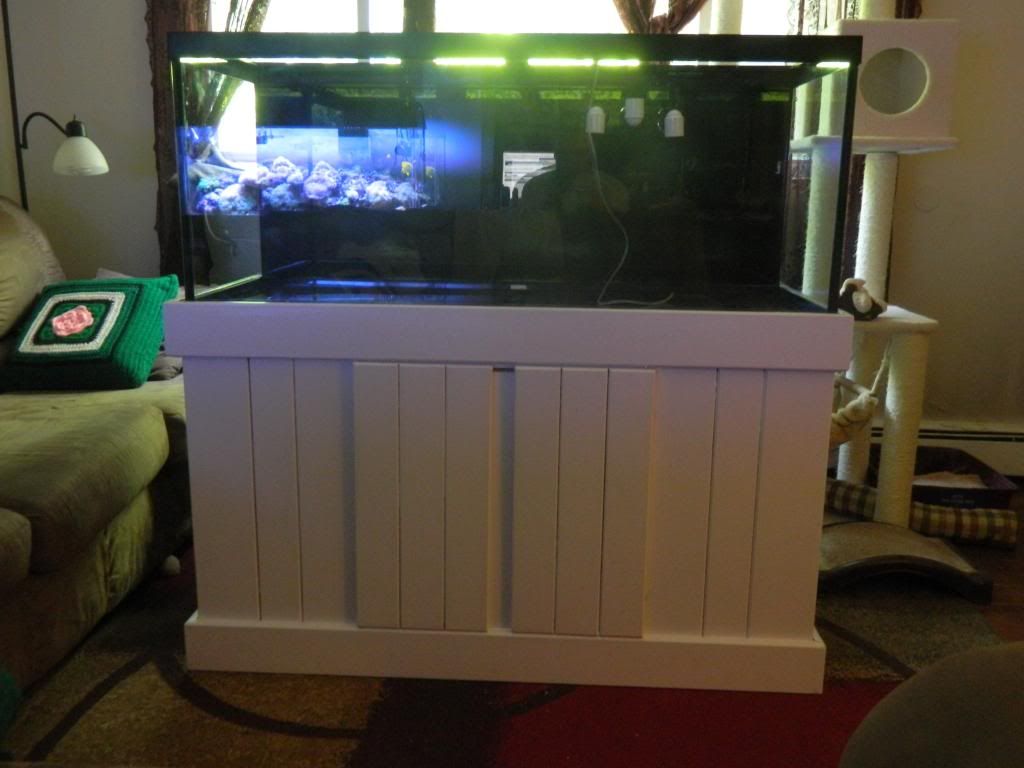
So I got her up and running and aquascaped. The water is a bit cloudy from moving everything around.
029_zpsc0429225.jpg
 
Top