• Folks, if you've recently upgraded or renewed your annual club membership but it's still not active, please reach out to the BOD or a moderator. The PayPal system has a slight bug which it doesn't allow it to activate the account on it's own.

Frankentank

Mark_C

Staff member
Officer Emeritus
NJRC Member
Moderator
So, no photos yet, just the idea.

Going to try to make a 40b all in one with scrap materials, donations, stuff on the cheap, and the stockpile of aquarium crap in the garage.

Goal is a kick arse tank for $100 out of pocket or less.

Here’s what I bought:
40b ($40)
40b stand ($40)

Here’s what I came up with digging about:
2-3 old return pumps
2 powerheads (1 Tunze new in box)
3-4 old heaters
An old Mazarra Razor light
lots of plexi scrap
2 unopened tubes of silicone (GE)
eggcrate scraps
starboard scraps
1 1/2 cans pond foam (good stuff)
1/2 sheet of black pond foam
tons of spraypaints
2-3 containers of epoxy
A container full of fittings that fit nothing
a few old salvaged bulkheads
a 5g bucket half filled with aragonite sand (curing now)
loads of PVC fittings that also seem to fit nothing

Today’s plan:

1) Going to go cut some scrap plexi and make a false wall for the AIO system.
The plexi is quite this 1/16-1/8” but, as it will have the same water pressure on either side, I think it will be OK.

2) Attempt to cut eggcrate to spec to cover back wall and the AIO wall, then cover with foam and good stuff to begin a rock wall build.
 

deepblue68

POTM Winner
look forward to seeing your build.i just put together a 40b with stuff I had In the basement from another system I shut down and some trades from other NJRC members.

Sent from my SM-G930V using Tapatalk
 

Mark_C

Staff member
Officer Emeritus
NJRC Member
Moderator
Untitled-1.jpg
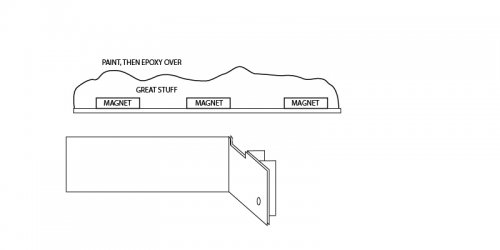
Just found magnets.

If I build the back wall from GreatStuff on acrylic, I think I can incorporate them into the back wall build, then can simply magnet the background onto the tank...
 

Mark_C

Staff member
Officer Emeritus
NJRC Member
Moderator
Well, needed 2 more cans of Great Stuff, now at $96. Got a $4 budget left.

Here's todays's progress...

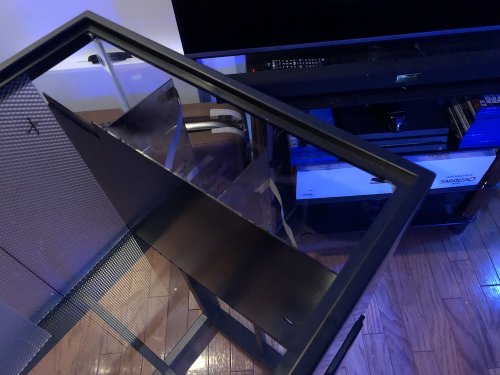
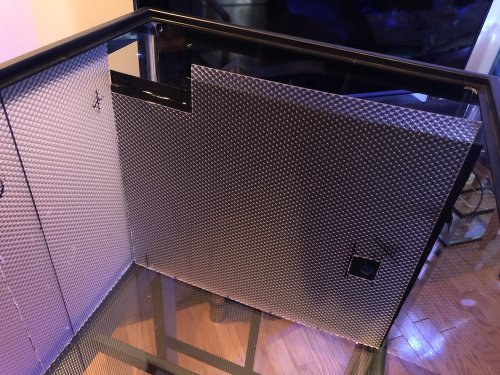
The AIO mechanism around noon...
IMG_8726.jpeg

And set in place around 5 (we work quick here, though it is drying).
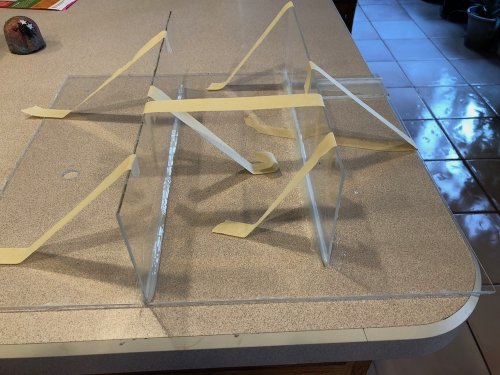
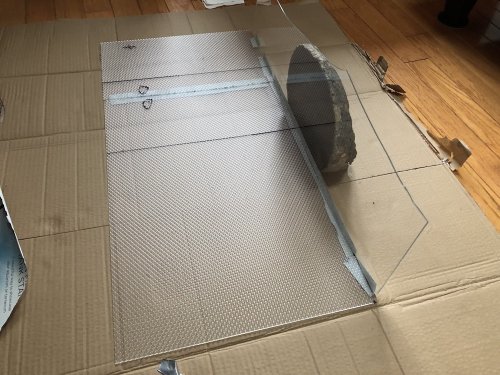
You can also see that I'm measuring acrylic to create the back wall, going to need to use multiple pieces glued together...
IMG_8732.jpeg

Bit more measuring and fitting for the AIO wall cover...
IMG_8733.jpeg

Back wall laid out and ready to get gopped up.
I used a pice of scrap acrylic at 90 to, a) keep the Great Stuff from getting too out of control, and b) to allow rocks to sit on it to help weigh the piece down...
IMG_8734.jpeg

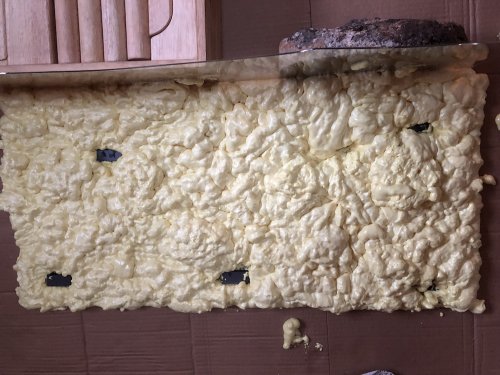
And the gopping begins (note the magnets being hidden under the Great Stuff...
IMG_8735.jpeg

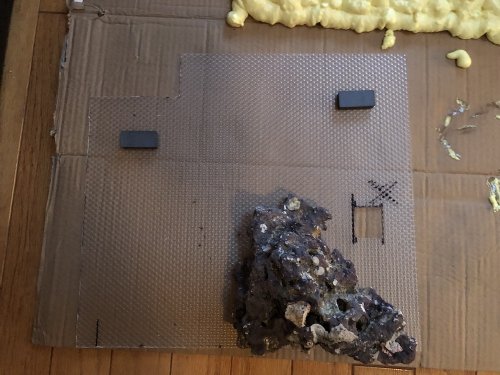
Here's the layout for the AIO wall cover, I'm using an old piece of rock for weight.
Those magnets will technically have to be secured from inside the tank on the opposite side of the AIO wall. I have a few old Tunze mags from previous ATOs that should do the job.
IMG_8736.jpeg

And here's the two wall pieces totally covered...
IMG_8737.jpeg

Next few nights will be carving and painting the wall sections.
 

DEL

President
Staff member
Board of Directors
NJRC Member
Moderator
following !! this is interesting!!

Sent from my SM-N960U using Tapatalk
 

Mark_C

Staff member
Officer Emeritus
NJRC Member
Moderator
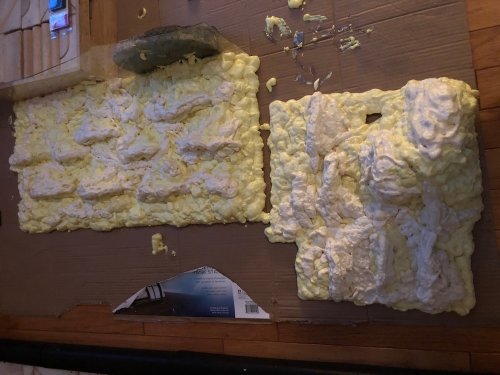
Carving night.

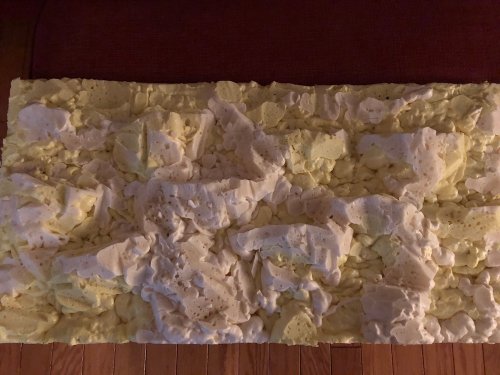
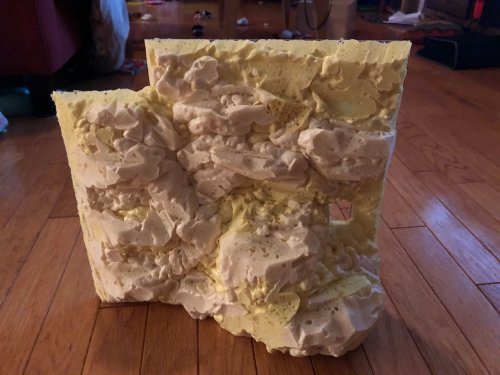
Here's some advice if working with 'Great Stuff'. It expands, a LOT.
After drying, the walls were over 6" deep. I took a knife to them and cut back about 50% of the foam.
Also, some advice, if doing this, cut randomly. I tried to 'make' it the way I wanted and it looked too manufactured.
Random jabs, cuts, and rips seems to do well.

IMG_8740.jpeg
IMG_8741.jpeg
IMG_8738.jpeg
IMG_8739.jpeg

For the end of the night I'll be plugging up holes in the foam before painting.
Have to ensure no water can leak in once sealed.

May consider covering with a thin layer of plaster, then paint, then epoxy. Will sleep on it.
 

Mark_C

Staff member
Officer Emeritus
NJRC Member
Moderator
Rockwall prep and info.

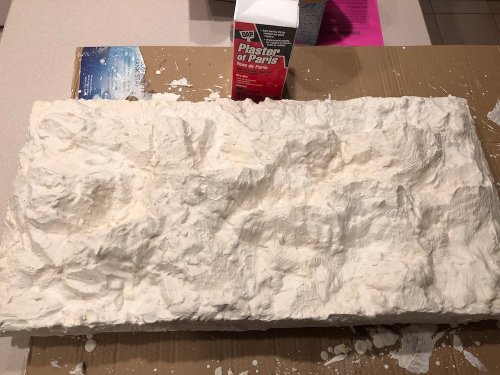
So, carved a bit more and used plaster of paris to coat entire foam structures.

IMG_8746.jpeg

NOw I'm in a place I'm worried about. Obviously I can't let this come in contact with water, so i need to waterproof 100% down to the pinhole.

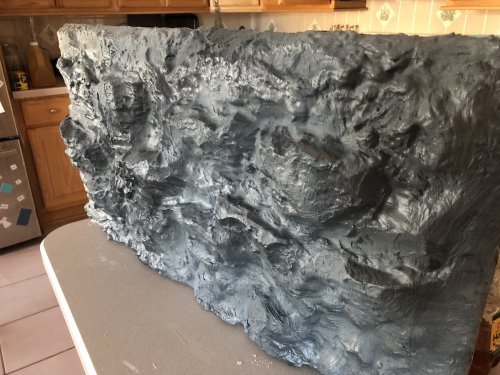
My initial idea was to paint the entire wall with Krylon, which I started on the long piece...

IMG_8748.jpeg

Then coat it with a polyurethane, or, after research, some Pacer Technology Z=Poxy Resin, which has a good rep with tank decor coating...
https://www.amazon.com/Pacer-Techno...899285&sr=8-1&keywords=pacer+technology+resin

But, I was wary as the resin is thick, a lot is required, and it is clear.
I wasn't sure I wouldn't miss a spot or two.
Began considering fiberglass, various epoxies, enamels, etc...

Then found this stuff, Drylok...
UGL | Latex Base DRYLOK® Masonry Waterproofer

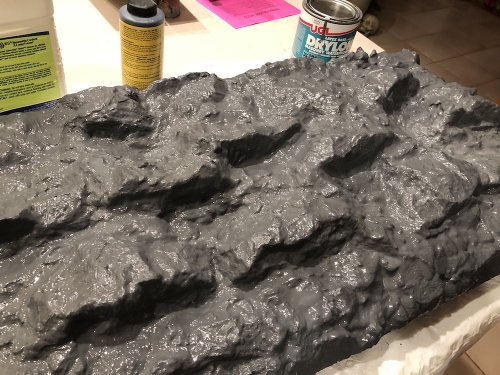
In researching, seems there's a lot of positive info in relation to using it in aquariums, fresh and marine, its rated as fish-safe as its oft used in pond construction, and applied per instruction claims 10+ years of waterproofing at pressures up to 10psi.
Note: the blue can pictured is the safe one, other varieties have anti-fungals, mold retardants, etc and are not fish-safe.
I also bought some Staycrete liquid concrete dye (in charcoal) to tint the drylok, as it is white.
It paints on thick and sticks, yet is easily brushed on, its an ideal coating.
So, first coat on the back and side wall tonight.
Next few days we'll be doing multiple coats and then using krylon to bring out rock-like appearances.

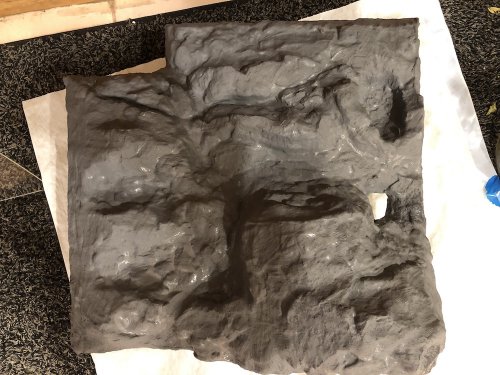
Here's the Drylok applied to side and back walls...

IMG_8749.jpeg
IMG_8750.jpeg

And the Drylok put me back $7, the tint $6, and the cheap brush $1.

My $100 budget is blown as I'm $10 over.
 
Last edited:

MadReefer

Vice President
Staff member
NJRC Member
Moderator
If I only saw this sooner. I have 2 cans of great stuff sitting around as we used it to make structures for my son's reptiles and over bought, was on sale.
 

Mark_C

Staff member
Officer Emeritus
NJRC Member
Moderator
All,
Thanks, this is engaging

mnat,
Wall growing will be enforced through intimidation.

MR,
Thanks much. To be honest I'm going to go with pond foam for the base of the next build and carve with hot wire. Then use Great Stuff to make custom contours and shelves.
It's a pain to carve out and fill gaps once its expanded.
 
Last edited:

Mark_C

Staff member
Officer Emeritus
NJRC Member
Moderator
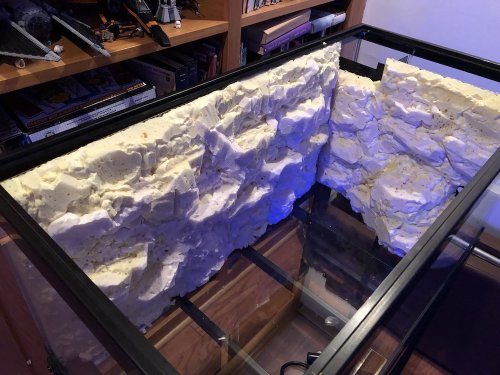
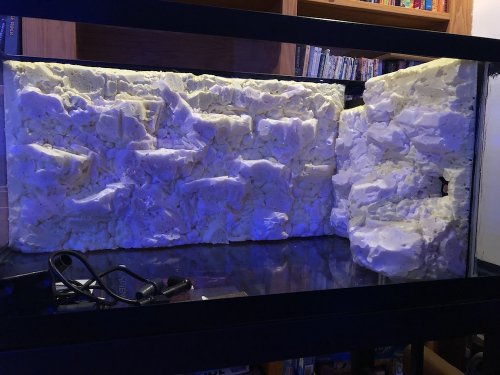
OK, so, I decided to hold off on the rockwall pieces as I made a serious design error, which is OK, as I've learned.
Engineering = learning from failures.
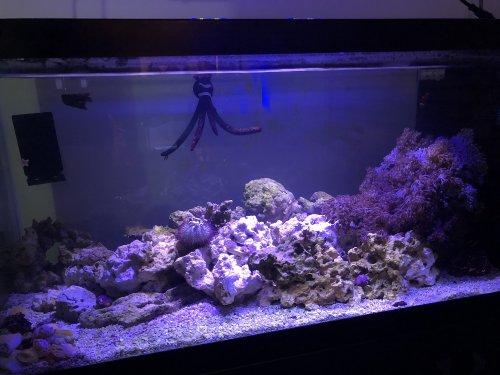
BUT! The tank is still go and is still holding up well.

As detailed in another post I was having trouble keeping xenia alive in the new build, so I ran the phosphates up by hanging large chunks of nori on a clip and moderate overfeeding, the tang and the Cuc is appreciative, they sent me a fruit basket.

Stock - a juvenile saddle clown, a juvenile toomitang, 3 shrimp, 1 emerald crab, 1 small urchin (to move to big DT when time comes), and a handful of snails.

For the back wall I've glued in a few plugs of GSP (below the rockline) to see if they will take.
For the right side wall in the photo, I've backed the xenia rock up to it hoping it will take.

IMG_9062.jpg
 
Top