• Folks, if you've recently upgraded or renewed your annual club membership but it's still not active, please reach out to the BOD or a moderator. The PayPal system has a slight bug which it doesn't allow it to activate the account on it's own.

The 120 I said would never happen

horseplay

NJRC Member
Mark - Looking forward to seeing the build. Only thing left in my original system is the 60g tank that I used to keep RO/DI and used as ATO reservoir. It has a small hole drilled to mount the float switch. You're welcome to come get it. I had the whole thing automated as you remember. Time in the weekend is hard to come by these days but if you want to talk about the build feel free to give me a call.

I would ditch the sump and get a 40 breeder or something bigger. If your tank is upstairs when the pump stops running a lot of water drains into the sump so you want a bigger one that you would normally would.

One benefit with a basement setup is the ability to have dedicated tanks for each function. One for refugium, frag tank etc ... You will have a ball no doubt :)
 
Well either way ill still try and give you a hand and drink your beer. I took a fee class in architectural drafting back in the day so I can sketch or doodle I think. Lol
 

Mark_C

Staff member
Board of Directors
NJRC Member
Moderator
The failed hanger projects
Episode 1: The Kessils

So, as many of you folks know, I'm into the fun of building the tank more than the maintenance of the tank, which is odd as my tanks thrive beyond belief while the structures around the degrade or collapse.

I had purchased a controller unit and 3x 360we units for the tank (initially).
I decided that instead of paying outrageous prices for a mounting solution I would simply build my own unit.
I should know better by this point, yet I continue.

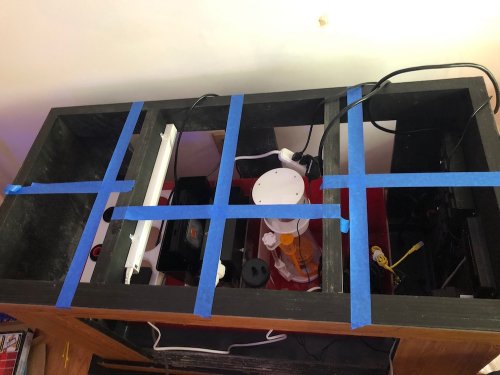
I mapped out the optimum placement...
IMG_9190.jpeg

I purchased a ton of PVC and proceeded to cut pieces to spec...

IMG_9191.jpeg

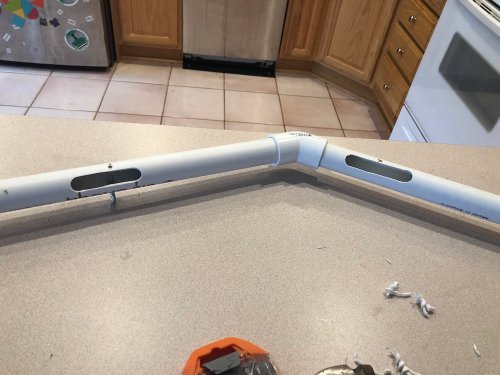
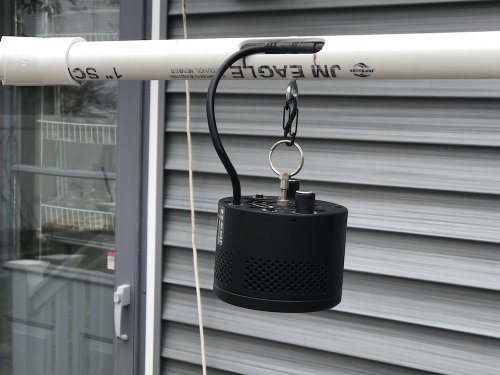
Cut wiring holes and mounting hooks...

IMG_9193.jpeg

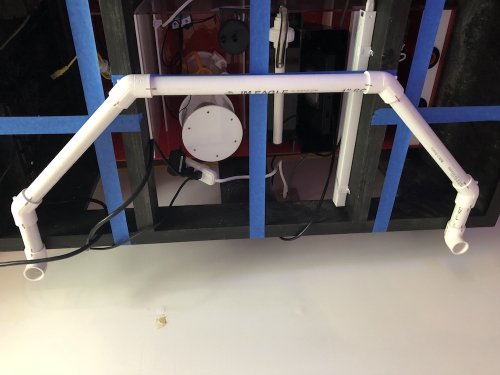
Wired the test run through...

IMG_9196.jpeg
IMG_9197.jpeg

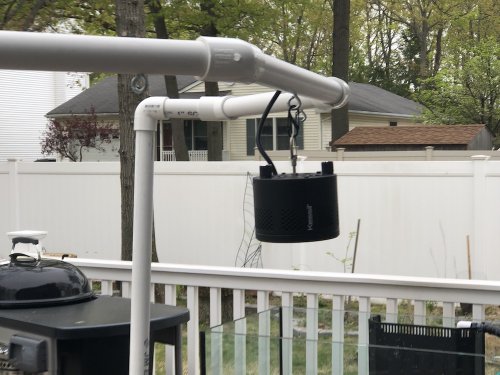
And, in the end, the cement partially failed and the unit, even at 1" pipe, would bend considerably , even with the minor weight of 3x Kessils.

The last picture here would be the PVC scattered around the yard after I dragged it outside in pieces and threw it off the deck in an Irish temper sort of way.

Ends up this may have been good.
The Apex system didn't work out and I decided to stick with my Hydras.

Advice: PVC schedule 40 at 1" for minor weight does not work even if extending only 1' over the tank. Schedule 80 or 1-1/2" pipe may work but gets bulky.
 
Last edited:

Mark_C

Staff member
Board of Directors
NJRC Member
Moderator
The failed hanger projects
Episode 2.0: The AL hybrid 36" with 3x Hydras

After deciding to go with the Hydras (I picked up 2 more), I needed a hanging solution for the unit and refused to pay the ridiculous prices for a couple of arms.
I should know better by this point, yet I continue.

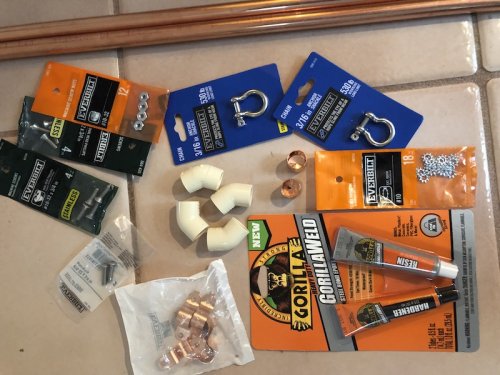
After my $50 failed Kessil Experiment I dropped a few more bucks on some copper and plastics...
IMG_9216.jpg

Note I could have soldered the copper together instead of using the PVC fitting, but I wasn't going to drop $70 on a blowtorch.
I decided to go with the GorillaWeld which claimed to easily merge metal and PVC to a rock solid bond.

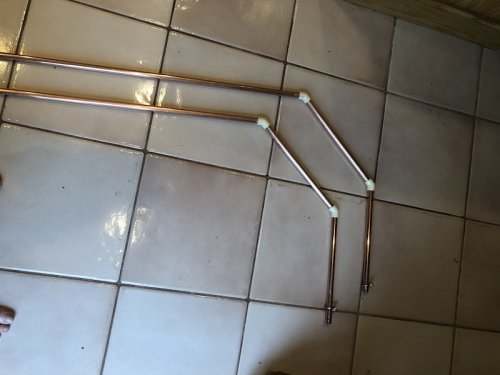
Cut and glued, looked great. A coat of paint and we're off to the races...
IMG_9217.jpg

And, after 2 days curing the slightest pressure pulled the rock solid bond apart.

So I'm about $100 in at this point to avoid spending $120.

NEW FOLKS! NOTE THAT LAST LINE.
This is why you spend in this hobby. Skimmers, lights, etc, don't skimp or it will undoubtably cost you more in the long run!
Do it right.


Now, excuse me while I try to find another home-made solution.
(I'm beginning to think this part is actually my hobby, the tanks are secondary)

Advice: Copper may be a solution but needs to be soldered with a blowtorch. I was told of 3 glues that claim to bond copper to PVC and was told they dont work, tried a 4th option and it didn't work either.
Also, I used the thin 1/4" copper and it had some bend on the unit (about 10 degrees with the 10 pound light) 1/2" round copper of the higher weight would probably have worked much better.

 
Last edited:
That was a great read. I hope you hob together your whole system. I am the same way. Stuck six old tanks together to get where I am at. But you explain you motivation and frustration with a pizaz. Best of luck on your build. I’m sure it will be spectacular
 
How about some 80/20? It's not really cheap but it typically looks good & can be repurposed. Or possibly a rail for hanging track lighting with a few screws / hooks to hang them if you have a reachable ceiling above it?
 

Mark_C

Staff member
Board of Directors
NJRC Member
Moderator
Sponge,
Thanks so much for the offer, but I'm off on tangents already.
Depending on where this goes I may well be back to 1" copper.

Harth,
I looked into the 80/20. I'm looking for a mount system that can attach to the stand, not bend under weight, and is reasonably priced and has potential of quality.
When I scoped 80/20 I thought I'd look around a bit as the cost is a bit steep, even with minimal hanging solutions.

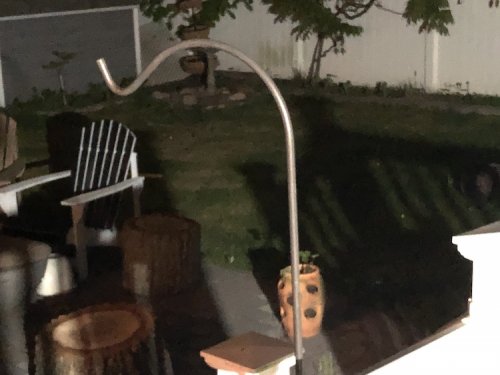
Oddly enough, just after last post, I ventured onto the back deck with a beer and saw this...

IMG_9222.jpeg

Its a $12 item, I secured it to the side of the house with the scientific method of putting my foot against it while pulling down, and it wouldn't budge.
Plus my wife has 2 of them out there...

Stay tuned for: The failed hanger projects: Episode 2.1
 

iTzJu

Officer Emeritus
NJRC Member
why not metal conduit? get your pre-measurements ready, got to lowes/home depot and grab one of the conduit benders in the store. Go to the conduit section with conduit bender, it should be close by, and use the tool in the store to bend it to your measurements. put back the conduit bender where you got it and check out with your bent conduit to use with your tank.
 

Mark_C

Staff member
Board of Directors
NJRC Member
Moderator
J,

Good suggestion and I went to follow it. NOne of the stores woud actually bend the conduit for me. I was going to pick up a bender (heh), use it and return it, but then I couldn't find any decent cap offs for the conduit ends.

The successful but meh hanger project
Episode 1.0: It'll work for now


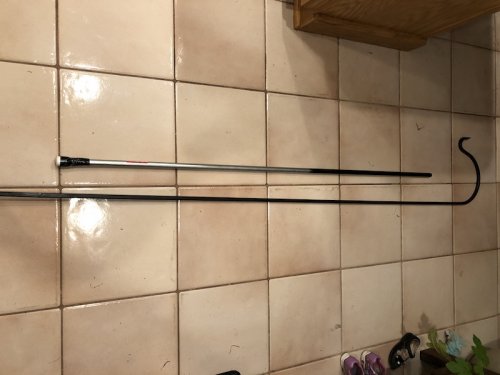
So I picked up 2 pieces of 5' x 1/2" conduit for $8 and went the garden center, where I picked up 2x 8' plant hangers (1/2" square each side) for $9 each. Then back to hardware for a few 1/2" brackets and screws.

Cut the extra welds off the bottom of the plant hanger with a Dremel and lots of sparks, and painted the top half of the conduit...
IMG_9227.jpg

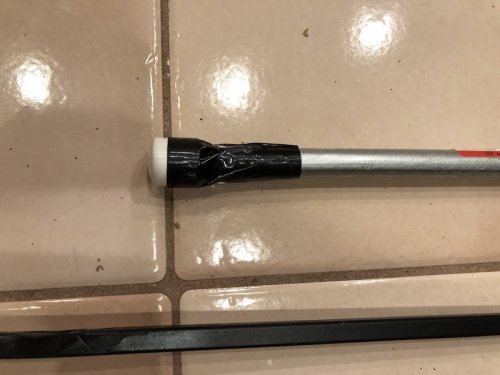
Taped a PVC end cap to the bottom of the conduit...
IMG_9228.jpg

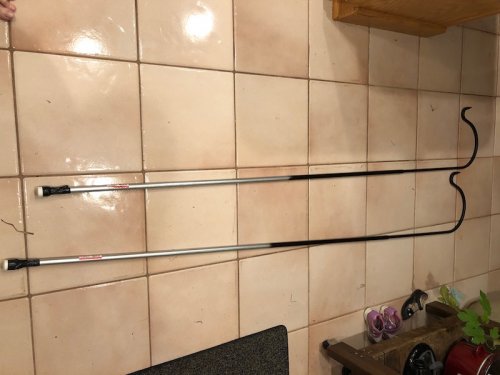
And dropped the modified plant hanger into the conduit (heres the 2 of them)...
IMG_9229.jpeg

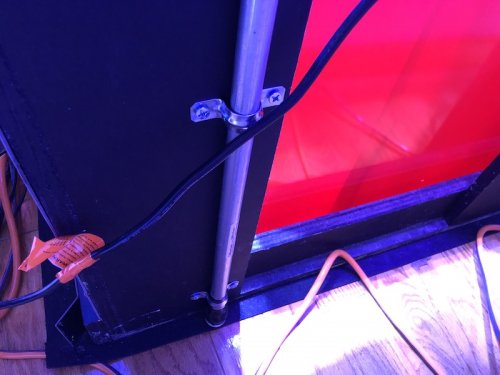
Then a couple of 1/2" brackets securing them to the back of the stand...
IMG_9231.jpg

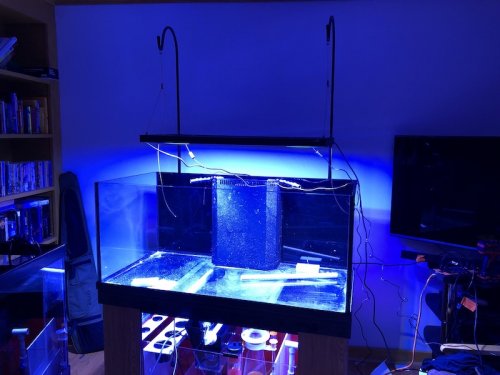
And we, finally, have some lights...
IMG_9230.jpg

I may cut them down a bit, but they work for now.

Total cost of this solution (minus paint but including screws and brackets), about $29.
 

Mark_C

Staff member
Board of Directors
NJRC Member
Moderator
First, let me go just back a few posts to post #31 - The Successful but Meh Hanger
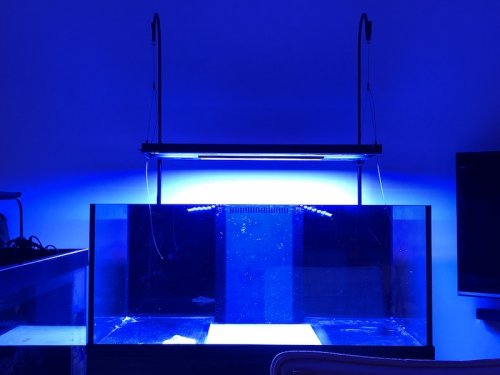
I take every 'Meh' back. Once the cords are zipped in it looks good.
As a bonus, if i need to move the light, I can just slide it to the side (the plant holders rotate in the conduit).
And, I reckon in the future I've got a place to hang a blanket over the tank if I need a blackout, as well as a place to hang the Happy Birthday signs for the fish.
IMG_9283.jpeg

Secondly, Why not APEX?
The used Apex I picked up had a damaged main unit and was out of warranty (the seller was fantastic and made good with a partial refund). Then, as we may sell in a couple of years, decided NOT to go through the walls to the basement. With the space restrictions, decided to write off the Apex and go analog and manual with everything in stand.


The DIY Apex and GFI outlet

So I tried to install a GFI, not once, but twice (yes, I've done it before), and either something is messed up or I bought 2 bad outlets.
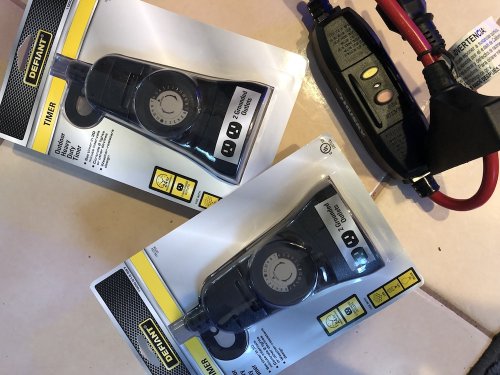
So I put the regular outlet back on, installed a waterproof cover, and bought these...

IMG_9280.jpg

The top right is an adapter to turn an outlet into a GFI with 3 plugs.
The 2 Timer plugs each have 2 outlets, both will be plugged into the GFI.
One timer will control the 2 banks of T5s, the other will control the night cycle algae scrubber and reactor.
The power bank for everything else will plug into slot 3.
Will they work? Who knows, time will tell (hah, punny), but I've used analog timers on tanks before and they seem to work fine.


The return manifold

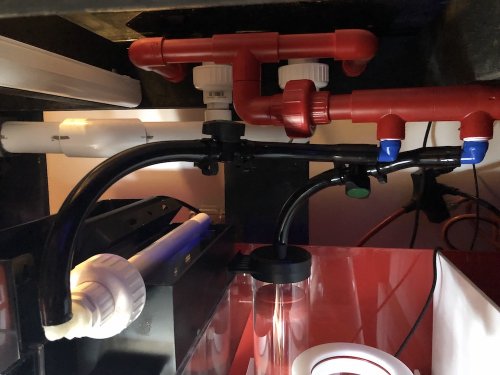
So, after Mark S's sane post in overflow-advice-durso-herbie.101153 I decided to move the water supply for the scrubber and reactor from the drain lines to the return pump.
Image shows the 2 white downpipes in the back (one with a gate valve hooked to primary drain) and the red return line with offshoots to the scrubber and a reactor (with regulators in line (Box store valves for garden sprinkler systems, bout $1 a piece))...

IMG_9281.jpg

Leak testing tonight starting with the overflow chamber, which seems to be doing well post a minor reseal.
 
Last edited:

Mark_C

Staff member
Board of Directors
NJRC Member
Moderator
The rocks

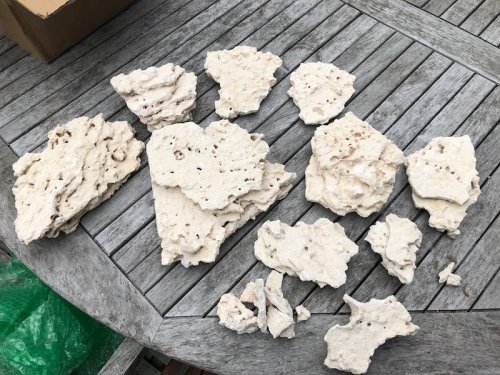
I picked up a 20# box of Marco rocks (flat),
IMG_9201.jpeg 70

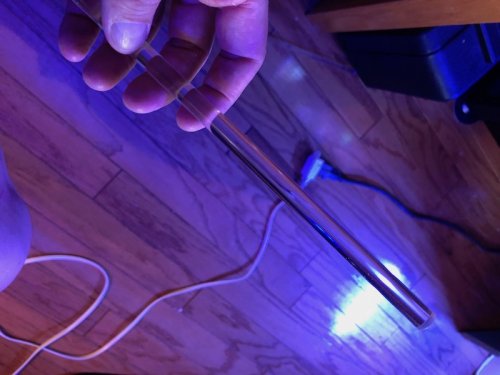
and a box of a dozen 3/8" acrylic rods,
IMG_9322.jpeg

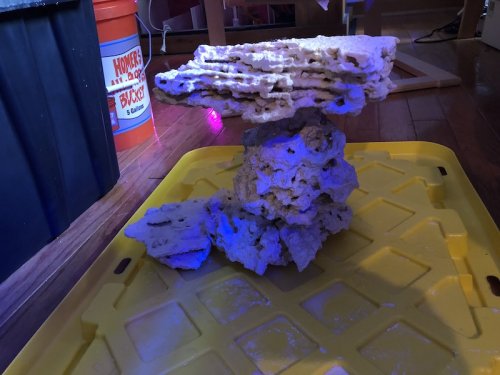
and with a masonry bit and some glue/epoxy made a few structures...
IMG_9286.jpeg I

I have plenty of acrylic rod left over if anyone needs any.


The tank bottom

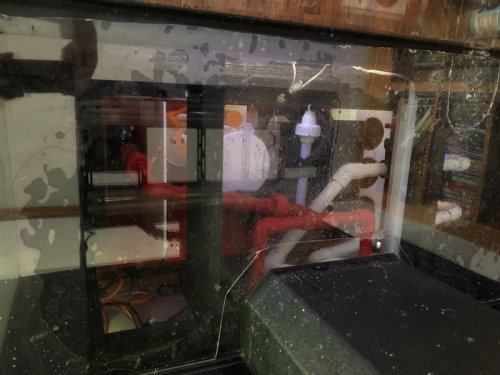
I picked up a large sheet of laminate and cut it to fit the base of the tank, you can see the outline below (as well as some of the sump plumbing).

IMG_9287.jpeg


The returns

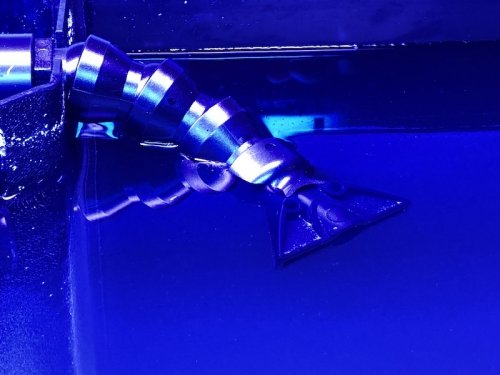
I picked up a couple of these, will review when they turn on :) ...
https://www.marinedepot.com/Accel_A...hH155OVtnpnPiPYolu70RUo88y9N6ezxoCwecQAvD_BwE

IMG_9321.jpeg


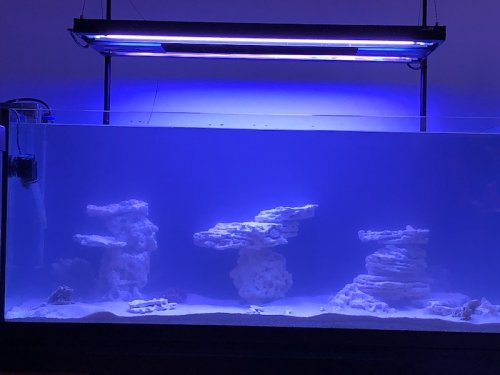
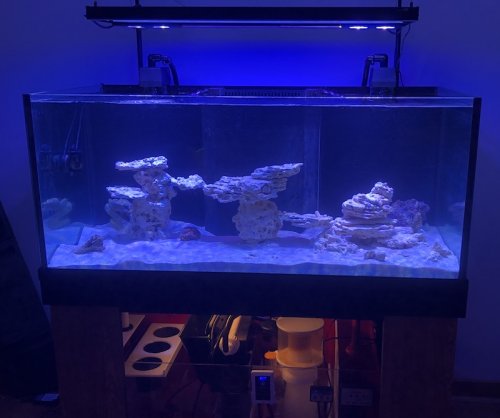
And I put some water in today

IMG_9320.jpeg

Still have to fill in the space between the main structures.


MadReefer

Vice President
Staff member
NJRC Member
Moderator
Well my dremel is dead but have nice saw adapters I could bring.
Either way happy to stop by and drink your beer. :very_drunk:
Can bring the powerhead and skimmer you wanted.
 

Mark_C

Staff member
Board of Directors
NJRC Member
Moderator
Failsafes today.
Shut off every pump, closed every valve, diverted returns, and shut the whole system down.
All groovie, sump is sufficient to hold overflow, GFI working, building an auto shut off for ato.
Did everything I could outside of lighting the tank on fire.

Seaswirls were installed today, though I need a bigger pump, a 1,000gph isn't cutting it after head loss.
2 of the 3 Hydras in place, the 3rd will transfer from the other tank (seriously, 3 26HDs with 4 T5s, is this overkill, its brighter than the ^&%%&%$ sun).

Rockscape with the Marco rocks finished, will supplement with rock from other tank during transfer.

Thought that, with the scape, I should go find 1" tall Road Runner and Wile E figures, then maybe decorate the overhangs with Acme safes and such.

IMG_9334.jpeg

Plan on fragging and transferring livestock on Sunday, so all should start going downhill soon.

The stock list (so far)

2 Picasso clowns (mated)
1 Tomini tang
1 Filefish
2 Fathead anthias

And possibilities I'm considering, ADVICE APPRECIATED...
1 goby (open for suggestions, considering Sailfin)
1 Mystery wrasse
1 yellow tang (now that the tang police wont be notified with my bigger tank)
3-5 Black axil chromis
 
Last edited:
Top