• Folks, if you've recently upgraded or renewed your annual club membership but it's still not active, please reach out to the BOD or a moderator. The PayPal system has a slight bug which it doesn't allow it to activate the account on it's own.

68 CREE LED 3 mean well 60-48p driver parallel build

fatoldsun

NJRC Member
I played with it tonight. The drivers are "P" and I'm using a "Rapid" controller - for now. I left the dimmer and pot alone and tested vf across the whites (is there a better way to do that without fear of permanent vision loss? it physically hurt my eyes-like looking at a camera flash without the relief of the flash only lasting a second)
Numbers
1a (3.0)
2a (2.94)
3a (3.1)
4a (2.97)
5a (2.98)
6a (3.09)
7a (2.97)
8a (3.13)
9a (2.92)
10a (2.98)

1b (3.04)
2b (2.94)
3b (3.06)
4b (3.07)
5b (2.94)
6b (3.0)
7b (2.95)
8b (2.99)
9b (2.99)
10b (3.0)

next I started working with the dimmer and the internal pots. using the multi tester I figured out the dimmer. The whites maxed out at 955/1025. I doubt they'll see a lot of game time at 100% but I wanted to see what they could do.
I set the RB string to max at 732/737 at 100% on the dimmer
Last I set the mixed colors at 694/720 at 100% but that's all the pot on that driver gave me. luck of the draw I guess. Also that drive never goes completely out unless the power is cut I checked with someone at Rapid and was old that's a limitation of the driver He said some use that "glow" for their moonlights. that was funny
other notes - what it powers off after about 3-5 seconds I get a flash which I'm told is the capacitors in the drivers dumping out their reserved power. I hope the fish aren't annoyed.
last note for tonight. no fans are set up yet and after an hour running on my kitchen table the hottest spot i got with the IR thermometer was 115F
 

fatoldsun

NJRC Member
Back to balancing the strings on the white driver
I followed the advice of someone on RC and got a helper to turn the light on/off so I could set the probes on each LED and look away. and, well, I'm embarrassed.... uh, my numbers are WAY different this time around. It’s amazing what you can do when you don't see stars. Actually last time I was pretty sure I damaged my eyes. I could hardly read the multi-tester. I had to look at it out of the corner of my eye to read the numbers because the lights had temporarily blinded me…

My first step was to turn down the driver pot - I know this shouldn't matter for this test but for sake of being complete with my process, they are 805/744. Here are my numbers, so try not to laugh or just look at these and pretend the post from the other day isn't there...


1a (3.05)CW
2a (2.98)NW
3a (3.15)CW
4a (3.01)CW
5a (3.03)NW
6a (3.15)CW
7a (3.02)NW
8a (3.18)CW
9a (2.97)NW
10a (3.02)CW

1b (3.08)CW
2b (2.97)NW
3b (3.09)CW
4b (3.12)CW
5b (2.98)NW
6b (3.05)CW
7b (2.98)NW
8b (3.04)CW
9b (3.03)NW
10b (3.04)CW


I set up a spreadsheet since I definitely don't trust my math. I got A:30.56 and B:30:38. I need to keep my swaps with like colors. I wasn’t sure if this is how it works but using the spreadsheet I found the difference between each pair. Total difference was 0.18 so I found two that totaled 0.09 positive imbalances and swapped them on the spreadsheet. If I swap A5 with B5 and A7 with B7 I end up with an even 30.47 on BOTH strings. I guess I could have just done 6a/b since 0.10 was probably close enough.

After the 4 were swapped I'm at 766/785. Hopefully that's a more acceptable range. Re-soldering is a pain. I lost a whole string and found I knocked one in another string loose. Not saying much for the quality of my joints. I can say it was a UV I got used and it was in bad shape. I had to re- solder the LED to the star. (This same star had a short I found during my initial testing so it's already been repaired once. The solder is never as strong after the pad's been used. And that's why I don't want change them again for balancing unless it’s really recommended strongly.)

Someone recommended using current mirrors which are a little over my head at the moment. I guess I could have invested the time into learning how to do that once I went to this trouble but before I started I was sufficiently intimidated by parallel - next time perhaps.

The lights are basically DONE!! I have to decide about lenses – I’m leaning towards no lens/optics. I have a bunch but most of what I have are 60*. I picked up most of my stuff from other who abandons builds so in a lot of cases I got stuff that didn’t or wouldn’t work for me. As I learned what I could, I realized that for a 24” deep tank I’m not sure that I needed 60* optics. I have some 80*s but I guess even that would be tighter than I’d need.

I’m getting stuff done on the hood/housing. I ***HOPE*** it’s done by next weekend. I ***WISH*** my wife, kids and job would stop distracting me with all this other nonsense so I could just finish. It’s painful being this close and having to stop and start and stop over and over. I just want to get the frame done so I can put the lights up. The finishing stuff like the panels that will look like doors can wait. Of course the goals remain that it is as light as possible with the greatest amount of accessibility to the tank. More to come….
 

fatoldsun

NJRC Member
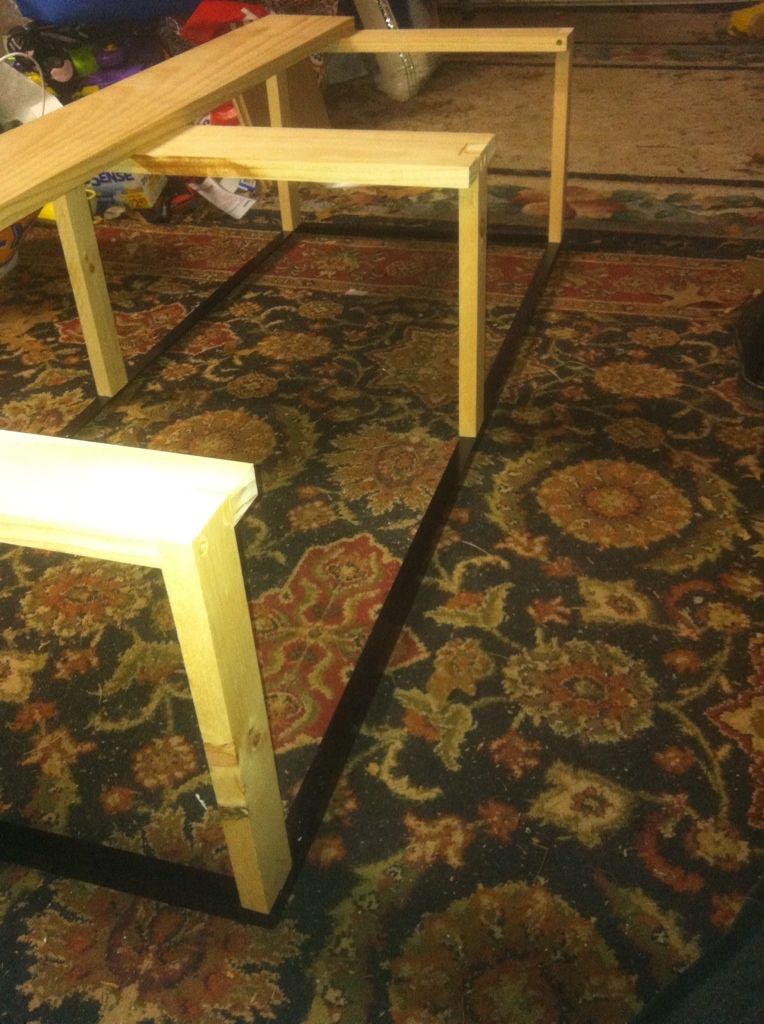
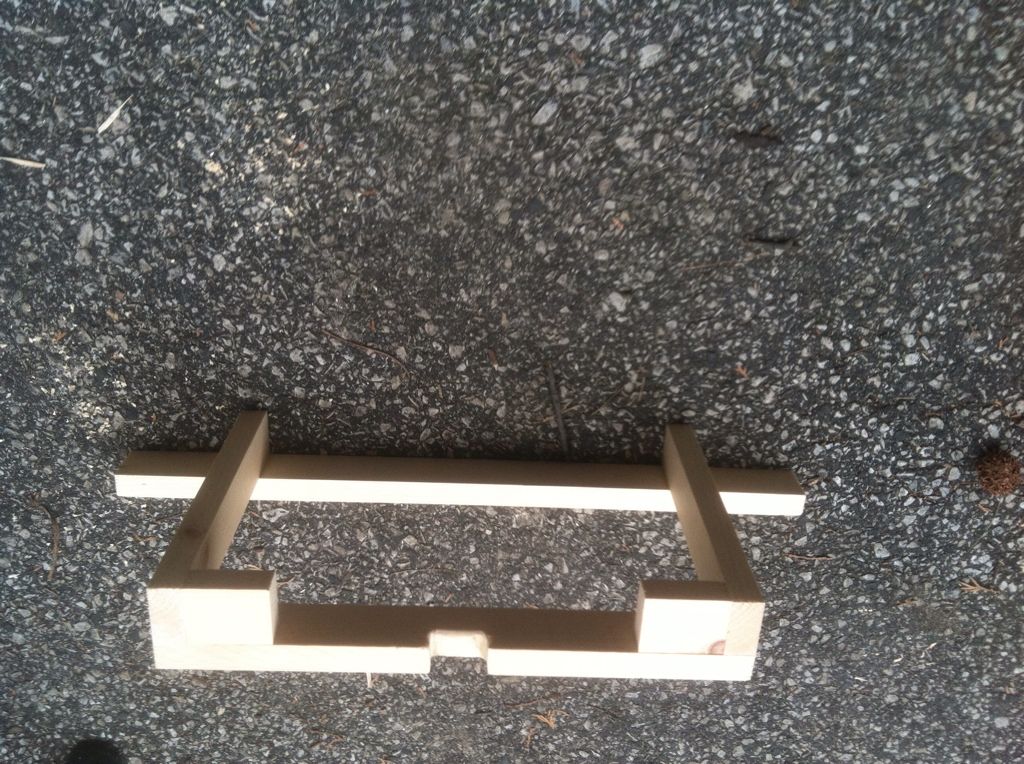
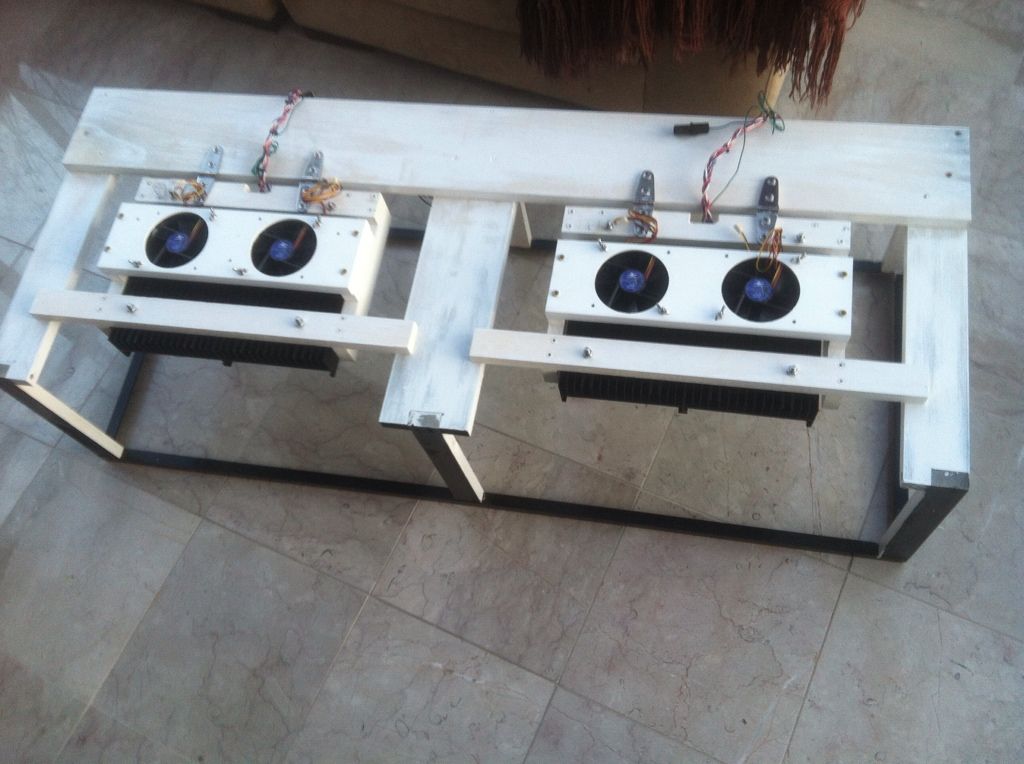
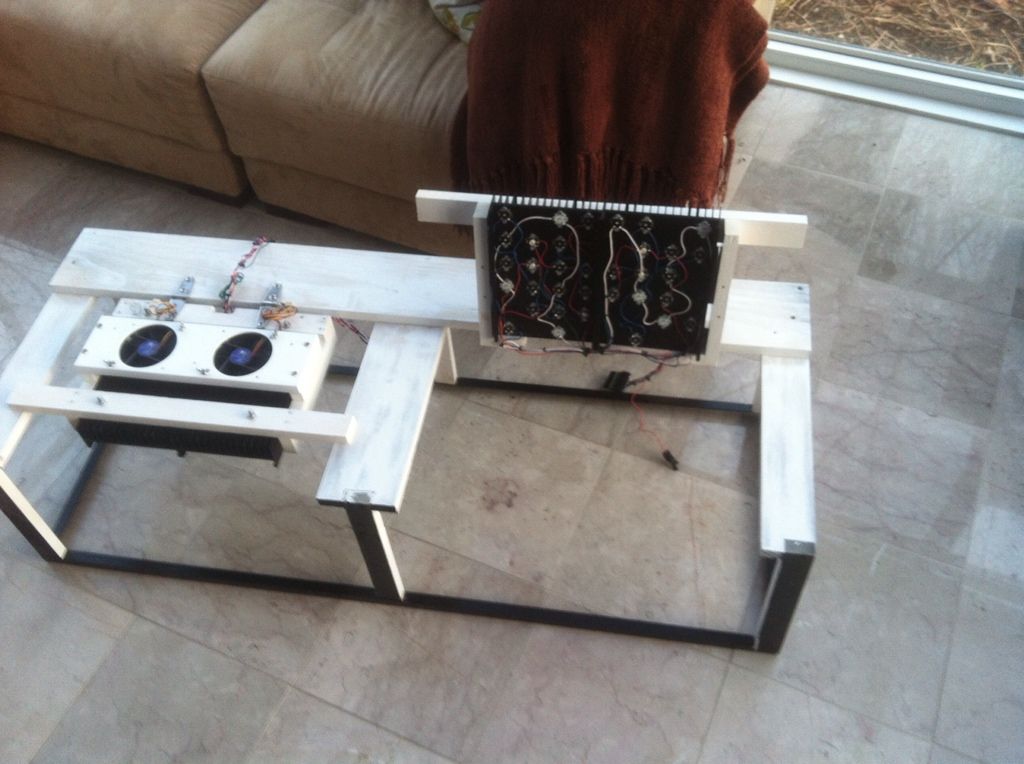
My wife's in bed sick so the good news, after I made dinner for the kids and got them to bed I had some time to myself. Out to the garage I went. I made a little progress. The frame is basically done.
Last part of the assembly - I need a bigger "shop"
40767B3A-6C74-4200-A10C-04CD0BCD4126-652-000000E25E56E5BC.jpg


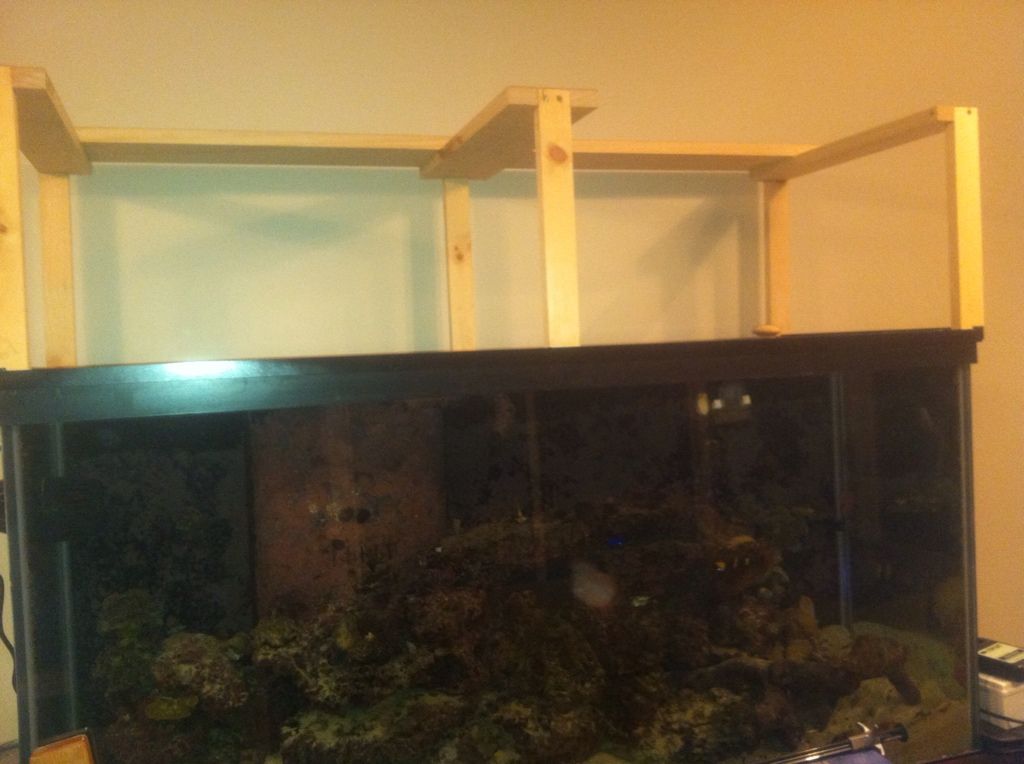
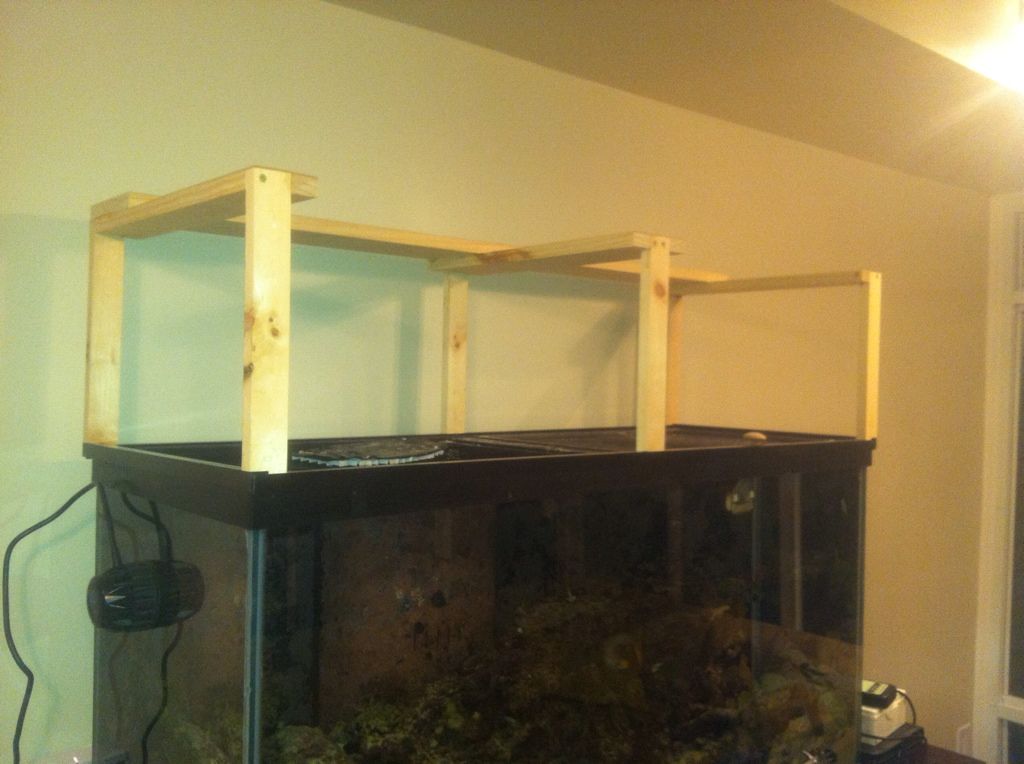
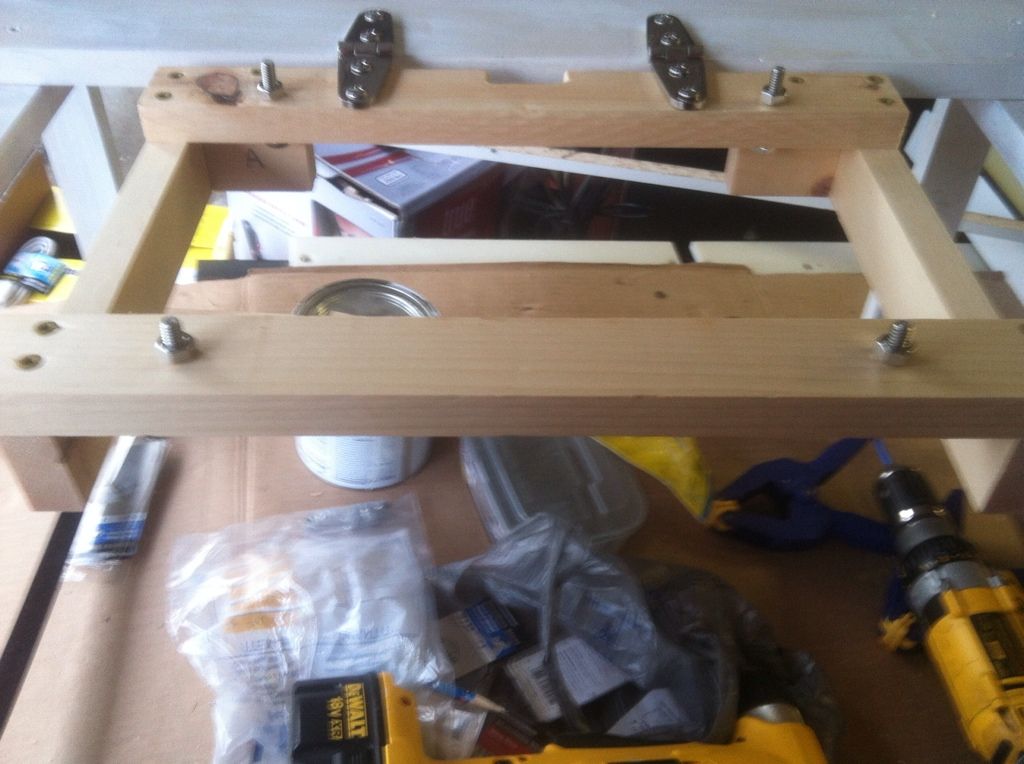
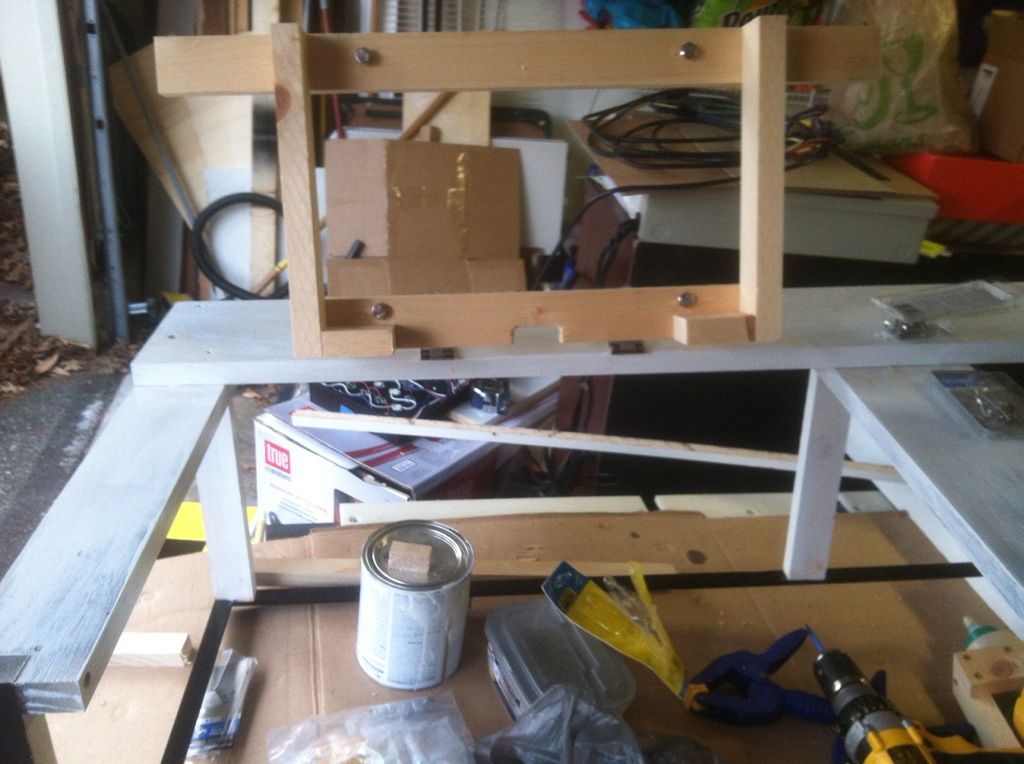
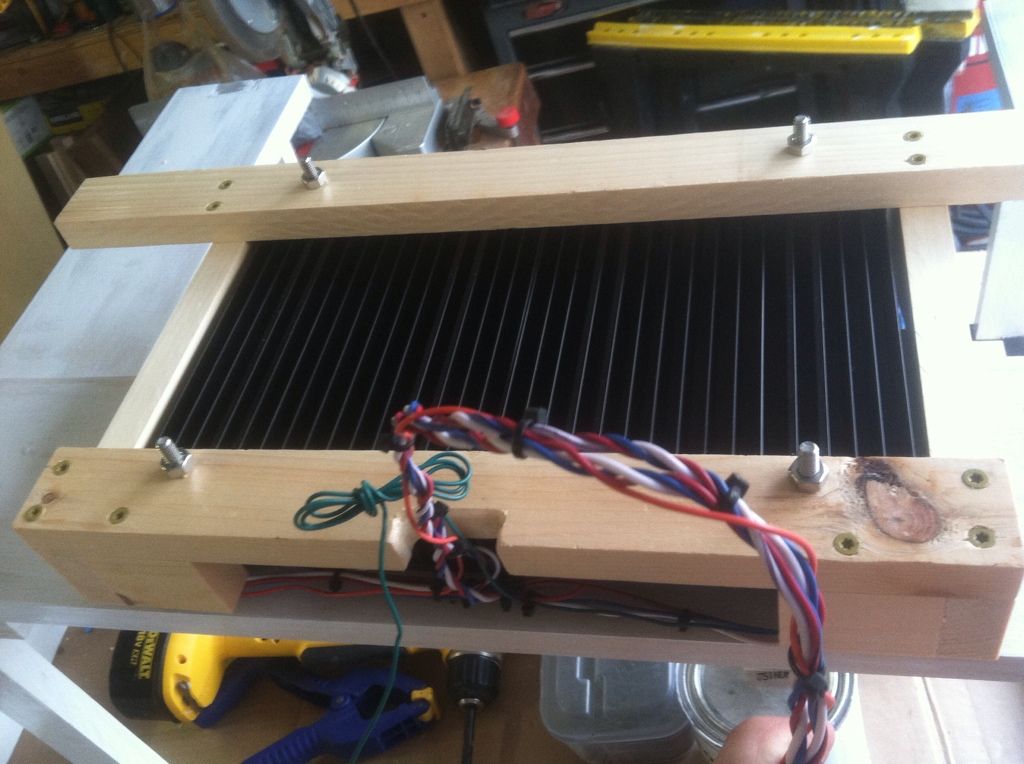
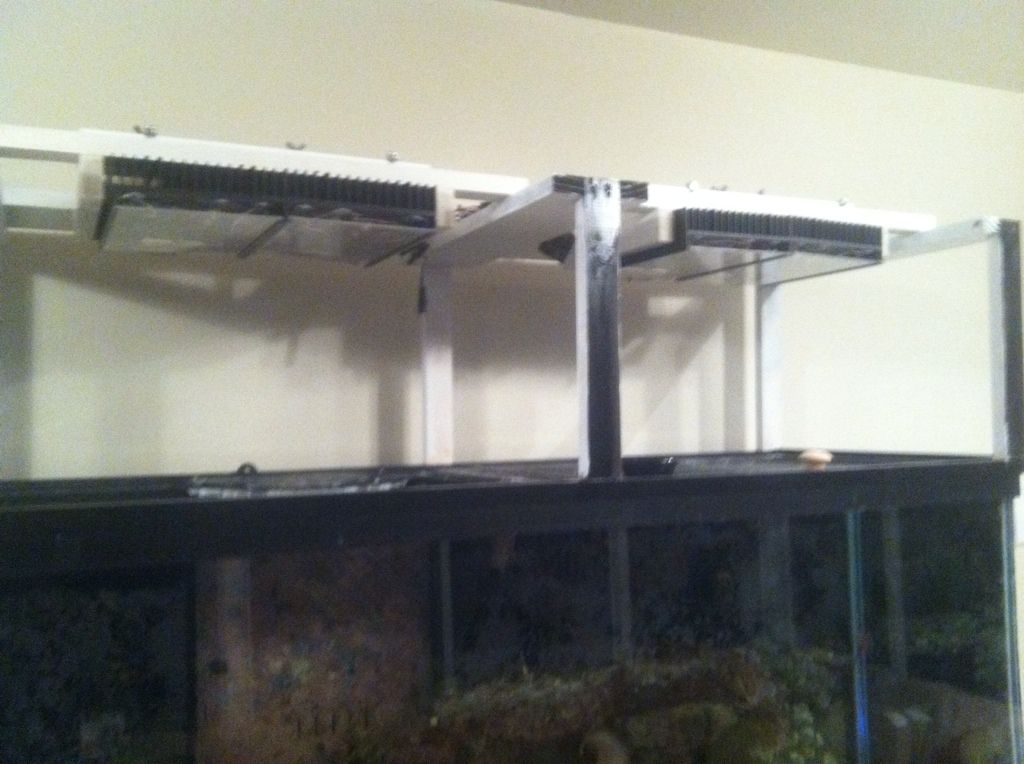
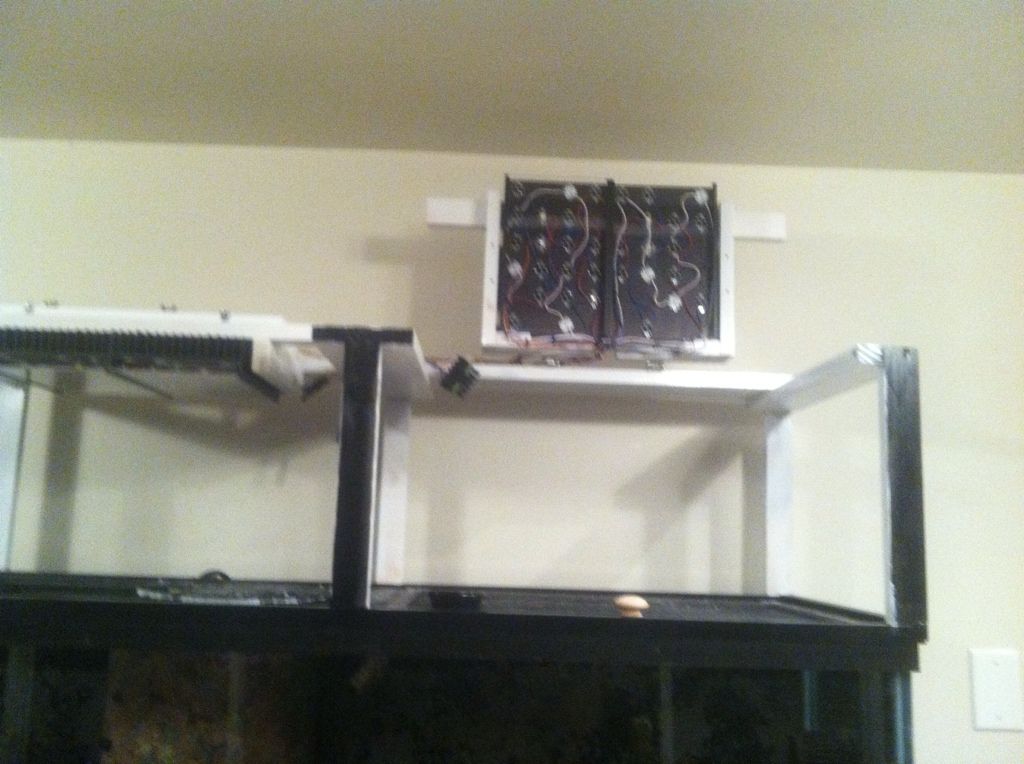
And some test fits
7ACFF2DF-E97B-4128-90C6-0FE8EA5B7251-652-000000E25746BD37.jpg


9588D57F-C14E-4CF6-8C69-34DDC9C83AAD-652-000000E2536D2C43.jpg


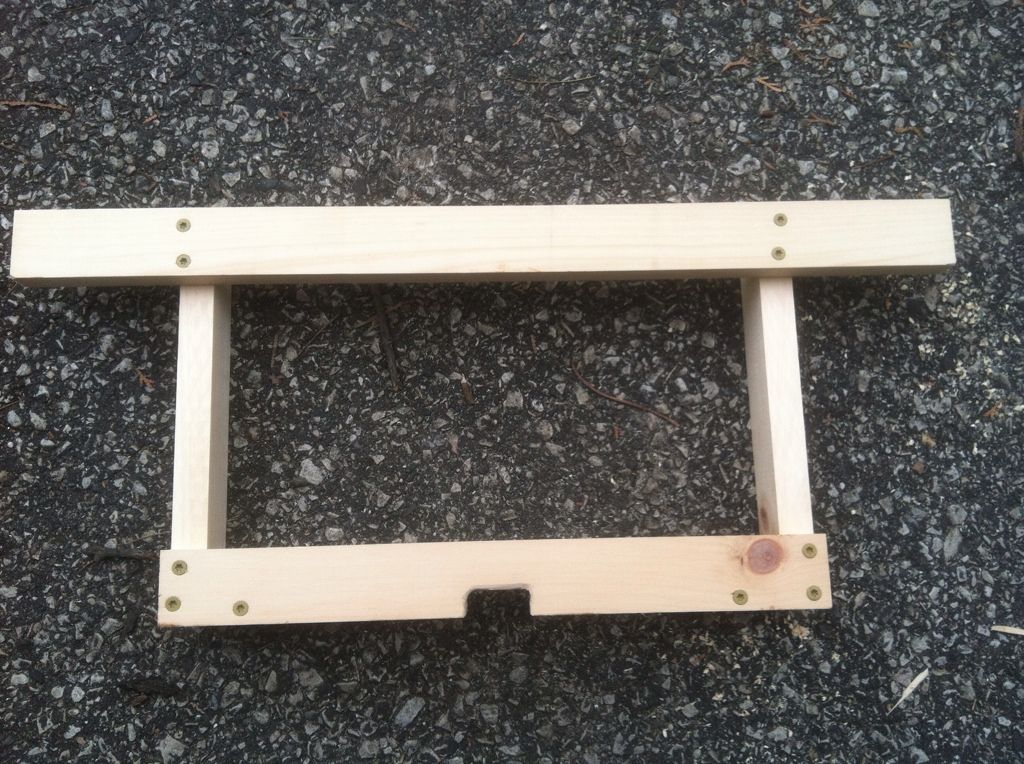
I think it's probably hard to imagine what I'm trying for but you can see how I should have lots of access. The sides and 2 front panels will come off and all that will be left is this frame plus the lights which will be on hinged frames so they can be independently raised out of the way. I'm still thinking about how to engineer the front panel mounts. I found some aluminum French cleats but they'll require the light frames to extend all the way to the front edge.

Final point - I finally figured out the PWM controller I got (you can see it pictured) and well it's FAR less functional than I'd hoped. It has 3 channels and 3 programs do I foolishly thought I had one program sequence for each channel. And now I know why everyone chooses Meanwell "D"s over the "P"s. I'm not leaning towards changing drivers right now - i just want these up- so I may have to retire the AC Jr.

George - if you're still following I have reef angel questions.
 

TanksNStuff

Officer Emeritus
Officer Emeritus
Dave, if your plan is to have one giant hinge along the back/top and then have it lift up... make sure there's enough clearance in the back. Whatever the height of the canopy is, you will need that much space behind it as it swings up/open.
 

fatoldsun

NJRC Member
Thanks George. I'll have to measure that. The plan keeps changing but I'm trying to use 2 seperate small frames to hang the LEDs. Each frame be independently able to go up. I'm still working on how I'll hang the front (face) panels. I have some aluminum French cleats. I don't want it to go across the front b/c it will impede access to the tank and the highest priority for this design right behind working for the LEDs, is accessibility to the tank. Othe less notable attributes; Cooling, weight etc...
 

fatoldsun

NJRC Member
And the beat goes on....

F0710874-B3D9-4529-ABCF-8AFE81461407-375-0000004CE39F4594_zpsf338e020.jpg


B3071614-A32B-4BD5-BF45-5674EE3F10D5-375-0000004CE7A70CAB_zps8cc133d1.jpg


C2974566-C59A-47B2-A5F4-302AA2978D26-375-0000004CEBCD095B_zpsae1c2ee6.jpg


A7D07448-380D-4426-B563-224000EAEF51-375-0000004CF01D3D8E_zps1c1b9b15.jpg


7658DD5E-B1EB-4CF5-B04F-F784CD256AAC-375-0000004CE1207EE9_zps4e4e583e.jpg


Paint's drying on these and I picked up supplies to mount the fans. I'm not sure I need 4 but I have 4 and have room for them so I may use them. Hopefully they're up in time to go watch the Super Bowl

More to follow...
 

redfishbluefish

Officer Emeritus
Officer Emeritus
Dave, looks like it’s coming together nicely. Maybe I missed an earlier post, but why are the lights on hinges? It looks like the canopy is high enough to get in and out of the tank without having to move the lights out of the way.
 

fatoldsun

NJRC Member
Thanks Paul. As for the hinges, I'm just an accessibility hog. I like being able to get my hands in the tank for maintenance and I have one of those "spot feeders" that always makes me push my light back and out of the way to get to all the nooks and crannies.
 

fatoldsun

NJRC Member
A busy weekend – and it kind of paid off.

First order of business was to deal with the fans. I’ve never had this experience before but I was happy and had to tell someone – so this is the best place I could say it. I’m not sure if anyone here cares but I definitely know no one at home (or at work) cares so you guys are my only shot. I went to Lowes to get some extra hardware and I had about 10 minutes before I needed to pick up Saturday’s dinner. I wanted some way to mount the fans without attaching them to the housing/frames I made so that the fans would be part of the housing and LED heatsinks could freely slide in and out. I was looking for anything that would work and stumbled on this 4’ piece of PVC channel. I have no clue what it’s used for. It was near the tile area so maybe someone has a clue but other than the expense (it was $10) it was PERFECT. I even had enough of the PVC trim board I used to mount the stuff in my electrical component box left to make the spacer/sides. Only an 1/8” to spare – now that’s efficient! So here it goes….

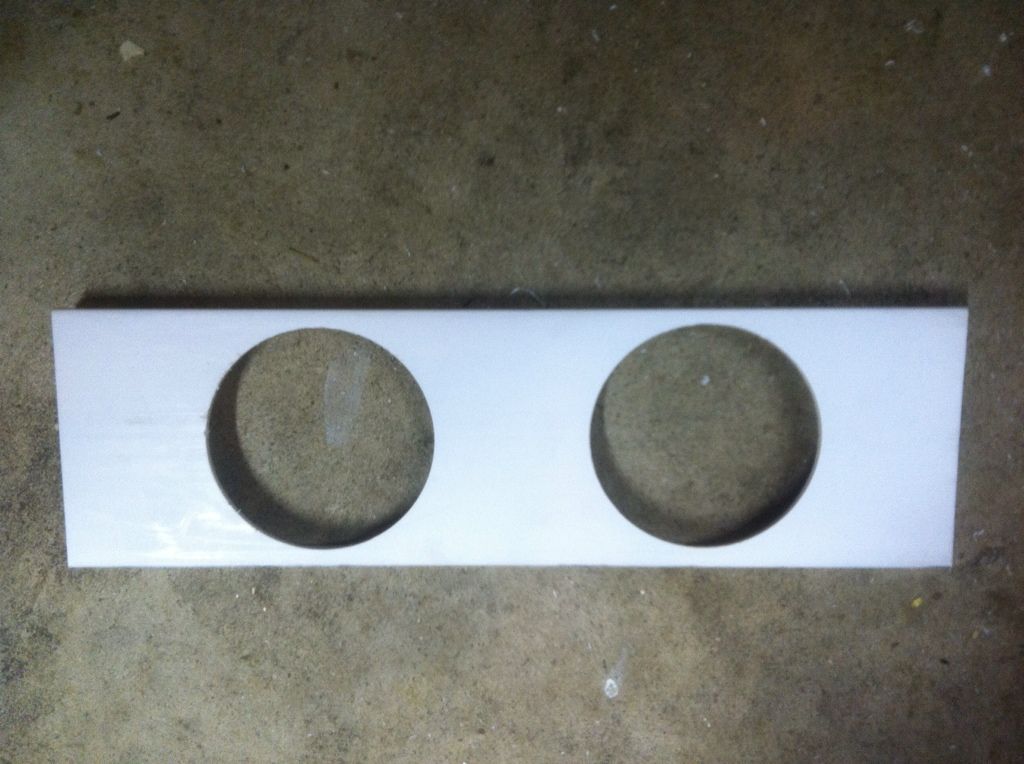
I cut out 2 14” pieces and measured and drilled 2 3.5” holes for the fans

324BED26-BD68-4D2E-973E-4678198BE1DB-897-00000130AE2F29AA_zps4572dda3.jpg


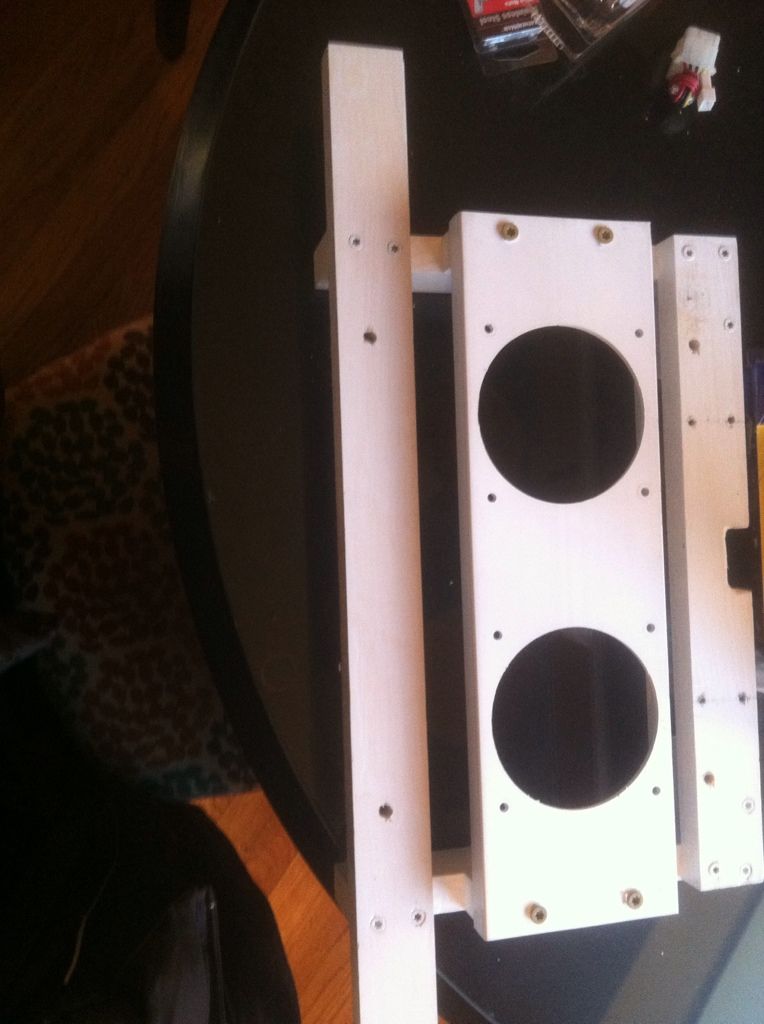
Then I drilled for the fan mounting holes and added the PVC trim board “legs” or sides

D1F0E9D7-FF1F-4AAF-AAF2-1A2905309F2D-897-00000130B50D8977_zpsfab0a9df.jpg


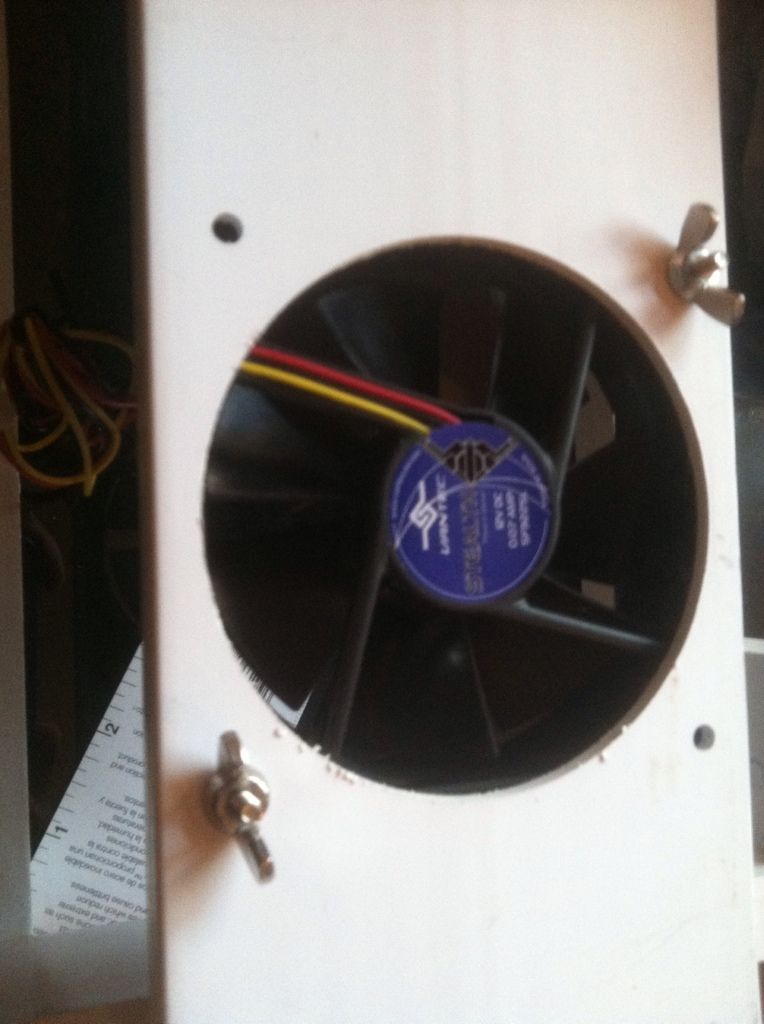
The fans fit right in – like a glove!

8762A0E2-1ECF-4401-82A2-33A99AD7E461-897-00000130B291E095_zps3ca60623.jpg


83816874-8598-400C-B110-9477B72D2DF4-897-00000130B8C8CF21_zpse13d66e8.jpg


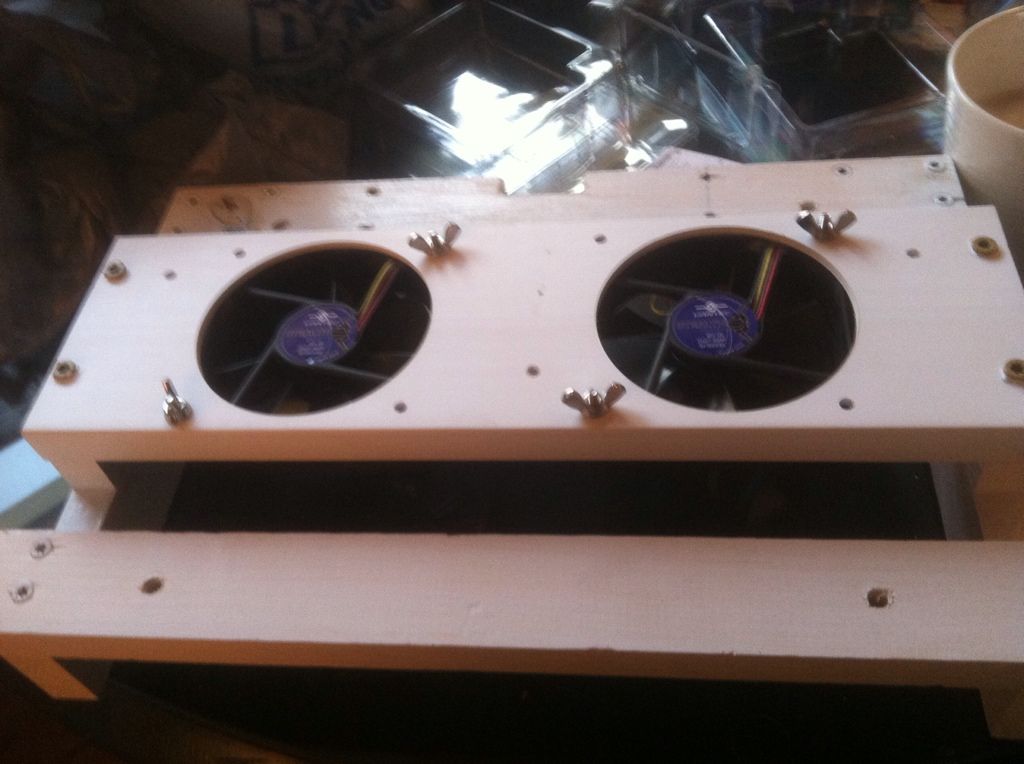
Got them all assembled
FB0FA0E9-803B-470D-A57D-8FD52EC2F496-897-00000130BC2838C8_zpsc6a88665.jpg


B4ED55F7-B971-401C-AF26-1E1DF8E8D3A3-897-00000130BF3BBE05_zps38338a47.jpg
 

fatoldsun

NJRC Member
…and put them up
9745407B-1FA8-4636-9D06-CB376DA4B042-897-00000130C22AC47A_zps9c1de0d8.jpg


I’m not sure I needed all this access but I still say you can never have too much (I just may need the ladder to get them up and down – but I made the stand really high so if I’m doing anything in the tank I need the stepstool anyway….

8F90F9F3-0F63-4344-AC95-ABC97D8E48E6-897-00000130C4A680F9_zps48f23a78.jpg


And I finally fired them up (this was about 2AM so everyone (and everything) was a little disoriented and shriveled up as it was the middle of their night - sorry fellas)

9920D475-4ABD-4611-BC9A-E217E4535F3B-897-00000130CA9AEEE4_zps7f9b850e.jpg


48AC4E58-DEE2-4A05-ABF6-BDBEC0746FBF-897-00000130C743A124_zps278c5bde.jpg


The questions I have at this point….
I have the fans blowing away from the sinks – is that correct – drawing the hot air away as opposed to blowing cool air across the fins?

As far as power and acclimation – right now I have the lights set as follows – I’m using the Rapid controller which is running a 12 hour cycle – 1 hour sunrise, 1 hour sunset. The lights are at 40% white, 40% blue and 30% mixed color. Does all of that sound ok – how quickly can I ramp them up and how high should I be aiming?

Also, when I had the moon lights on, there appeared to be several LEDs that were energized. They were just barely lit. not even as much as the low light from the driver when the controller is off but the power to the driver is on – Nothing is crossed but the wires for everything are sort of braided together into a harness of sorts. I thought that it could be leaking a touch of power. Or the moon lights are much brighter than I would have liked – perhaps it’s just reflecting off the surface of the water and hitting those LEDs. I’m not sure but other than that everything seems A-OK!

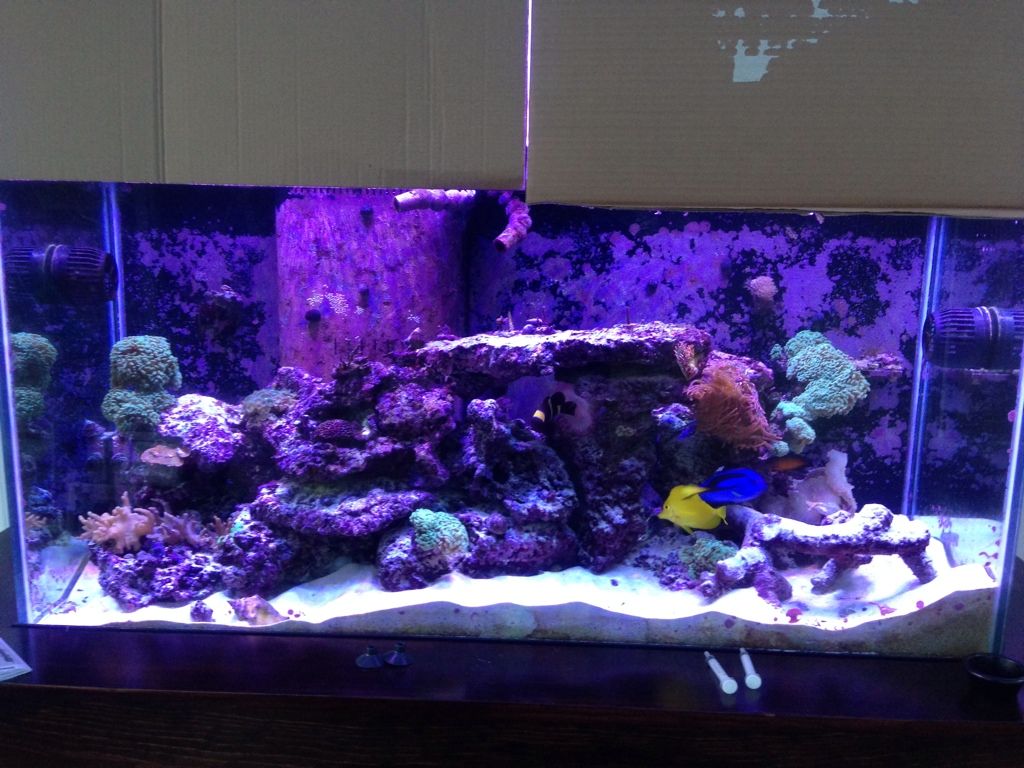
Of course now I need a new controller and my wife has already insisted that I get the doors done – I had to use cardboard to close up the hood so the lights don't blind us until I get them done - I guess she doesn’t care for the look... :)

Now I guess I should add some of this to my "tale"
 
I switched to LED's a few months ago and I started at 40% and went up 5% every 4-5 days. I have had them at 60% now and I think I am going to just leave them there. Every time I try to up them higher I seem to have problems with the stuff in the tank.
 
Blow toward the sink. You want to move the very thin surface layer of hot air.

Also, in your other thread you mentioned adding the cardboard hood to prevent blinding from the side. You might want to consider optics... You'll be able to run your lights at lower power, they'll last longer, etc... Plus you won't get blinded. My own lights are right at or slightly above eye level, and I can only tell they're one because some salt creep on the plexi lights up.

Also, moonlights will make the phosphor in some of your unlit LEDs glow. It's normal.
 

fatoldsun

NJRC Member
Blow toward the sink. You want to move the very thin surface layer of hot air.

Also, in your other thread you mentioned adding the cardboard hood to prevent blinding from the side. You might want to consider optics... You'll be able to run your lights at lower power, they'll last longer, etc... Plus you won't get blinded. My own lights are right at or slightly above eye level, and I can only tell they're one because some salt creep on the plexi lights up.

Also, moonlights will make the phosphor in some of your unlit LEDs glow. It's normal.

Thanks!!
I'll swap the fans around. And yes I've learned that the moon lights will do that (someone should warn you about that) - I posted the question on RC and someone suggested it might be the cause - or suggested that I had a short somewhere. I had tested everything several times over before it was ever test fired so the idea of pulling everything down to re-test was enough motivation to figure out for sure. Interestingly the moon lights are BRIGHT and very hard to block/black out. The only thing that "kind-of" worked was electrical tape and even then a lot of light leaked out around the tape. Anyway I was able to do enough to see the glow taper off as I blocked the moonlights.
I thought about lenses/optics but to be honest I already have a pretty significant disco ball effect. I guess I could do the blues and whites but the reds greens are already too concentrated based on their placement. The UVs are on different stars and had unique optics that came with them. Those will not fit under my spray shield. I was also unsure what optics to use. I picked up a bunch of different stuff while I was getting stuff for the project and I have enough 80* to do about half of them. Most of what I have are 55*-65* and I don't think my tank is deep enough to warrant using those
 
Yeah, 60 is a tight beam. I use 90s, fixture is 12" above my 31" tank, and that gives me >150 par on the sand, as far off axis from the lights as possible.

You might be happier without optics, my rig puts out >1000 par in spots, so I cook things if I'm not careful.
 

fatoldsun

NJRC Member
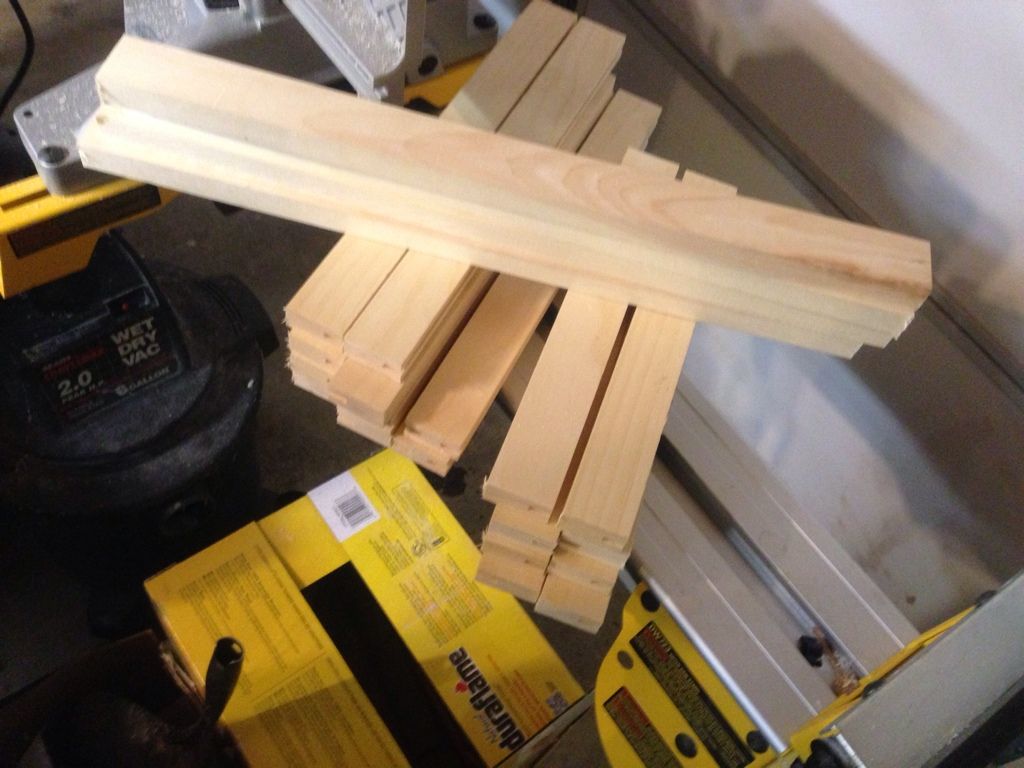
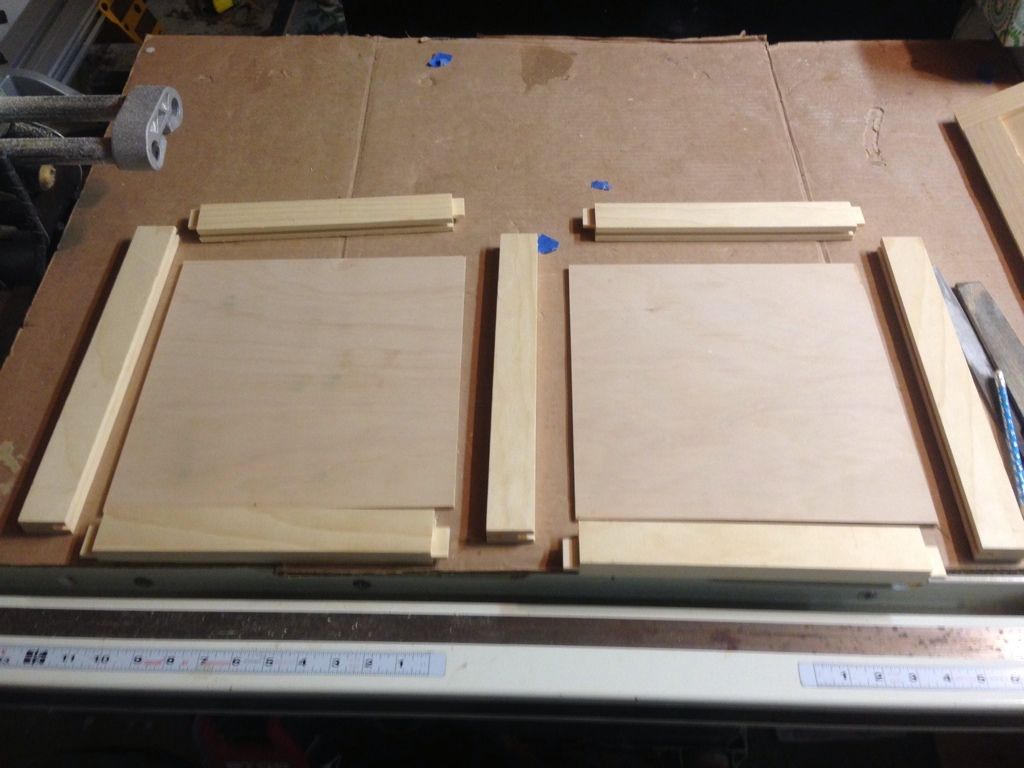
I finally was able to get some work done on the cabinet door panels for the hood/canopy. The plan was to mimic the shaker style I used for the stand but I used (dimensionally) smaller lumber to keep weight down. The panels will not be attached – they’ll just ‘hang” on the frame so it will be easier to take things down for access or maintenance.

Here are the stiles and rails (before the rabbit was cut on the stiles) – I had a little assembly line rocking….
2B18FD33-C15D-4073-BF7B-835267914B7E-2319-0000012963F910A2_zps2e4d8138.jpg


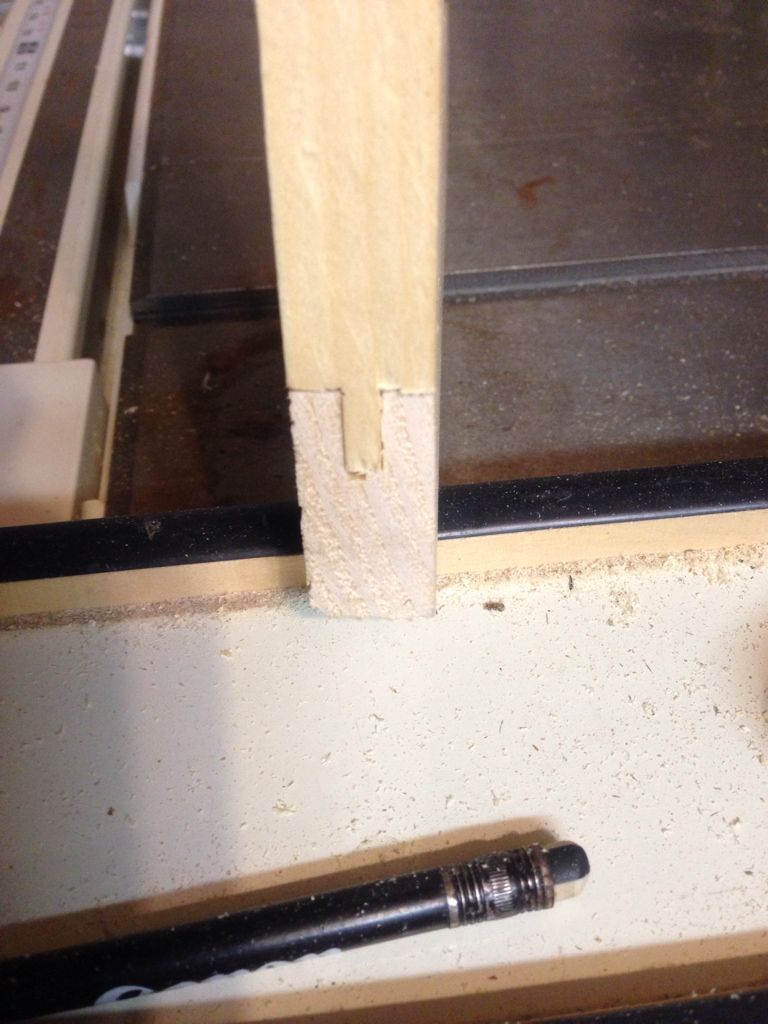
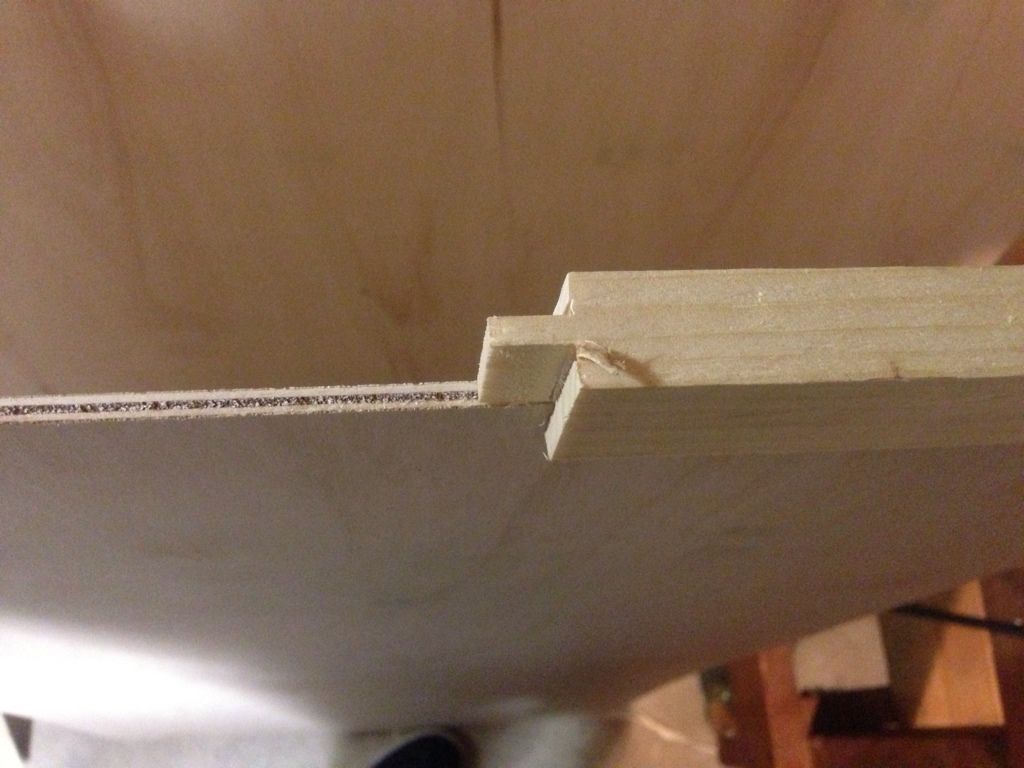
A shot of the stile/rail joint – I probably shouldn’t quit my day job
11C08C60-75AE-4307-8337-DF8878EDD3D2-2319-00000129615B7216_zps945f5aaf.jpg


A rail sitting on the panel – fit’s pretty good.
A40DE251-48B5-4A89-AF25-314145411433-2319-0000012959759DA6_zps20085c85.jpg


Everything laid out prior to assembly – this is one of the two front panels
FF12E04A-6F69-43BF-8E15-04C213DBD229-2319-000001296B5411FF_zps8c655acb.jpg


Test fitting
FED02953-276E-49C0-9B76-999797AB1D49-2319-0000012603B0CA3F_zps56b58304.jpg


6A2D434B-73A0-45EF-875D-CCF385E0FACC-2319-00000126062B8959_zps413617e1.jpg


Everything’s pretty well lined up. Frankly, I was surprised by how well I pulled this off.
2DAFF200-9959-4FFD-8102-0788E890C158-2319-000001260CF8BC6B_zpsb7f25b98.jpg


To hang the panels I found something at the hardware store that was an aluminum french cleat for hanging heavy pictures. They were 18” long and rated up to 200 lbs. One of these was more than enough for all 4 panels – I actually had a lot of extra. I cut them up – filed down the sharp edges - drilled some new holes for mounting and set up some quick jigs to make sure everything was lined up and level. Just easier than measuring for each set of pilot holes. Here’s a shot of what I’m talking about.
[URL="http://i1231.photobucket.com/albums/ee503/dzipin/EC96262B-57E9-4B6C-9770-043488BDF9B9-2319-000001260ABF8EEF_zpsfe9622cc.jpg%5b/IMG"]http://i1231.photobucket.com/albums/ee503/dzipin/EC96262B-57E9-4B6C-9770-043488BDF9B9-2319-000001260ABF8EEF_zpsfe9622cc.jpg[/IMG[/URL]]

Painting/staining etc is underway. Hopefully all wrapped up by this weekend.
 

fatoldsun

NJRC Member
Looks good Dave.
thanks George. Now if I could just get the bleep-ing coral to grow. A couple shrooms and leathers and ...the hammer you gave me when I was just starting out are all I have that are doing well. I keep telling myself everything's still acclimating to the LEDs.
 

fatoldsun

NJRC Member
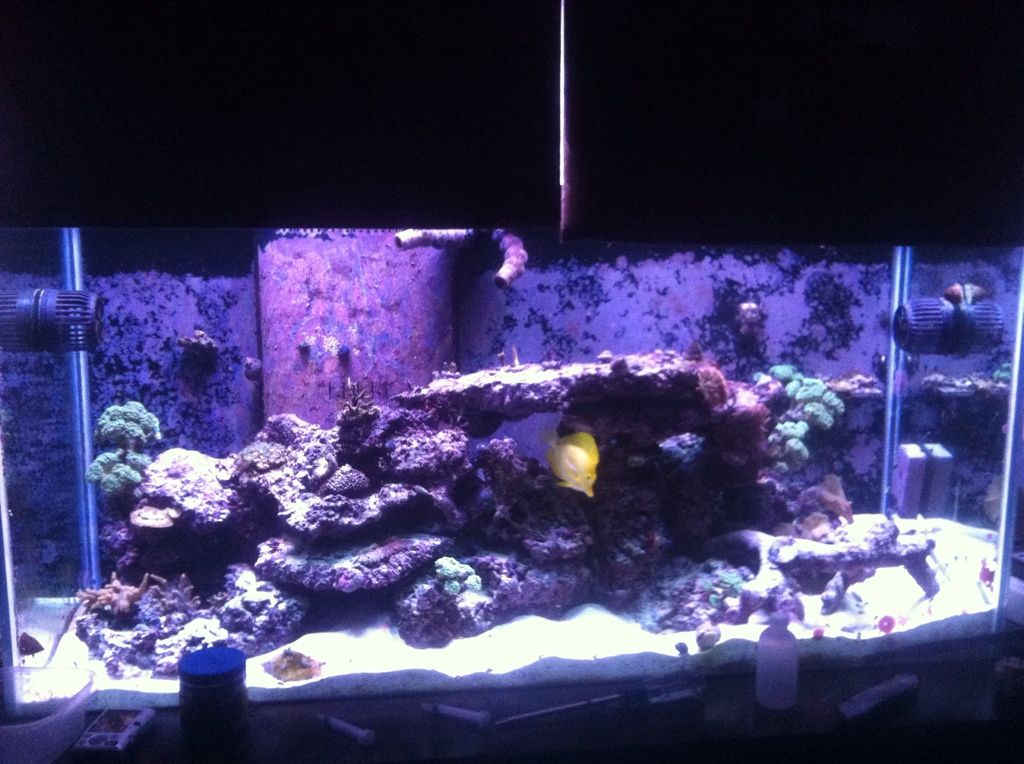
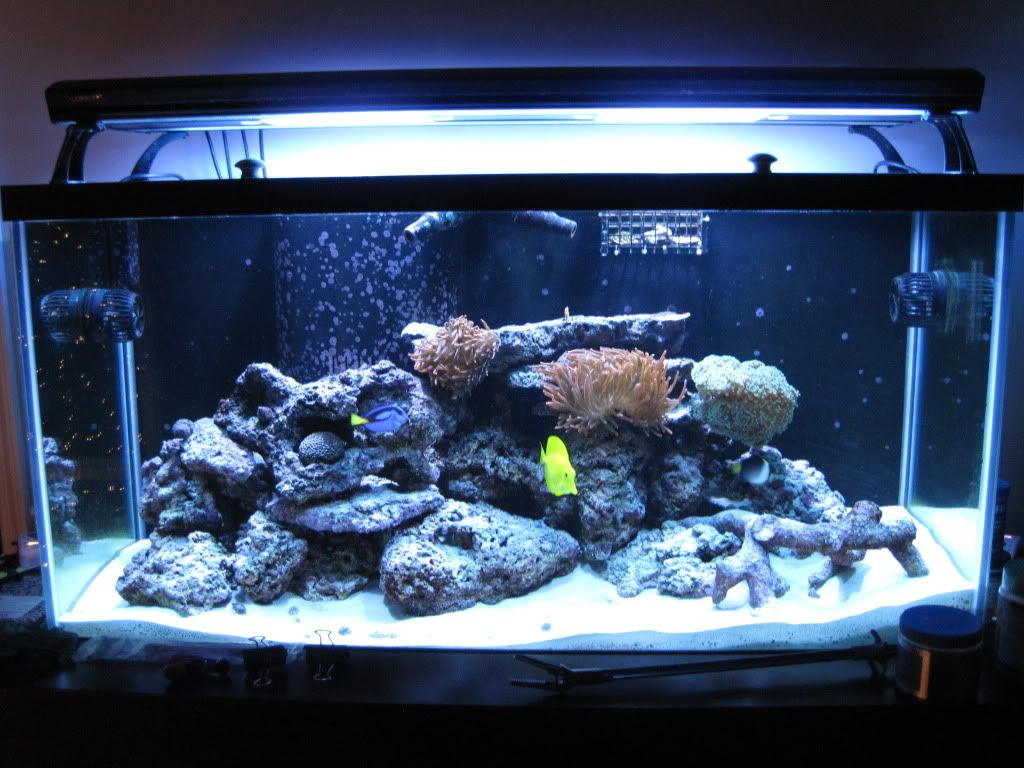
Early FTS – the tank was about a year old here and running the coralife twin 150W HQIs and a pair of CF actinics
tank1211.jpg


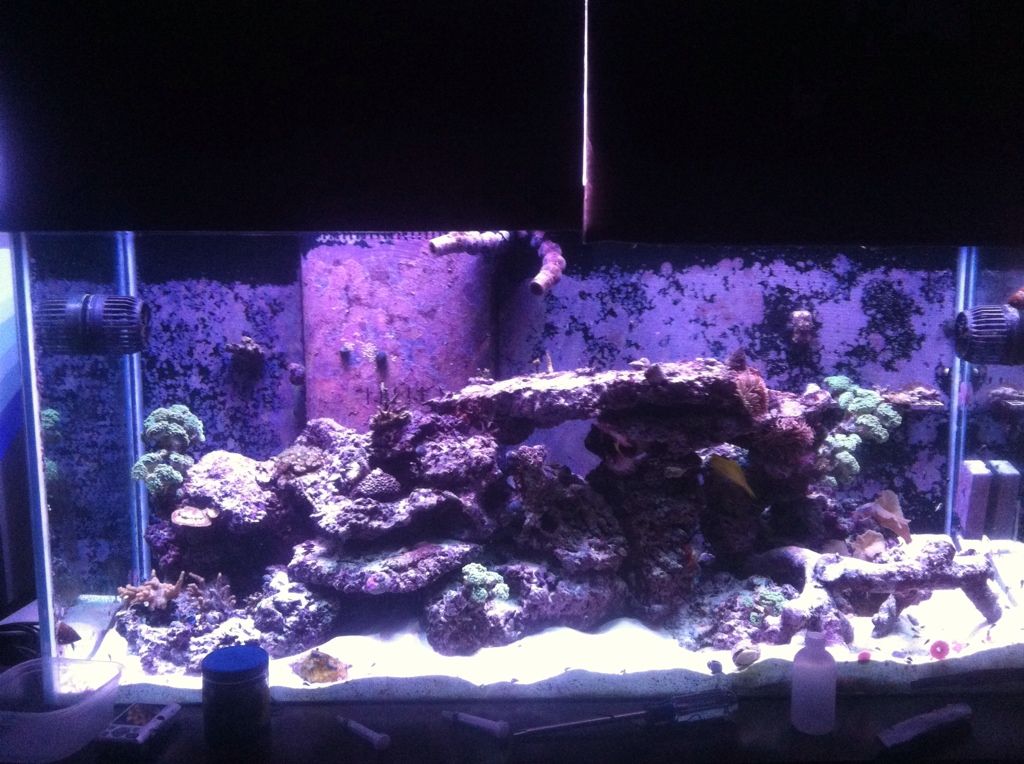
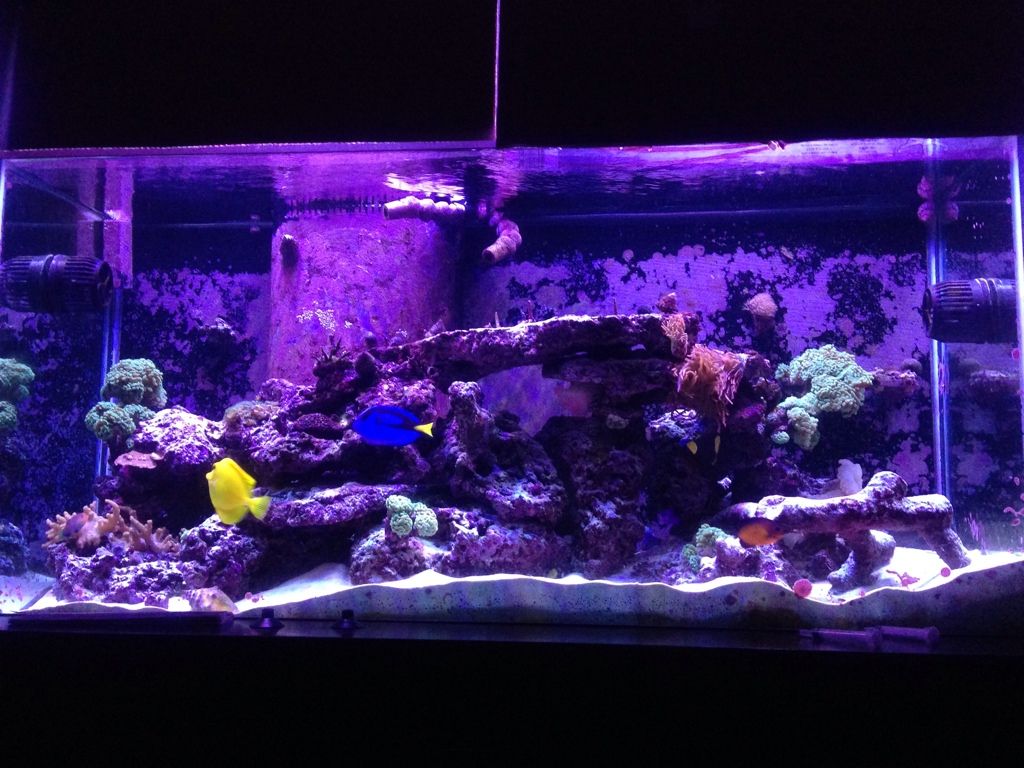
test firing of the new LEDs - Feb 1st - I think power was white 40%, blue 40% and mixed color 30%
48AC4E58-DEE2-4A05-ABF6-BDBEC0746FBF-897-00000130C743A124_zps278c5bde.jpg


2/7 White 45%, Blue 50%, Colors 40%
Not sure I have pics for this – maybe on the other camera – but it shows the acclimation

2/15 White 50%, Blue 60%, Colors 40%
E48CF341-288C-4B97-B2E4-BF62A2F547E0-1371-000001472DBFAEE4_zps0d171e4e.jpg


2/22 at White 60%, Blue 70%, Colors 50%
73AB05EE-B6FA-4DB4-B3D8-32296026841B-1371-00000099828C8A8E_zpsf94f2532.jpg


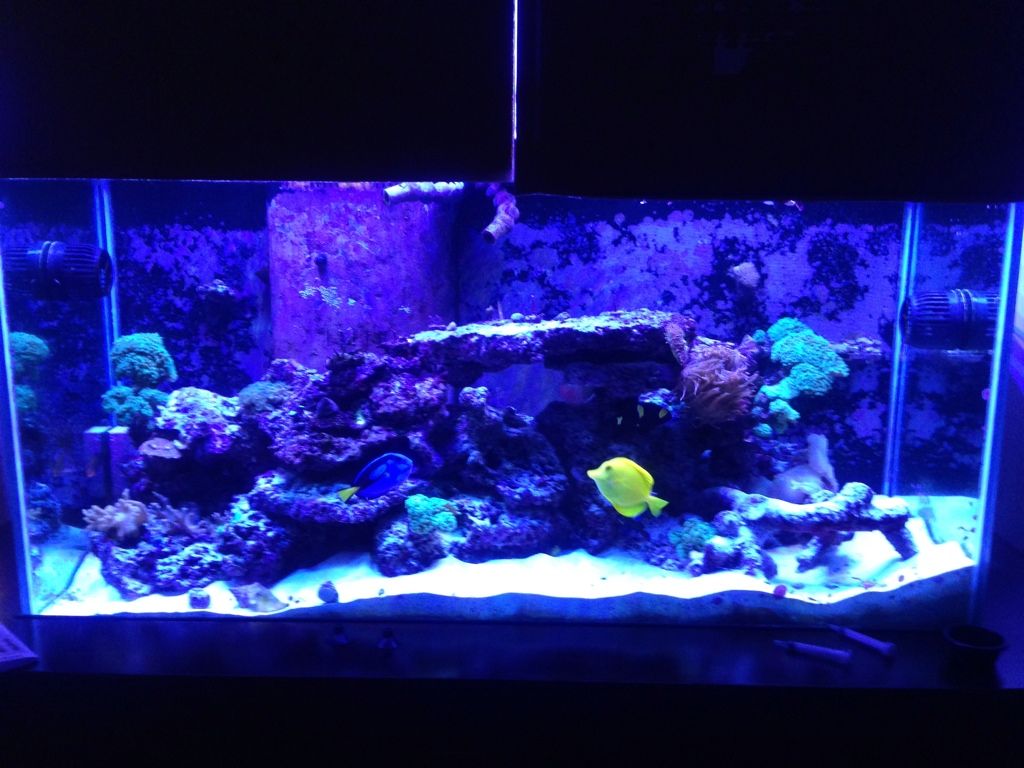
And now they are at White 70%, Blue 75%, Colors 60%
877D1472-EFD7-4C3A-9D12-A2CF2CA72C5A-1371-00000147306520E2_zps5af49b17.jpg


Seems balanced towards purple. I’m not sure how much of that is the camera – it doesn’t look that purple in person but the pics are a good tool for comparison since it is consistent with the camera – the pictures help with balancing better

drawback to the LED mixed colors –a little like a prism or a kaleidoscope where there are shadows. It’s only noticeable on the sand and in areas where shadows play a little weird. You can also see it on the floor in the room – spill over. I took off the optics - they made it worse - I may add a few back on but white and blue only – on the front or outside to keep more light in the tank. Reds, UVs and greens will continue to run without optics

631506D9-07C5-4580-8B68-CB021F372ABA-1371-000000997A9835D8_zps62c27df0.jpg


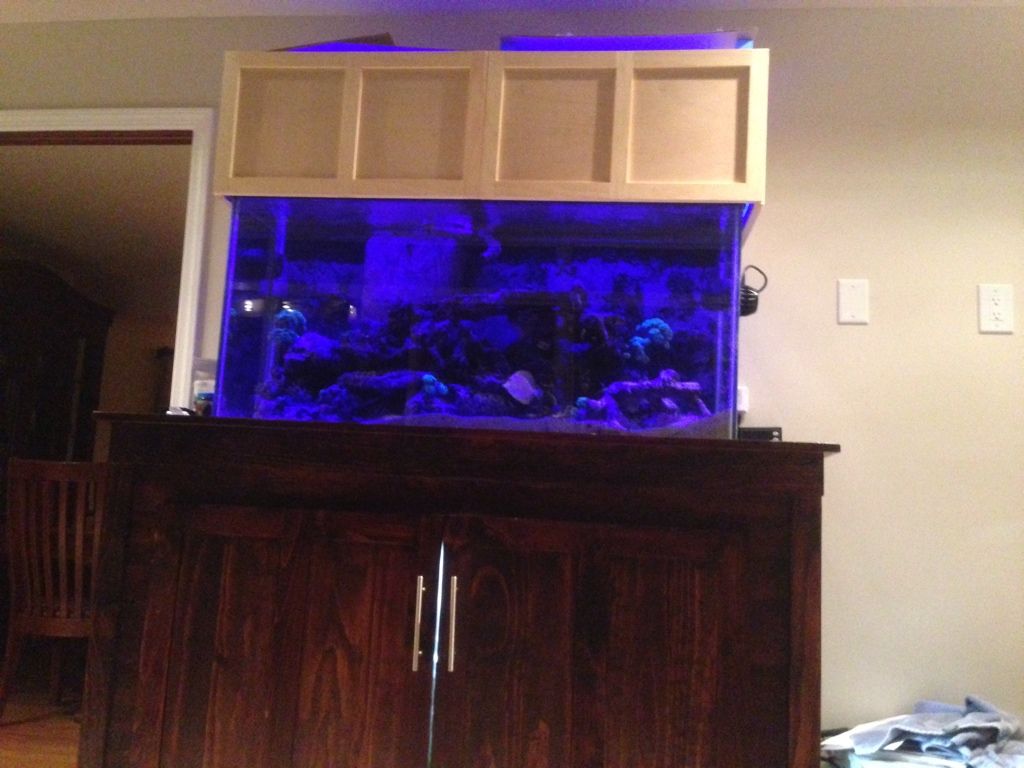
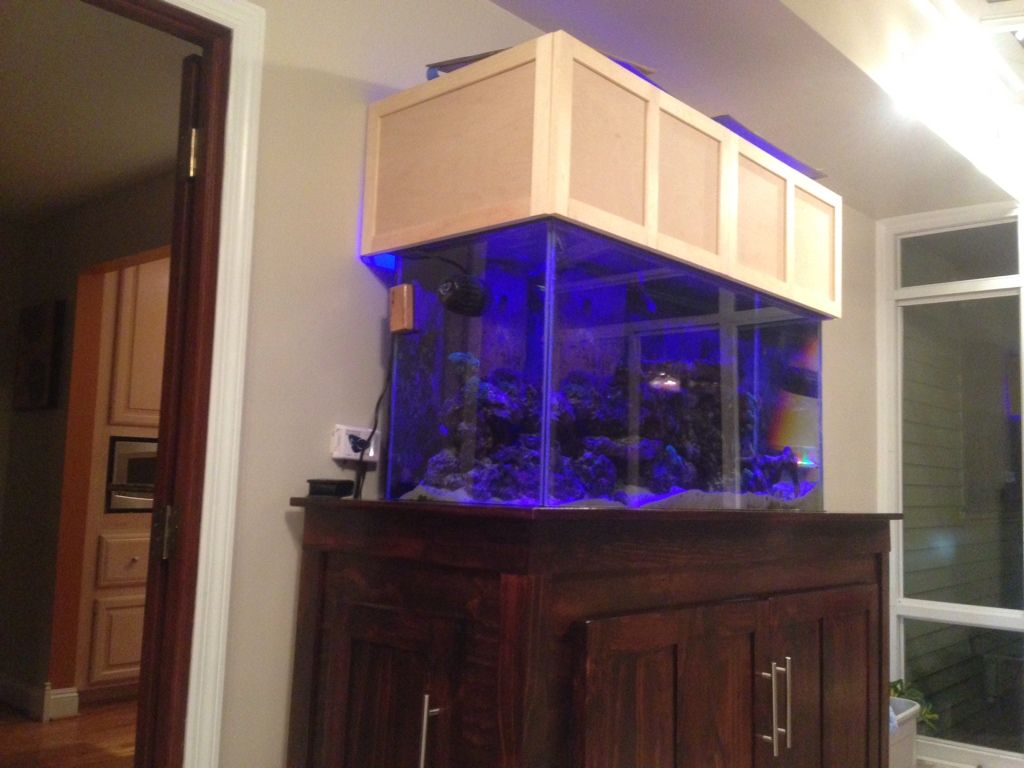
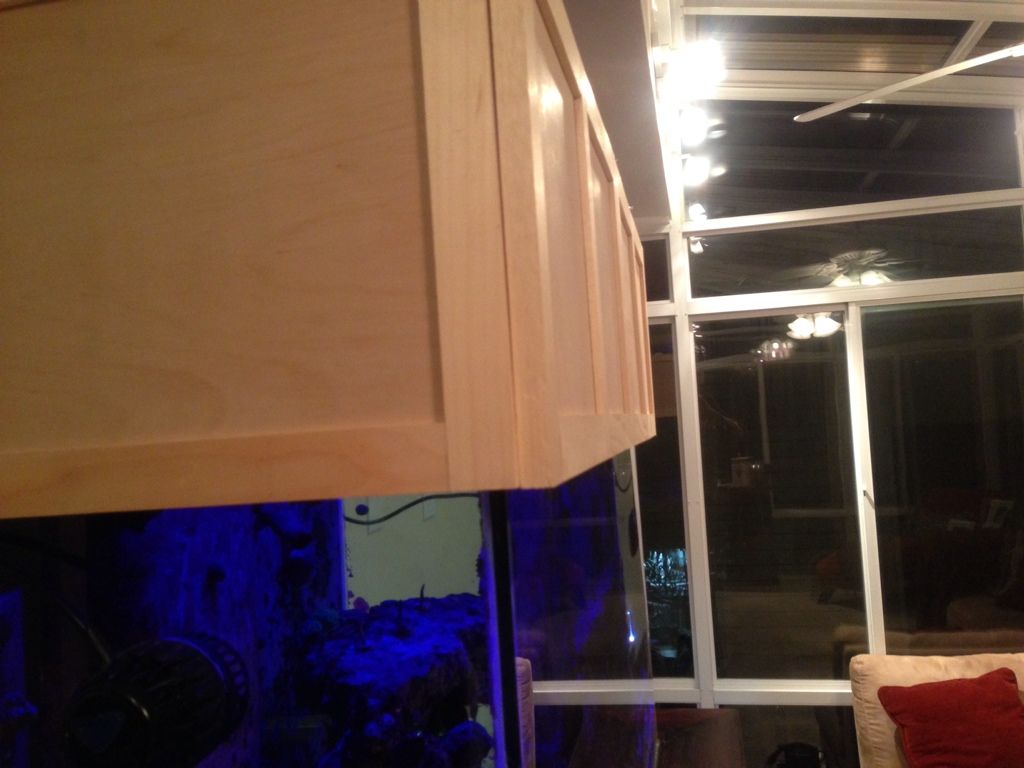
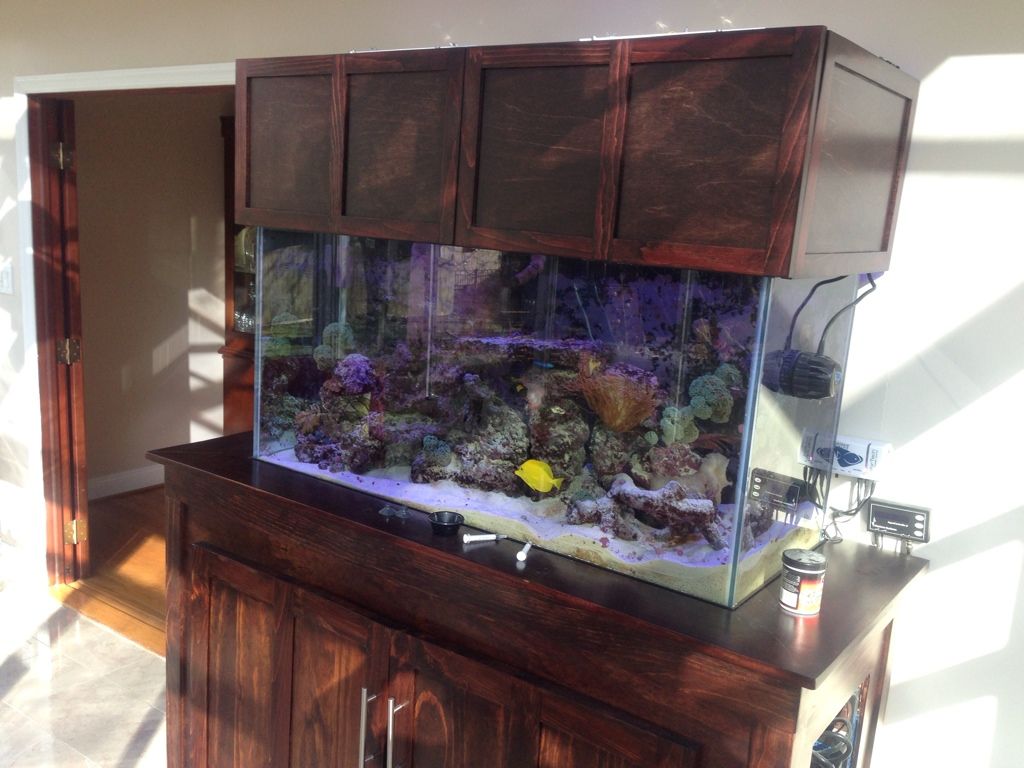
Got the hood panels finished and up. Think this is finally wrapped up
C265166F-74A6-40FC-8A45-A952213B409E-1371-000001405CEF6A6B_zps930b5ae3.jpg
 

fatoldsun

NJRC Member
Looks good Dave. Always like seeing the woodworking. :)
Thanks Paul. FWIW you were right in that I didn't **really** need the hinges to raise the lights. I have more than enough room to get in there. I guess extra accessibility can't hurt. As for the woodworking, I like how the panels came togeather better than the stand doors so I'm thinking of remaking them. The panels are MUCH lighter and one of the double bottom doors is warped and doesn't line up well. I will either remake or repair that or scrap all 4 and go with something lighter... My hinges (European style hidden) are rusted already. Especially those closer to the drain and skimmer. I need to find stainless and they're a fortune. Lighter doors I could get away with 2 on each large door instead of 3...
 
Top