• Folks, if you've recently upgraded or renewed your annual club membership but it's still not active, please reach out to the BOD or a moderator. The PayPal system has a slight bug which it doesn't allow it to activate the account on it's own.

Inherited 90

TanksNStuff

Officer Emeritus
Officer Emeritus
I have no idea why cold water makes a rodi slower but it does for all of them.

I've heard that a way to combat this problem is to have anextra length if intake tubing coiled up inside a bucket of water with a heater in it. As the water travels through the tubing it gets warmed by the warmed water that its sitting in. This raises the water temp without actually filtering hot water.

Paul, for your situation, I'd highly recommend getting a pressure gauge.
 

Fish Brain

Officer Emeritus
Officer Emeritus
I have no idea why cold water makes a rodi slower but it does for all of them.

It is the same problem all guys have with cold water, shrinkage. The membrane contracts at colder temperatures and the smaller pores restrict the flow through the membrane. Water production is greatly reduced in the winter months when the source water is colder.
 
It is the same problem all guys have with cold water, shrinkage. The membrane contracts at colder temperatures and the smaller pores restrict the flow through the membrane. Water production is greatly reduced in the winter months when the source water is colder.

Oddly enough, if you replace the word "membrane" with "member" this analogy still works.
 

redfishbluefish

Officer Emeritus
Officer Emeritus
Having recently made additions to this Tale, I decided to reflect on the earlier posts I’ve made by going back to day-one and reading. To my horror, I only got as far as my very first post. In this post, made over two years ago, I had a “To-Do” list, which I will repeat here:

1. Build cabinet for left side of tank
2. Build canopy.
3. Finish base cabinet with molding
4. Install external pump for skimmer

Well, more than two years later, and I’ve done NONE of these! The good news is that item 4 may be removed, because I’ve since gone with an internal skimmer.

So tonight I began building the canopy. As I build….hopefully only two or three days instead of two plus years, I’ll add pictures. Now to the basement……..
 

TanksNStuff

Officer Emeritus
Officer Emeritus
I started my canopy for my new build just last night Paul. I've been delaying it but not as long as you, LOL.
 
So what union are you repping for the build?


We need a guy to buy the screws, a guy to hold the screws, a guy to turn the screws, and a guy to ensure they're properly installed. I think it'll be about $50 a screw, but we should be able to cover that :).
 

redfishbluefish

Officer Emeritus
Officer Emeritus
So what union are you repping for the build?

I do not care for the tenor of your comment. Accordingly, my Shop Steward and I will be in your office first thing tomorrow morning to file a grievance. :grin:


I think it'll be about $50 a screw, but we should be able to cover that.

For the oldest profession, in today’s economy, that’s a bargain! Stop complaining and pay! :eek:


Now, for the build:

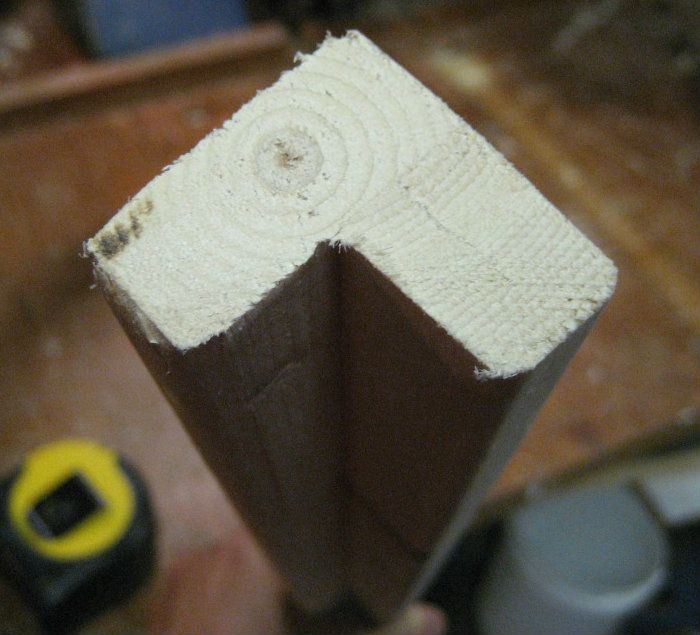
Here’s how far I’ve gotten tonight…..on overtime! Instead of using 2 x 2’s, which are commonly used in canopies, I made “L” brackets out of inexpensive fir stripping. The primary reason is strength over five foot, but also for overall weight….these are lighter:

CanopyBrace.jpg


This “L” bracket is more stable than a five foot 2 x 2. I’ll use these on the two top braces of the canopy.

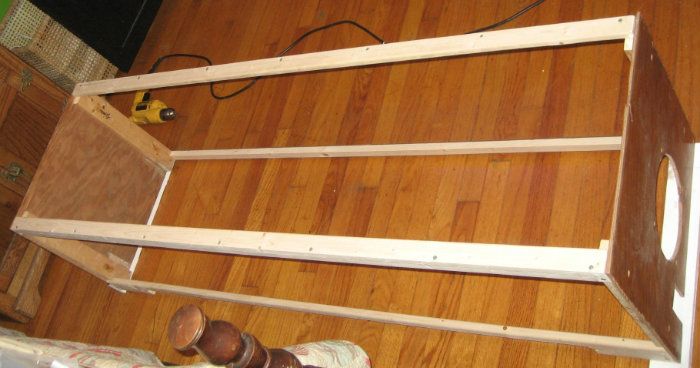
With these “L” brackets installed, here is the carcass of the canopy….using the end pieces from the original temporary canopy.

CanopyCarcass.jpg


I’m going to bed……more tomorrow.
 
"For the oldest profession, in today’s economy, that’s a bargain! Stop complaining and pay! :eek:"

Now that my friend Paul is humor!
 

TanksNStuff

Officer Emeritus
Officer Emeritus
All kidding aside, that's good work on the canopy Paul. It's a much simpler (and lighter) design then what I'm going with though.
 

redfishbluefish

Officer Emeritus
Officer Emeritus
Continuation of the Canopy Build

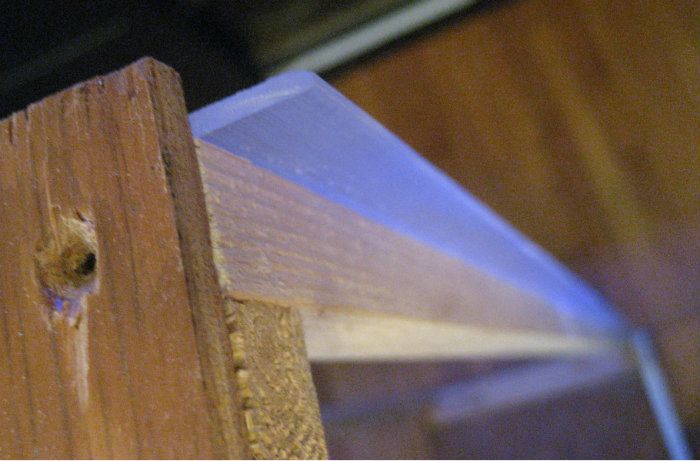
On the front lower frame member I attached a strip of 1/16 acrylic, jutting down a half inch. This will hit the front glass of the tank and keep the canopy from sliding back.

CanopyFrontEdge.jpg


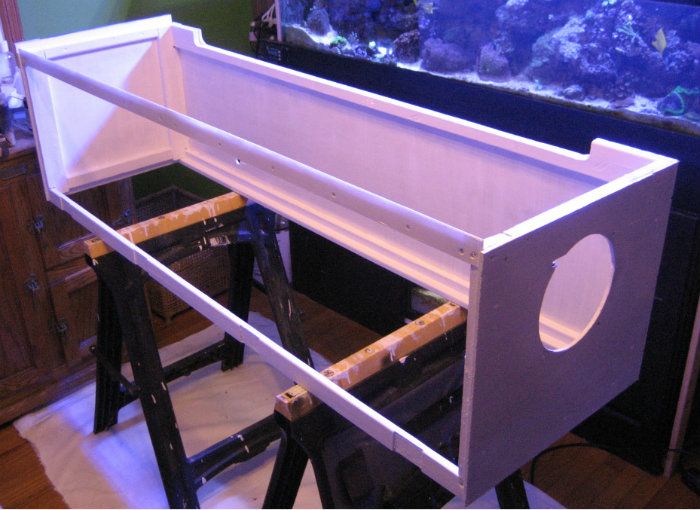
Primed the box with Kilz….here it is upside down without the door:

CanopyPrimed.jpg


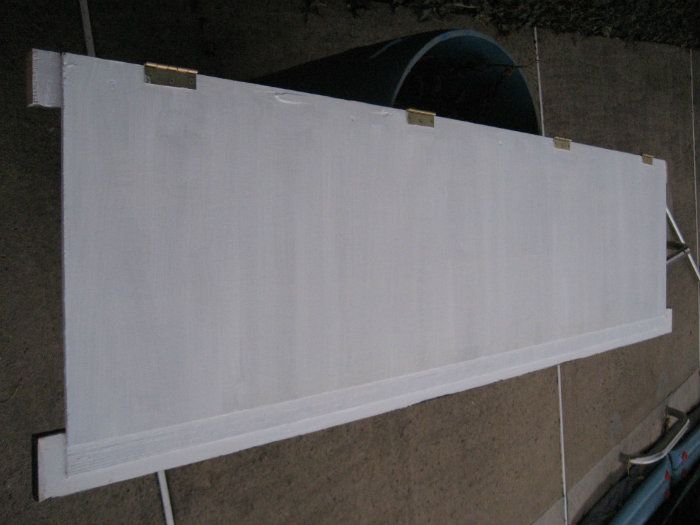
And here’s the door with the hinges set:

CanopyDoor.jpg


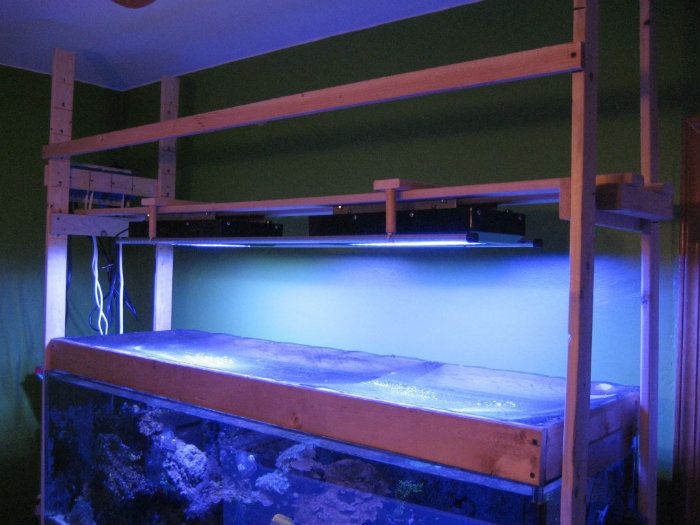
After lights go out tonight, I pull down the Rube Goldberg that’s currently holding the lights:

TemporyLightFrame.jpg


First thing tomorrow morning I put the canopy in place and set the lights. Still need to do the finish molding and painting of the outside of the canopy.
 

redfishbluefish

Officer Emeritus
Officer Emeritus
Canopy Build

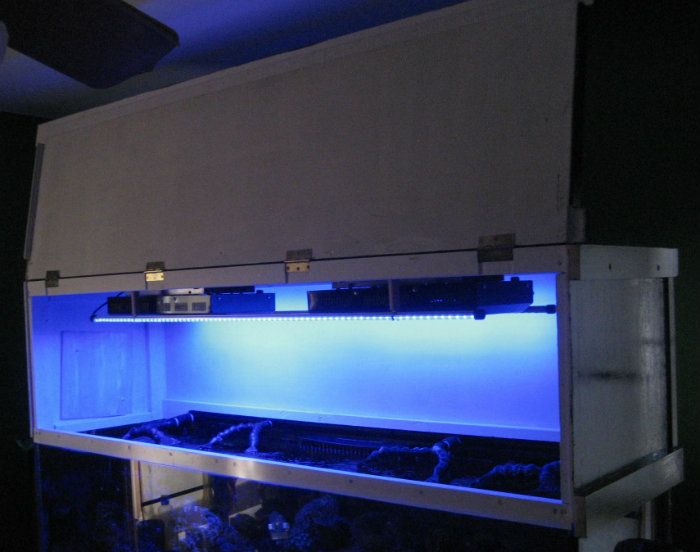
Almost there……here it is with the door open:

CanopyOpen.jpg


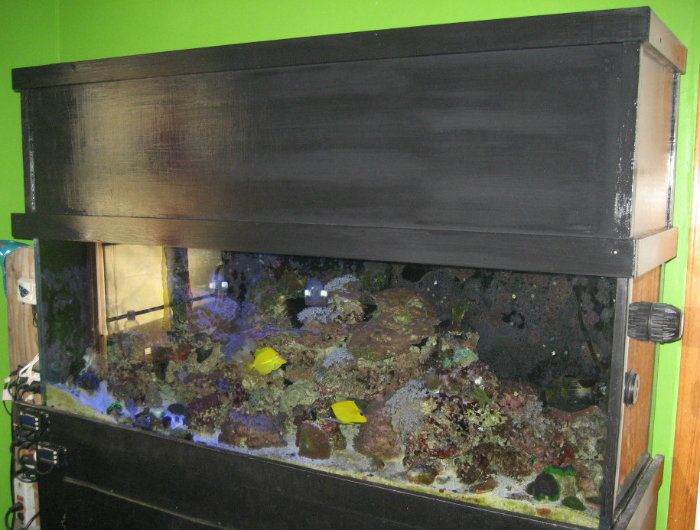
And here it is with the door closed (paint still wet):

CanopyDoorClosed.jpg


Couple little things to finish up….need to putty holes and touch-up; need to shim hinges (door is slightly sprung); need to install canopy fan (hole temporarily covered).
 

redfishbluefish

Officer Emeritus
Officer Emeritus
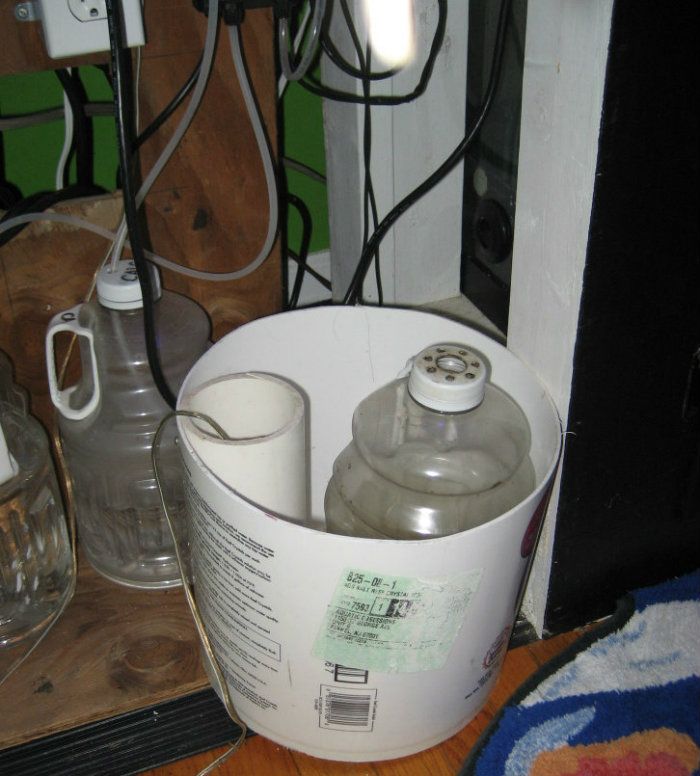
I replaced my original DIY skimmate control system (a fruit juice jug in a cut-down salt bucket that contained a float switch) with a new slimmer DIY container version.

Here is the original old fruit juice jug:

OldSkimmerCollectionJug.jpg


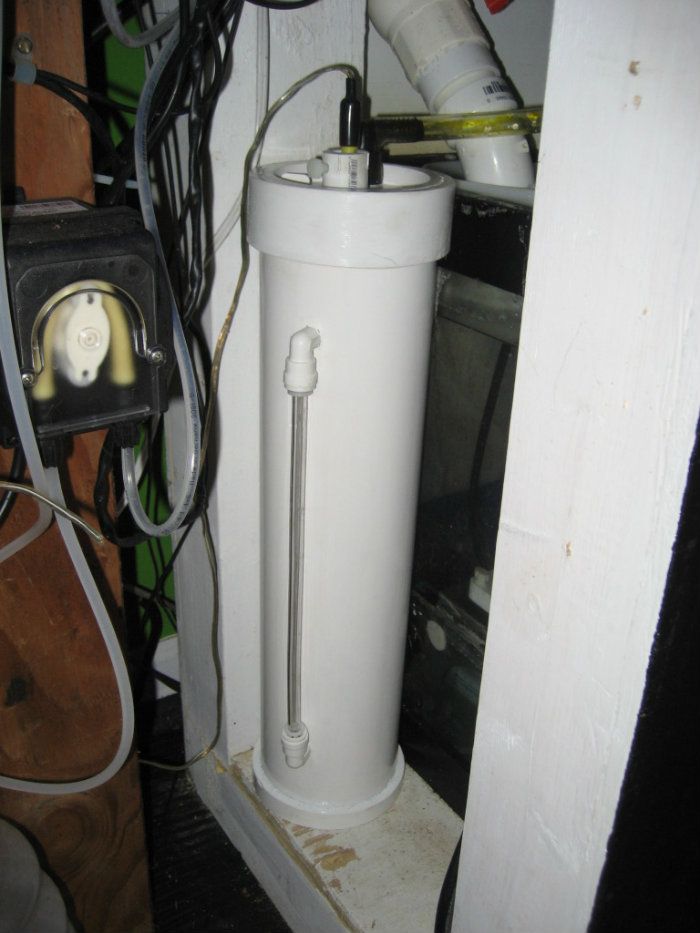
And here is the new one, which fits perfectly on the small section of the stand. The DIY can be found HERE. I actually made a second base unit to allow a quick change and the time to clean the dirty one. I’m very happy.

NewSkimmateCollectionContainer.jpg
 

redfishbluefish

Officer Emeritus
Officer Emeritus
Design Flaw in ATO Reservoir

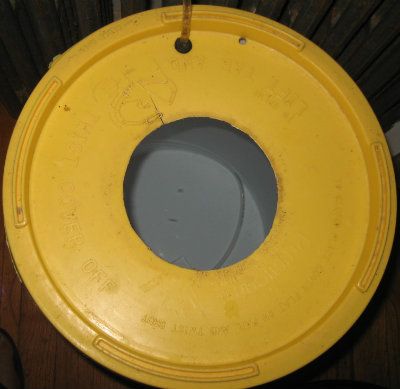
My freshwater ATO reservoir is a DIY five gallon bucket with a five gallon water jug that sits on the top of the bucket. This gives me a total of ten gallons, but maintains the siphon point at the level of the five gallon bucket……below the level of my sump. It looks like this:

IMG_1706.jpg


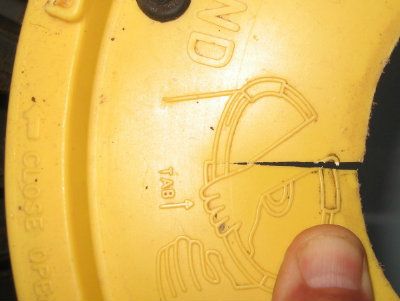
I went to put on a new five gallon bucket and saw that the top was cracked:

ATOReservoirTop.jpg


Here’s a close-up to see the crack:

ATOReservoirCracked.jpg


I’ll be back in an hour or so with a potential fix…….to the shop!
 
Top