-
Folks, if you've recently upgraded or renewed your annual club membership but it's still not active, please reach out to the BOD or a moderator. The PayPal system has a slight bug which it doesn't allow it to activate the account on it's own.
You are using an out of date browser. It may not display this or other websites correctly.
You should upgrade or use an alternative browser.
You should upgrade or use an alternative browser.
68 CREE LED 3 mean well 60-48p driver parallel build
- Thread starter fatoldsun
- Start date
I'm following along. Cause I'm considering building a DIY for my frag tank.
How many LEDs will I need for a 40breeder?
We're did u order your LEDs , drivers and etc needed for the build?
Checkout this link. It covers the recommended # of LEDS and clustering layout design.
http://www.nano-reef.com/topic/311998-full-spectrum-led-layouts/
How high off the surface do people have their lights?
Nice build fatoldsun.
I have mine about 8" off the surface with a mix of 60 degrees, 80 degrees and some lens less for my 72 gallon bow front tank. I did not have any splashing problem until I decided to pierce a hole a little to high on the sump return line before I went on vacation. It made a big mess when my water level dropped on the last day of my vacation when my top off water was depleted. I had to take it down and clean it off thoroughly. But that gave me a chance to redo the lighting to incorporate some of the newer color LEDs that I was missing out on. I also plug the hole that was too high on the return line.
I wired my setup in series so I was able to avoid using resistors. Controlling the dimming with my Apex controller allows for pretty cool ramp up and down options.
How high off the surface do people have their lights?
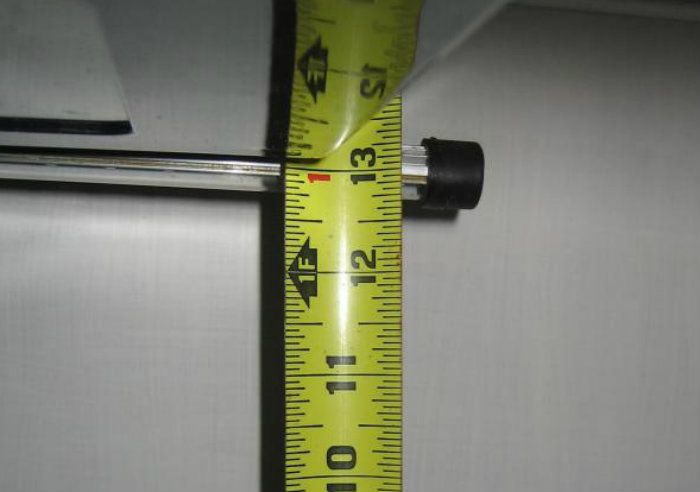
My Apollos are exactly 13 inches from the surface of the water to the base of the fixture. You probably need to add another ¼ inch, since the LEDs are behind a piece of glass/plexi. As far as I know, I have no optics on my fixtures.
fatoldsun
NJRC Member
Work on the canopy underway. Step 1 is an aluminum frame. (I'm not sure I can adequately describe this design so I'll try to document as I go.) I drilled to attach the wood (using stainless) and want the frame to sit flat.
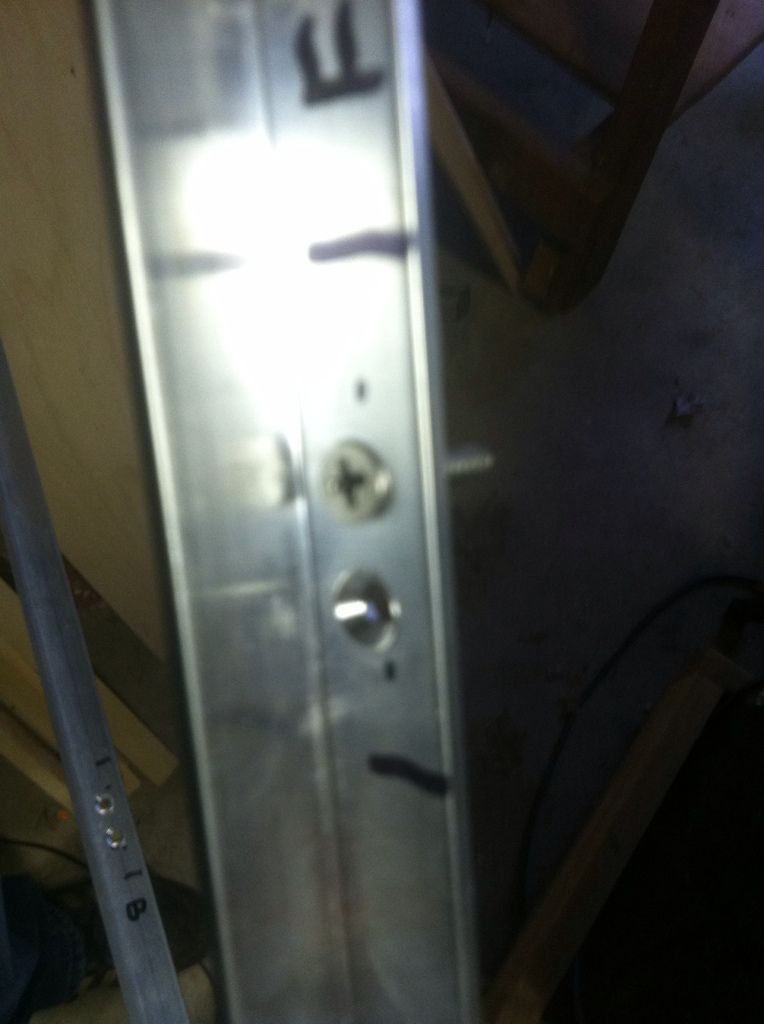
The frame itself is drilled for rivets (screws will be secondary and tie it together. Wish I could weld aluminum)
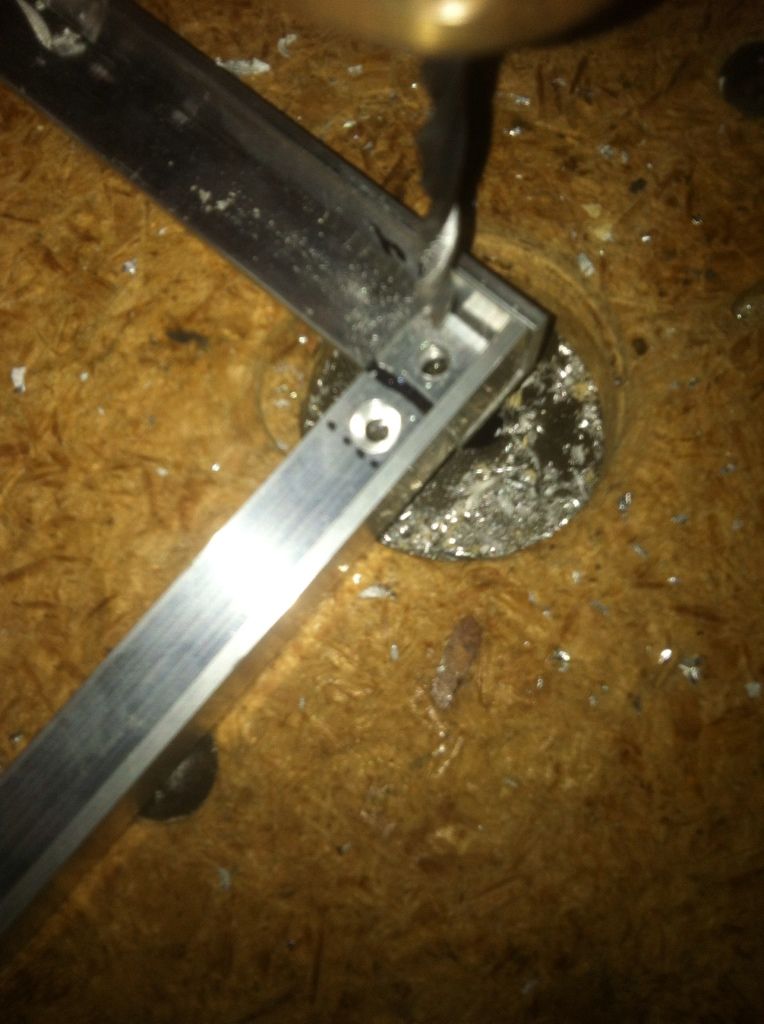
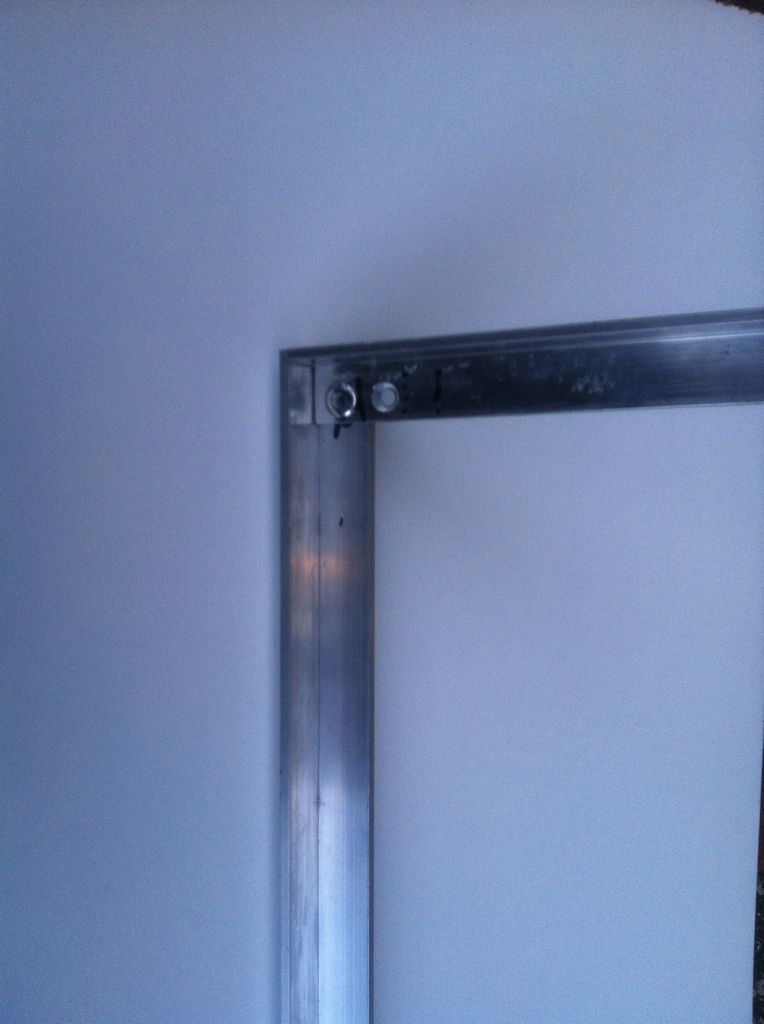
All together. (1st test fit was a little too snug so I need to remake one piece)
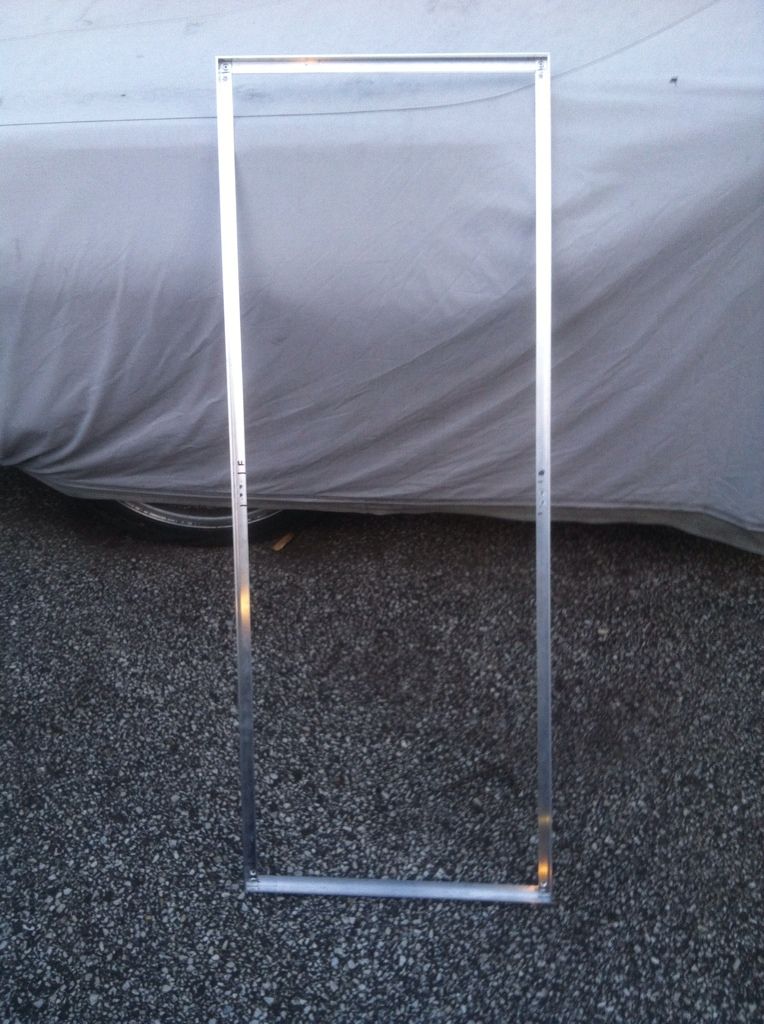

The frame itself is drilled for rivets (screws will be secondary and tie it together. Wish I could weld aluminum)


All together. (1st test fit was a little too snug so I need to remake one piece)

Looks good. I've built something similar for a suspended canopy that I'm putting together. I'm going to try a mix of t5s and leds. Wish I had thought about rivets. I ended up using screws instead. Are you going to mount the aluminum frame directly to the canopy? I think I'm going to mount a piece of angle aluminum to each side and the the frame sit on it to make it easier to remove.
fatoldsun
NJRC Member
Aluminum frame will sit on the tank frame. Plan was to save weight and bulk instead of all lumber. I wanted to do a full canopy frame of aluminum with a wood skin but with just rivets i thought it would be too unstable - I asked Santa for a MIG welder that could do aluminum (and a tutor) but all I got we're a couple Herseys Bars...
Anyway this will just sit on top of my plastic tank frame. 1x2" lumber does the rest with some creative French cleats to hold the panels. My plan has both light modules on hinges and with the front panel off and the light up I'd have full access to the tank without a bar going across the front.
Anyway this will just sit on top of my plastic tank frame. 1x2" lumber does the rest with some creative French cleats to hold the panels. My plan has both light modules on hinges and with the front panel off and the light up I'd have full access to the tank without a bar going across the front.
I asked Santa for a MIG welder that could do aluminum (and a tutor).........
Wow! Was someone on the naughty list?
Actually if you want to go the gas route, that’s some serious coin for a couple tack welds. You could go cheaper with a flux core MIG…… But the best (cleanest looking) weld for aluminum is TIG. So behave yourself and next year ask Santa for TIG.
Or you could just take your aluminum pieces to your local metal fabricator and for $20 they’ll weld that puppy together.
I also like your tutor comment as well……It is an art that requires many many hours of practice to make decent looking welds. I never got any further than steel….and they were pretty ugly welds.
fatoldsun
NJRC Member
This build is starting to out wear its welcome. Like an uncle who stays too long at thanksgiving.
Anyway I'm nearing the end. I'm setting up the remote box to house all the electronics.
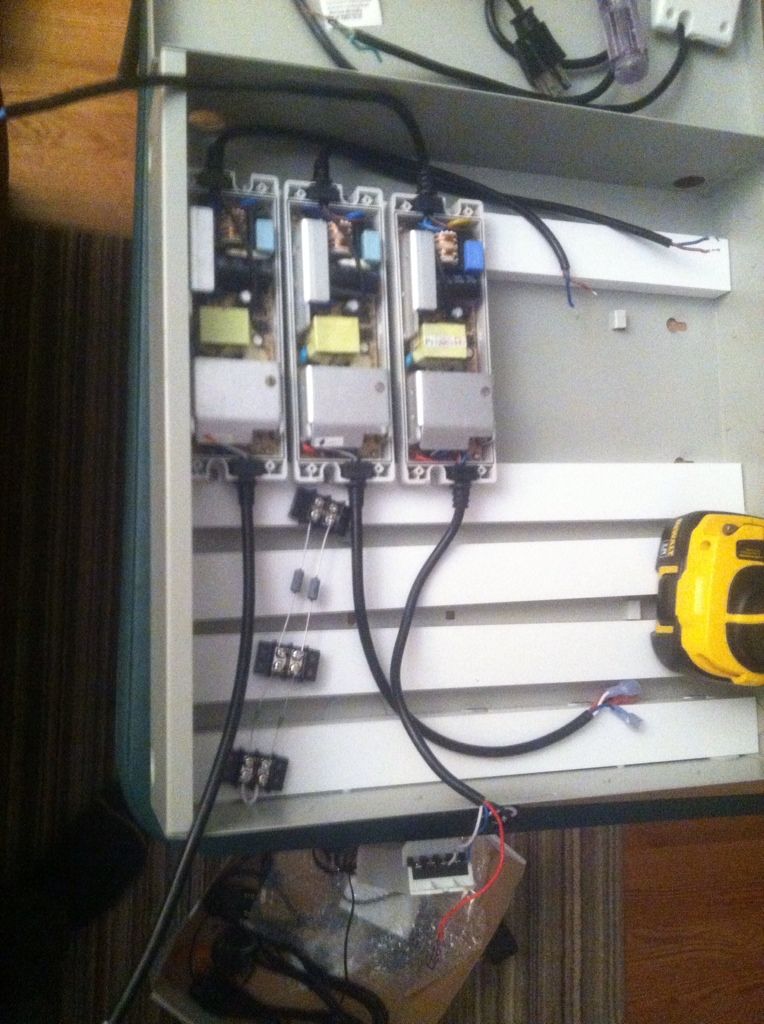
I also set up the power (blue and mixed colors will share a plug and white will be on its own plug. Actually with the controller I could have done all 3 together. Oh well. Here's the start of that.
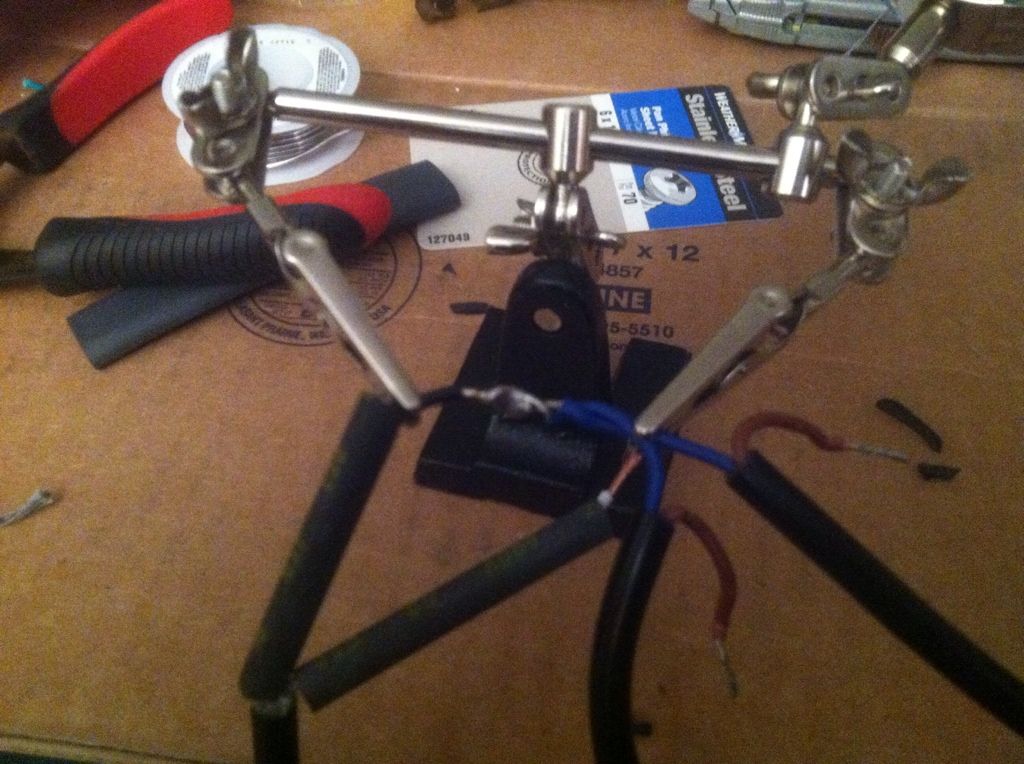
More pics tomorrow.
Anyway I'm nearing the end. I'm setting up the remote box to house all the electronics.

I also set up the power (blue and mixed colors will share a plug and white will be on its own plug. Actually with the controller I could have done all 3 together. Oh well. Here's the start of that.

More pics tomorrow.
Looking good Dave……I want to see what you do because, this is one thing I haven’t done well. I’m still playing with how I’m going to set up all my electrical stuff. I’ll be following along.
fatoldsun
NJRC Member
It occurred to me last night that a CPU case or tower may have been a better option. Lots of spots in the back for cable openings and provisions for a fan. Plus the existing power supply I have in some of the old ones I have laying around could power all the fans for the box and the heatsinks. Just an alternative
fatoldsun
NJRC Member
Chipping away. I got through the bulk of the wiring. I still have to plug these into the Delco plugs but that's a snap, literally. I will have to make up some extension harnesses, hopefully tomorrow. I just ran short on wire. If possible I'm hinny find some 6-way. That would be MUCH cleaner and as long as I'm careful with the order the Delco plugs will match everything up.
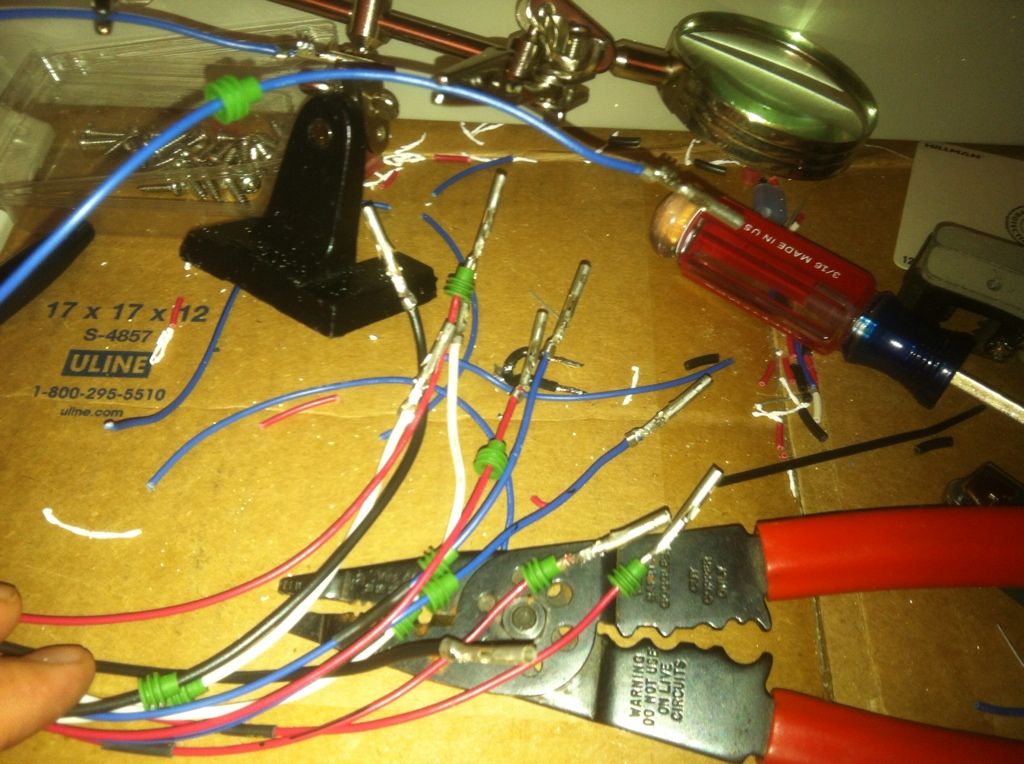
I made my own Ys in stead of using jumpers on the junction blocks. This is what splits the drivers for the parallel setup. Blacks are neutral. Reds are line (hot)
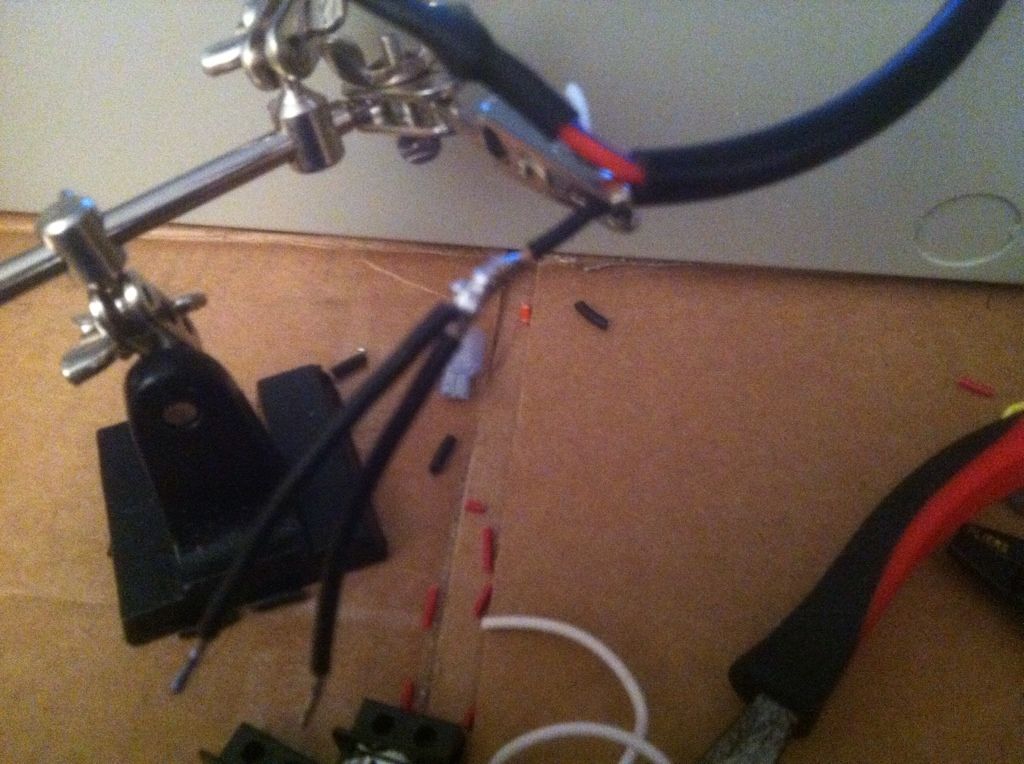
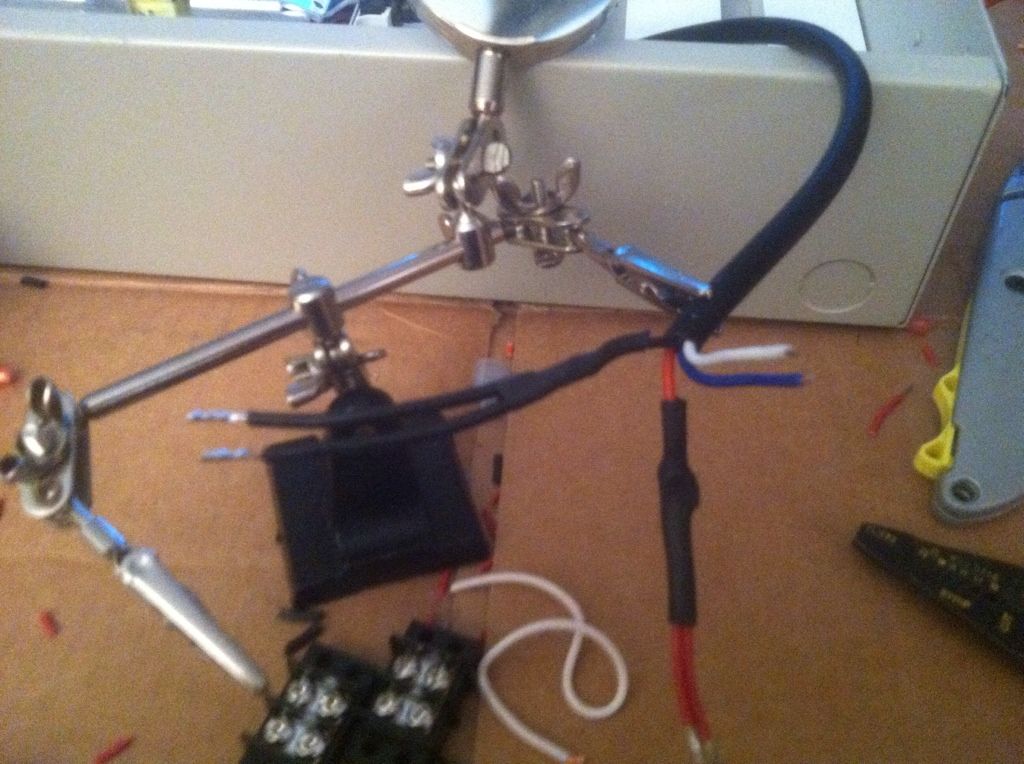
All shrink wrapped after
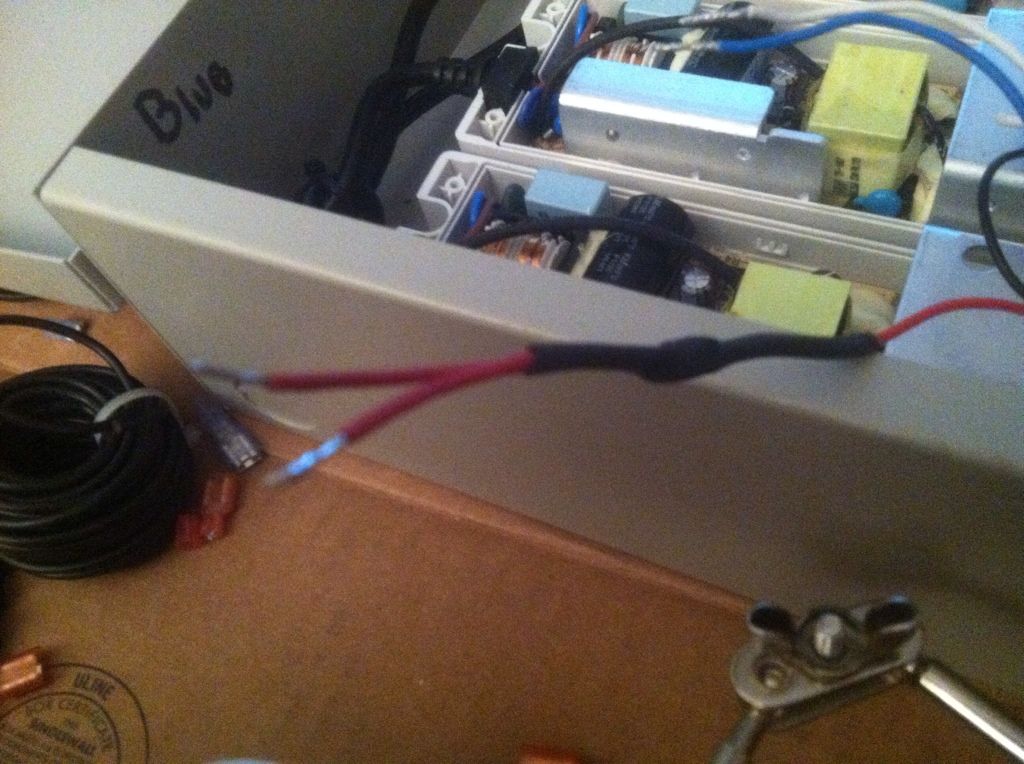
Neutral
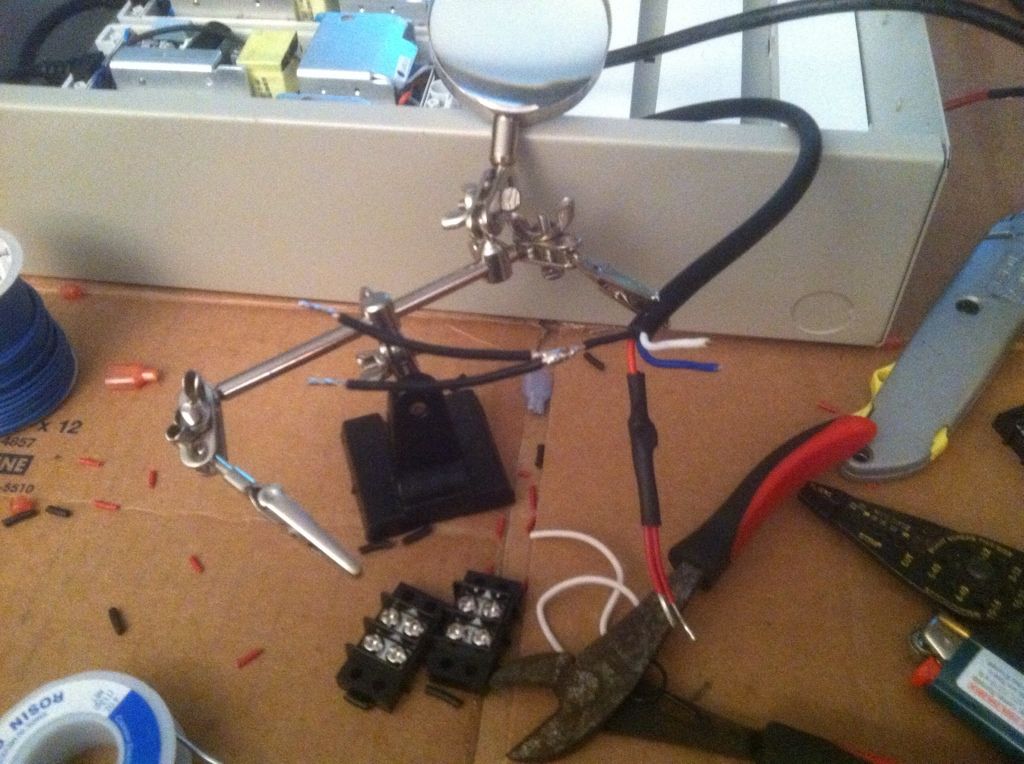
Wrapped
These are the female ends that snap into the Delco housings. The green bung is to weather seal each opening.
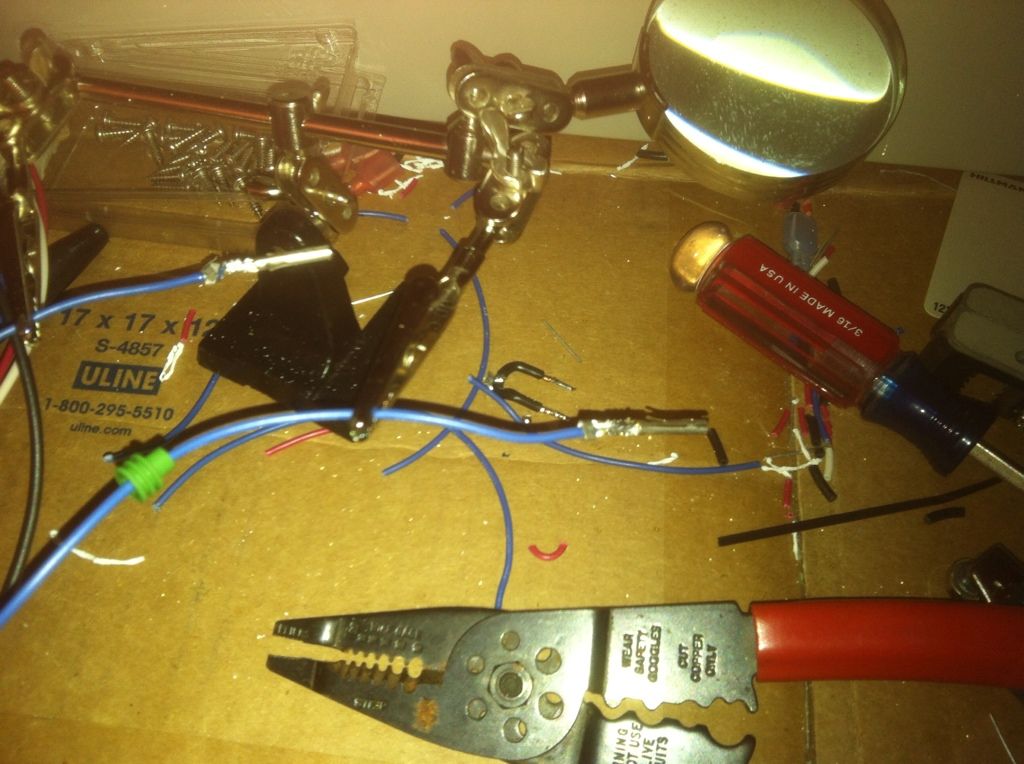
This is the harness for 3 channels x 2 fixtures x 2 for line/neutral for 12 wires. Neutral have some heat shrink do I know which are which
And the driver box
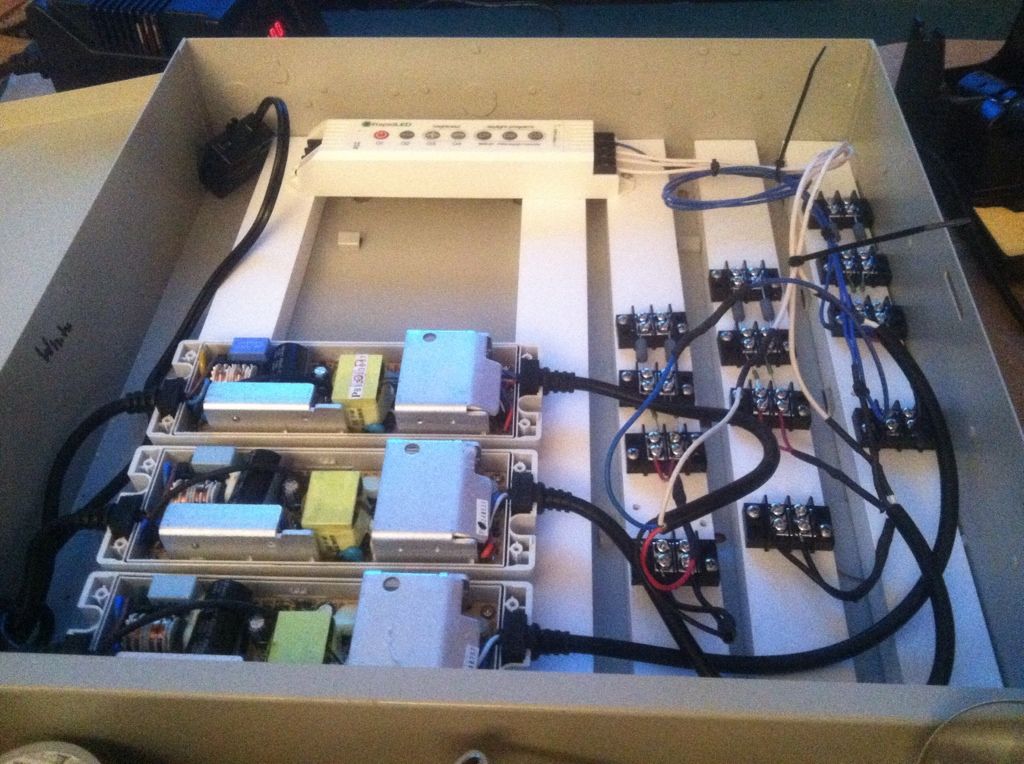
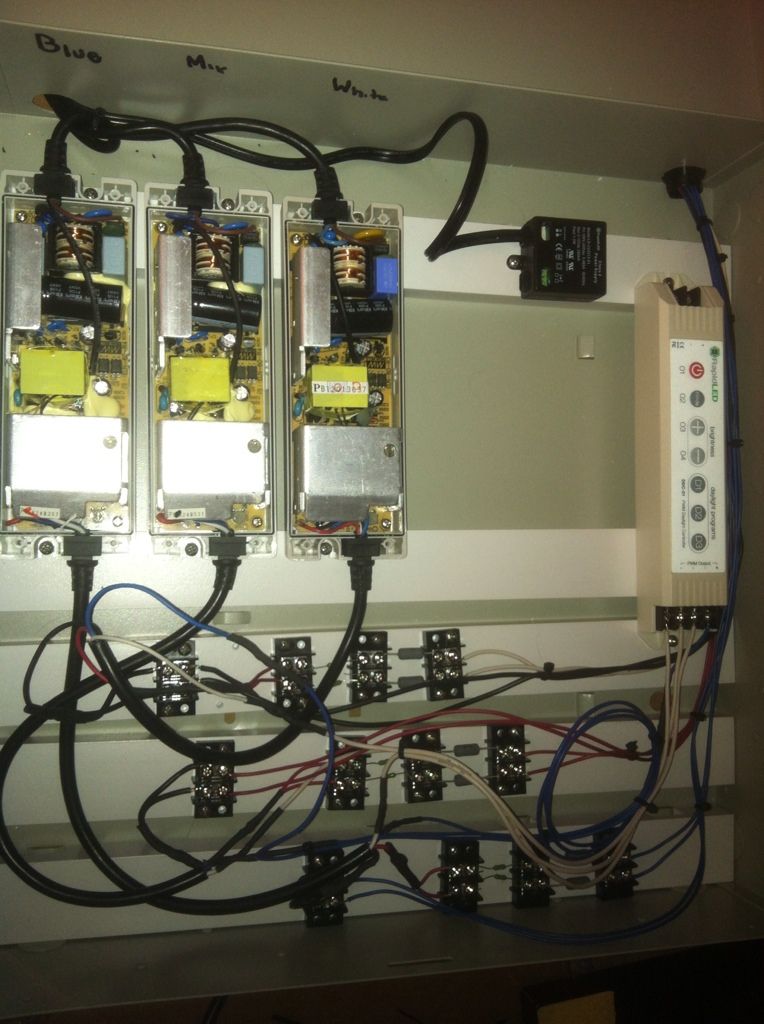
I made my own Ys in stead of using jumpers on the junction blocks. This is what splits the drivers for the parallel setup. Blacks are neutral. Reds are line (hot)

All shrink wrapped after

Neutral

Wrapped

These are the female ends that snap into the Delco housings. The green bung is to weather seal each opening.

This is the harness for 3 channels x 2 fixtures x 2 for line/neutral for 12 wires. Neutral have some heat shrink do I know which are which

And the driver box


Dave, very nice! Really clean looking. Now what are those white strips that you're mounting to...wood?
fatoldsun
NJRC Member
Thanks Paul. The boards are PVC board. It's 1.5"x3"x8' trim board and screwed in from the back. I don't like electronics on wood. I'm not sure how much better this is but I gave it a shot.
Thanks for the words of encouragement Jason. I'm just anxious because I was too cheap to replace my HQI bulbs and I've lost just about all my SPS and a couple LPS look pretty bad. Granted all frags but they were just starting to take off.
Thanks for the words of encouragement Jason. I'm just anxious because I was too cheap to replace my HQI bulbs and I've lost just about all my SPS and a couple LPS look pretty bad. Granted all frags but they were just starting to take off.
fatoldsun
NJRC Member
Got the weather pack plugs done and test fired. I solved my extension dilemma - turns out irrigation control cable comes in 18/6 (conductor) or 18/7. Lowes had 7, 50' for $15. Way more than I need but such is the way. It's also solid core - not strand which was not my preference but its the best I could find. With 7 I can run my moon light cables in the same bundle.
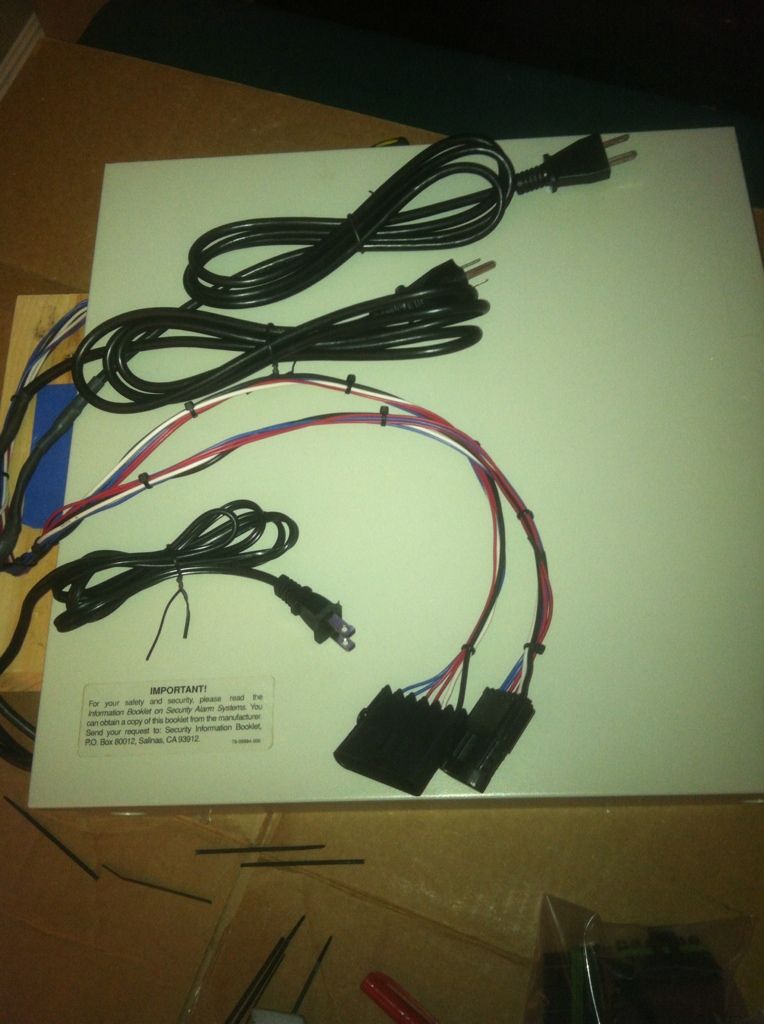
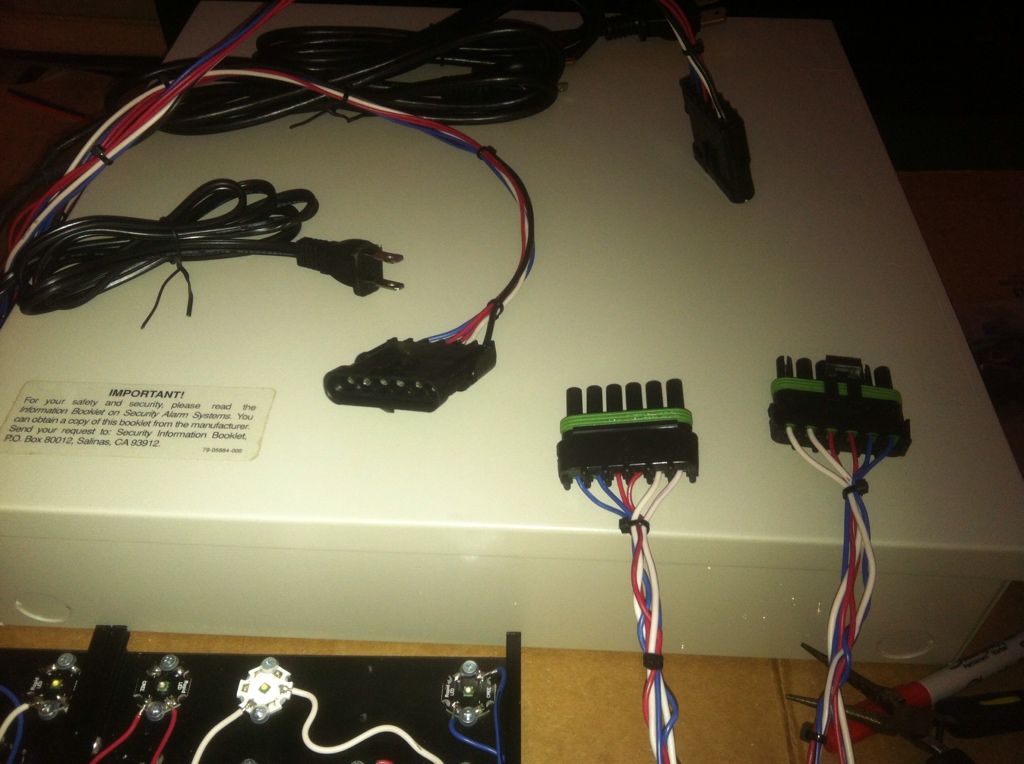
and test fired
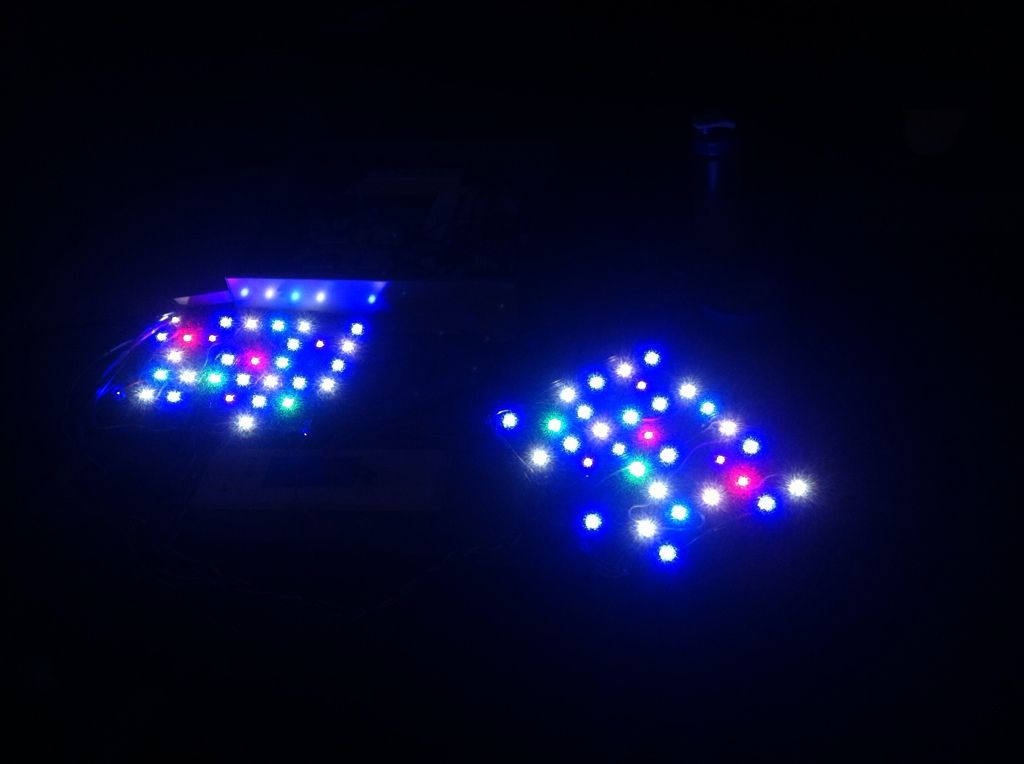


and test fired

Looking good Dave. Can't wait to see what they look like over the tank.
fatoldsun
NJRC Member
Looking good Dave. Can't wait to see what they look like over the tank.
Thanks George - I can't wait either - I just hope it's before the stuff that is struggling is totally STN'd. Most SPS is gone already (except a monti cap) and some LPS is struggling - the brain is 50-60% gone and two heads of candy-cane are about 50% gone each(I did have some clove-polyps that have started to wither away) . Hammer's doing great, leathers, mushrooms and other softies are fine and zoas/palys seem ok.
next step is to balance my parallel strings -
I measured across the resistors and they’re as follows:
White is 848/777
Blue is 479/487
mixed color is 341/347 (this is really stuck under 700 as this is maxed with the driver's internal pot - a wide spread for 3 drivers which are supposed to all be 750 mA)
I got lucky with the drivers since I think 2 white strings giving a total of 1625 mA (1.625 A) is good for my whites and cements the need for 1 driver there instead of 2
I will have to balance that to get it closer to 8125/8125. From what I've read a gap greater than 50mA should be addressed. I don't think the downside is all that great - has to do with temps and LED lifespan - they won't wear evenly but if I can get 4-5 years out of this rig I will be VERY happy. By then the technology will likely make all of this totally obsolete. Typical reef disease. It's not even close to hanging over the tank and I'm all ready 2 steps passed replacing it to upgrade…

