• Folks, if you've recently upgraded or renewed your annual club membership but it's still not active, please reach out to the BOD or a moderator. The PayPal system has a slight bug which it doesn't allow it to activate the account on it's own.

Ricwilli's 215 build

Well I think its time for me to start working on my upgrade from my current 90 gallon tank to a 210 gallon. My current tank no longer looks like a display tank anymore. Its more of a holding/frag tank for my 210. Right now I'm in the planning phase. I think its a good idea (for me anyway) to write and draw what you want your setup to look like so that it can minimize the over and under purchasing of items to build your setup. I drew up two plans that I can go with. Hopefully I will stick with the plan that I choose.

The first plan incorporates a frag holding area in the sump. I really like this one as the volume of water is less compare to plan #2. When I posted plan #1 in "Plans, Ideas & Reference Material for Starting a Reef Tank" thread, some of the reefers had concerns with the flow, bubbles and detrius that can accumulate in the frag holding area.

Plan #1
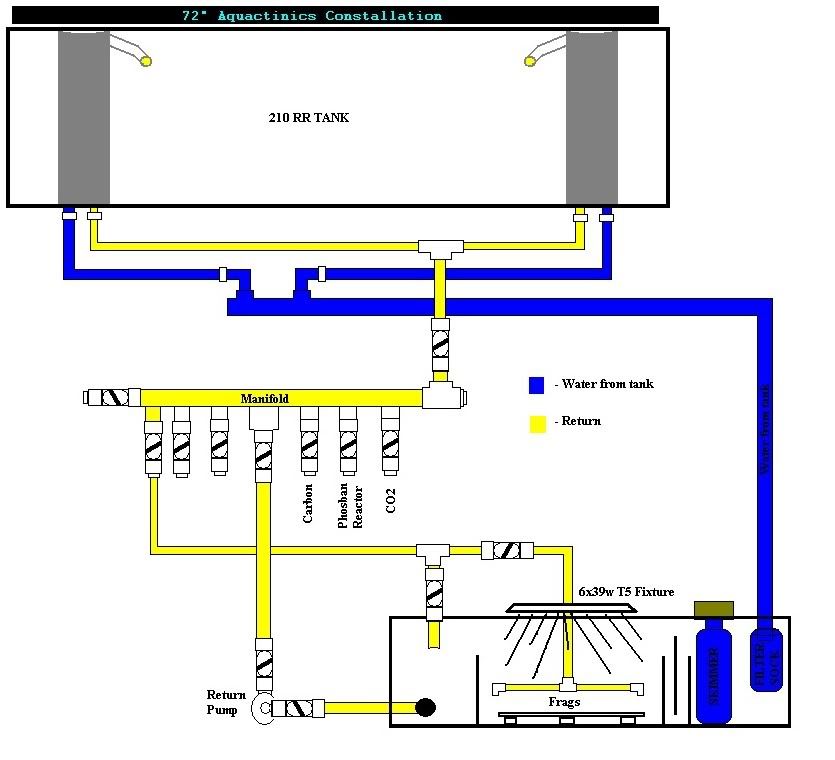
210Design.jpg


Second plan has the the frags in a separate tank (Merv's suggestion) connected to the main systems minifold. I also like this plan, but the more water in the system, means bigger water changes.

Plan #2
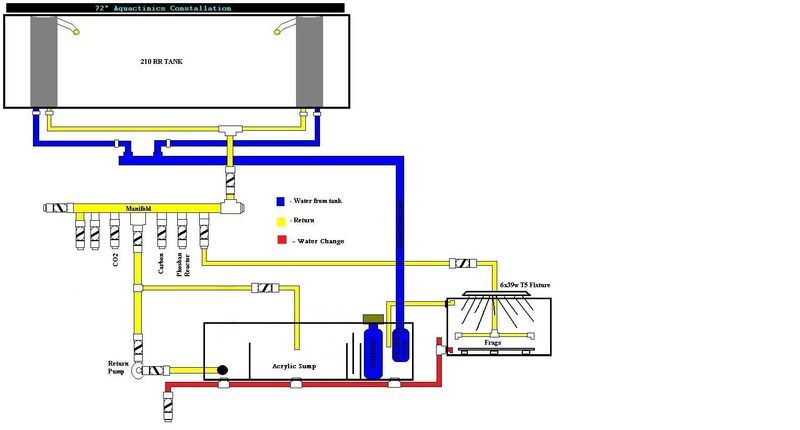
210Design-2.jpg


So what do you think???
 
Re: Ricwilli's 210 build

more water doesnt really mean more/larger changes. alot of people with large tanks only change 5 or 10 gallons.
 

arvin

NJRC Member
Re: Ricwilli's 210 build

One more vote for plan #2.

Why is the water change line is tied to three places in the sump and from the frag tank? any specific reason?
 
Re: Ricwilli's 210 build

Arvind said:
One more vote for plan #2.

Why is the water change line is tied to three places in the sump and from the frag tank? any specific reason?

Here is my guess...(correct me if i'm wrong) Just in case he wants to drain specific sections of the sump or the frag tank, or both since there are shut off valves above both??
 
Re: Ricwilli's 210 build

if i could re-build my system i def would have found a way to make water changes a bit more automated!
 
Re: Ricwilli's 210 build

onefish2fish said:
more water doesnt really mean more/larger changes. alot of people with large tanks only change 5 or 10 gallons.

This is good to know, cause I'm only planning on doing 30-40 gallon water change every two weeks.

Arvind said:
One more vote for plan #2.

Why is the water change line is tied to three places in the sump and from the frag tank? any specific reason?

Just what SirFragalot said. I will be able to drain each compartment for a water change. I'm also able to push all the crap that collects at the bottom of the sump into the water change holes. I'm thinking of not using any filter sock. I also forgot to add valves to each compartment.

Patriot76 said:
if i could re-build my system i def would have found a way to make water changes a bit more automated!

That it why I want to put everything down on paper before I start the build.
 
Re: Ricwilli's 210 build

i wish i had known about this site before starting my build, i probably would have done a few things different.
 
Re: Ricwilli's 210 build

i would put a ball valve on each pipe as close to the main tank as possible. it would make making repairs or changes later easier.
 

TanksNStuff

Officer Emeritus
Officer Emeritus
Re: Ricwilli's 210 build

Well, I love the drawings because they seem very well thought out.

I'm new to the hobby and admit that I don't have a lot of experience with setting things up... but if you go with plan #1 wouldn't it just be easier to add a TEE and a valve on the return piping (after the pump) to use for water changes? This way you can just hook up a hose to the TEE and then let the return pump take out the water. Or, if you go with plan #2, just borrow the line that TEE's back into the sump.

I guess this wouldn't allow you to "push all the crap that collects at the bottom of the sump into the water change holes" but that seems like a lot of extra drilling and bulkheads for not much of a gain IMO.

If you go with plan #2, I would agree adding one to the separate frag tank would be a good idea too though.

Oh, and love the manifold setup. Looks like you prepared for future upgrades and changes by having extra fittings / valves.
 
Re: Ricwilli's 210 build

TanksNStuff said:
Well, I love the drawings because they seem very well thought out.

I'm new to the hobby and admit that I don't have a lot of experience with setting things up... but if you go with plan #1 wouldn't it just be easier to add a TEE and a valve on the return piping (after the pump) to use for water changes? This way you can just hook up a hose to the TEE and then let the return pump take out the water. Or, if you go with plan #2, just borrow the line that TEE's back into the sump.

I guess this wouldn't allow you to "push all the crap that collects at the bottom of the sump into the water change holes" but that seems like a lot of extra drilling and bulkheads for not much of a gain IMO.

If I do that, only the first compartment will drain. This system will have a little over 240 gallon of water, total. My sump holds 60 gallons of water and each compartment will hold aprox. 10 gallons. I would like to get as close to 20% of water out of my setup for water changes. The water change thing is my biggest challenge. I want to be able to do it within 10 min.(10 min would still be to long).
 

TanksNStuff

Officer Emeritus
Officer Emeritus
Re: Ricwilli's 210 build

ricwilli said:
If I do that, only the first compartment will drain. This system will have a little over 240 gallon of water, total. My sump holds 60 gallons of water and each compartment will hold aprox. 10 gallons. I would like to get as close to 20% of water out of my setup for water changes. The water change thing is my biggest challenge. I want to be able to do it within 10 min.(10 min would still be to long).

I see, that explains why you are doing it this way.
 
Re: Ricwilli's 210 build

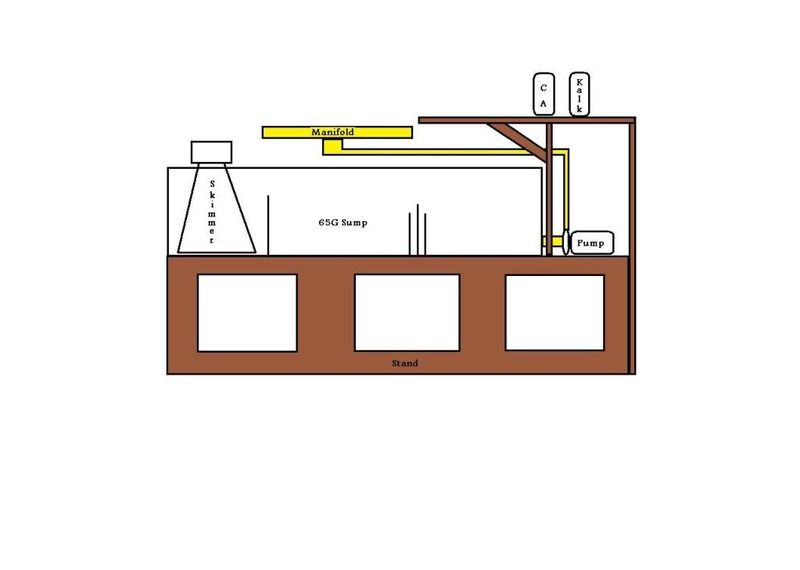
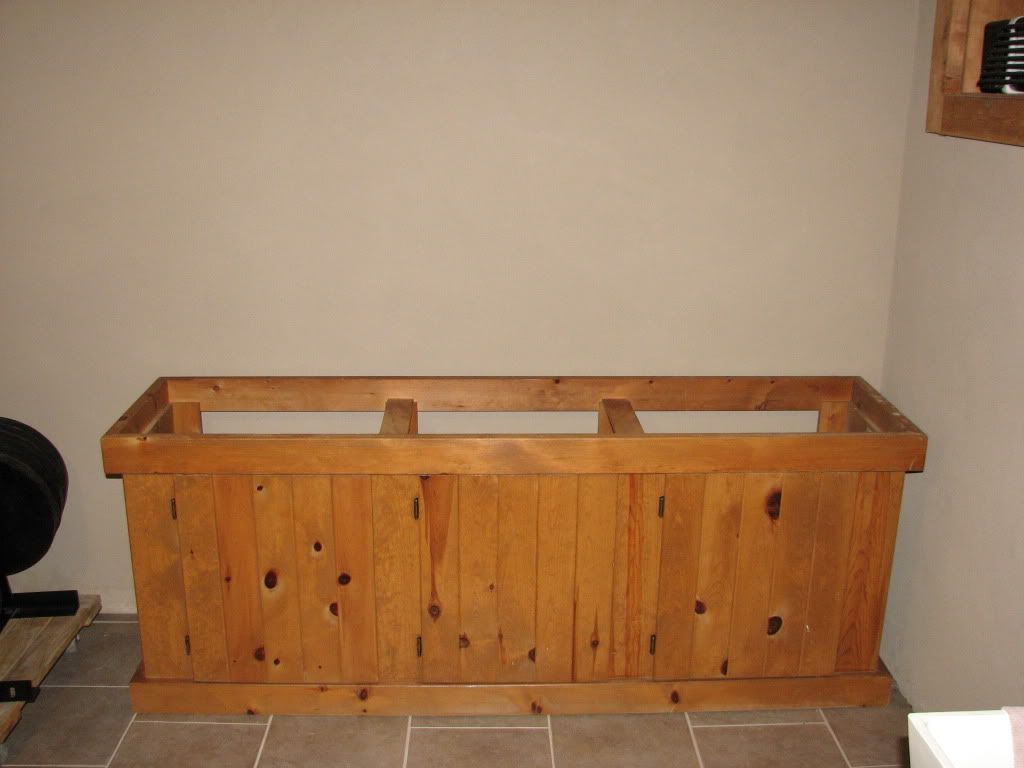
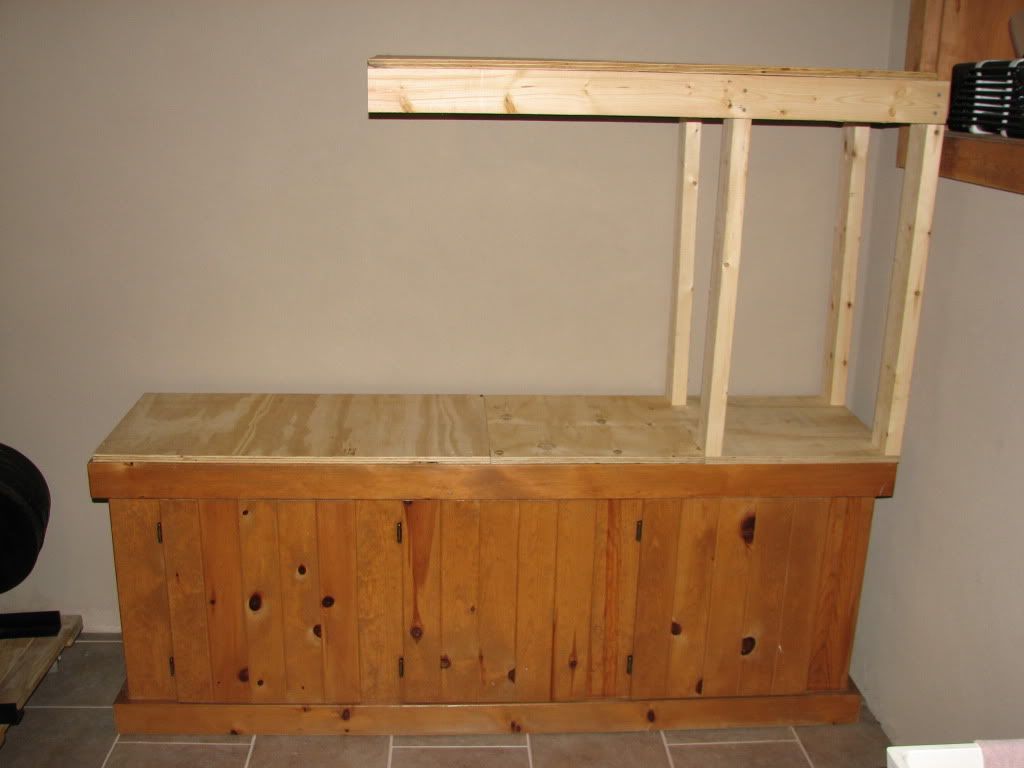
OK, here is baby step # 2. This is how I would like my sump area to look like. I already purchased the stand. All I have to do is build the shelf on the right. I will start this week. Can someone please tell me whats a good hole bit to drill acrylic?

SumpLayout.jpg
 

TanksNStuff

Officer Emeritus
Officer Emeritus
Great website for choosing acrylic tools... Melevsreef.com (scroll down to the holesaw bits, not the trimming bits he shows first.) This guy makes some pretty impressive sumps and has lots of experience, so I'd say he probably makes good recommendations on tools. You might even get some ideas from his designs.

I'd suggest using the rubber gasket of your bulkhead and trace the inside hole with a sharpie marker. Then try to match a bit that fits just inside the circle. Remember, you can always trim away to make the hole bigger, but you can't make it smaller! ;)
 
Re: Ricwilli's 210 build

OH YEAH! I totally forgot that website. He actually made the sump that I have. Thanks for the reminder.
 
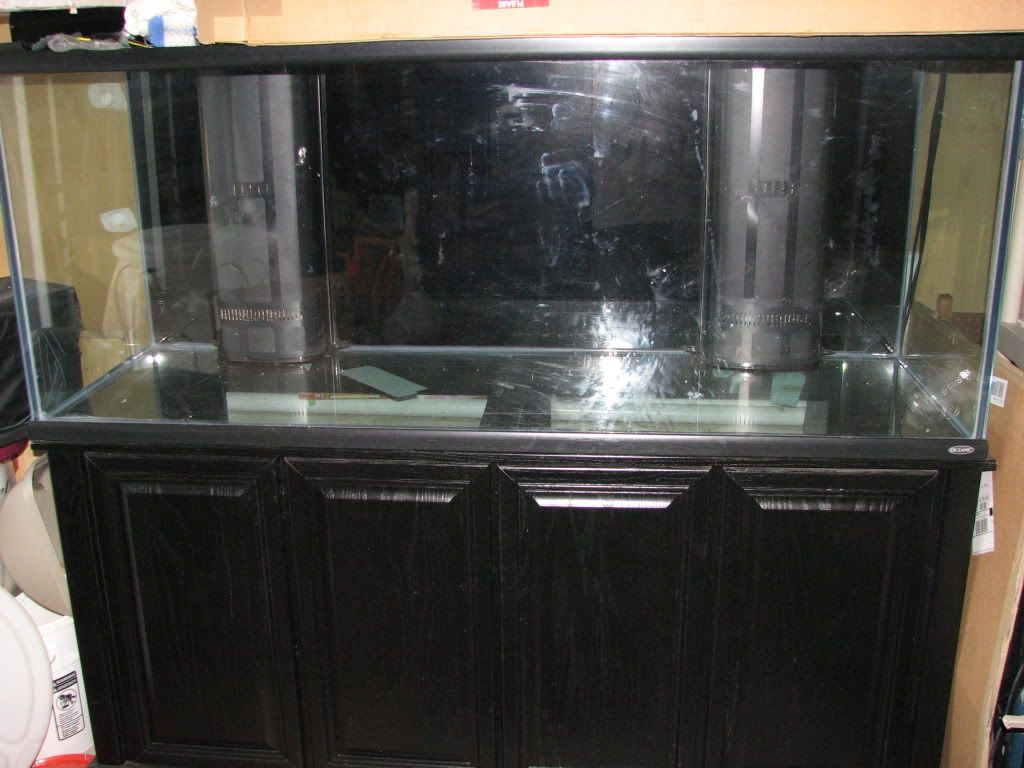
Here is my 215 Gallon Oceanic tank with Starfire front pane. Its currently in the garage surrounded by junk.

210Tank.jpg


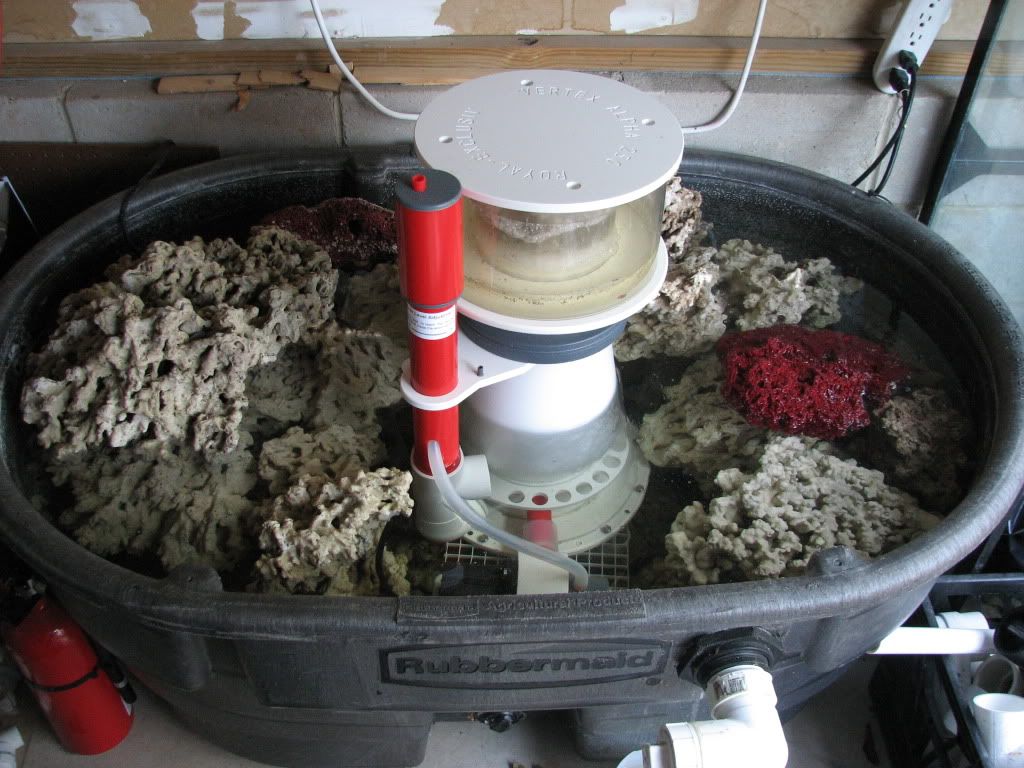
Here is a 100 gallon tub filled with over 200lbs of Marco rock. The skimmer is a Royal Exclusive Vertex Alpha 250. I would like to start the Brightwell products while the rocks are in the tub, but I would like to take out the rocks and Aquascape on the ground, instead of in the tank. I'm afraid that the bacteria will die while i'm aquascaping.

SkimmerRock.jpg


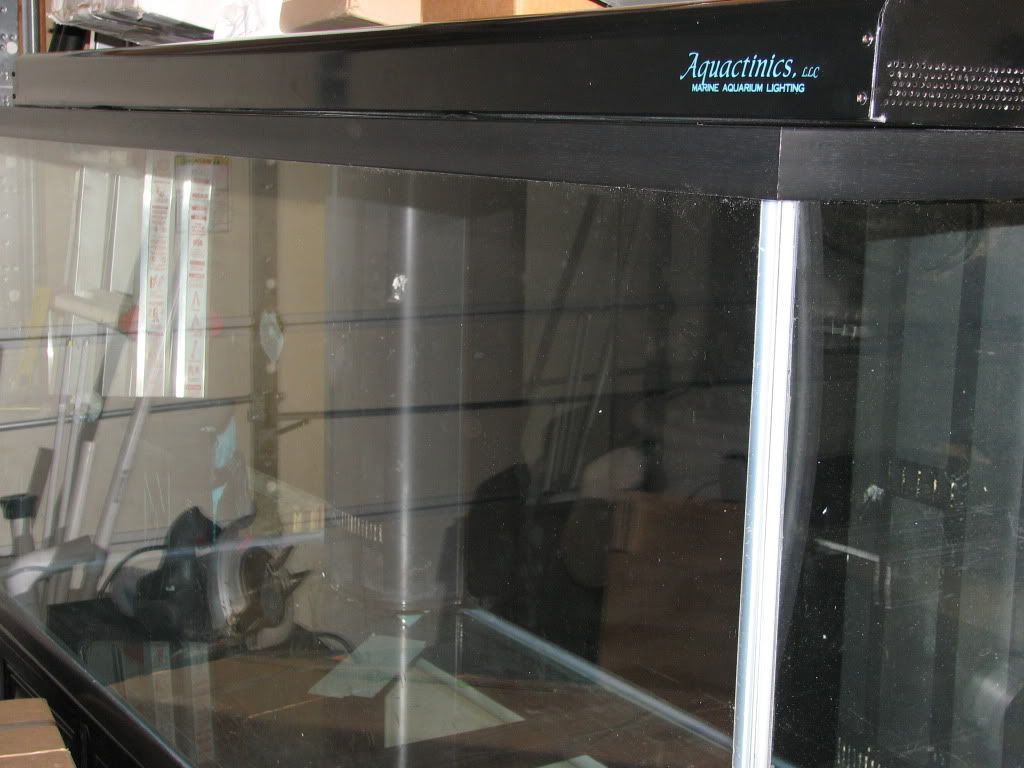
For lighting, I have the 72" Aquatinics Constallation.

72inAquactinics.jpg


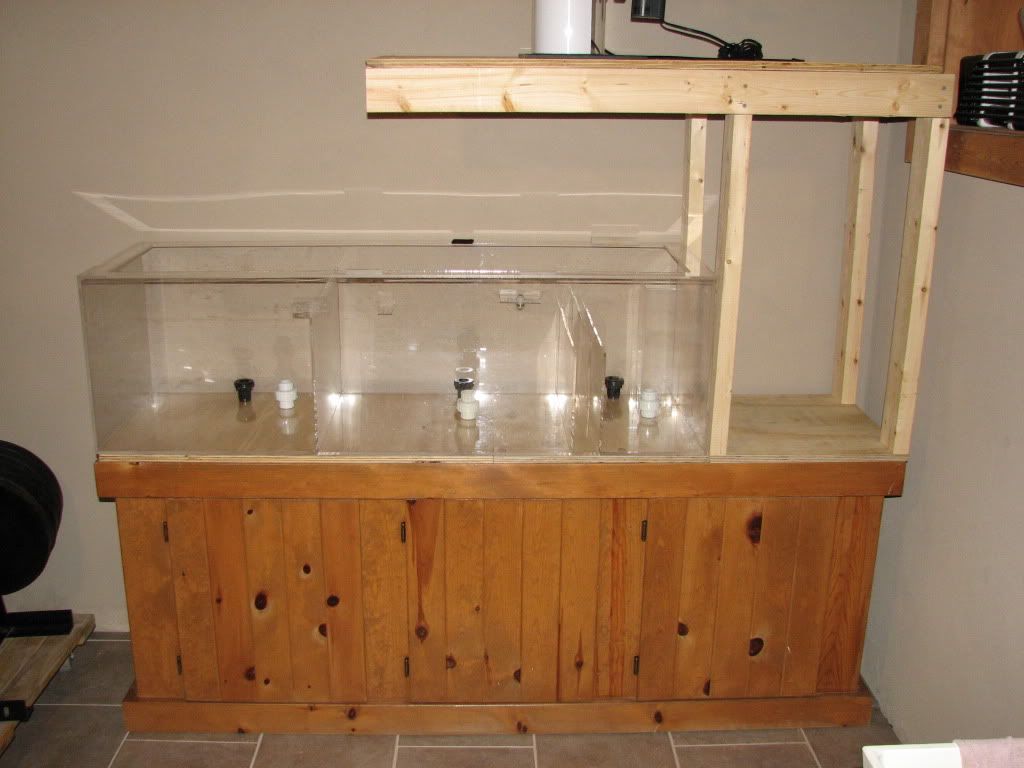
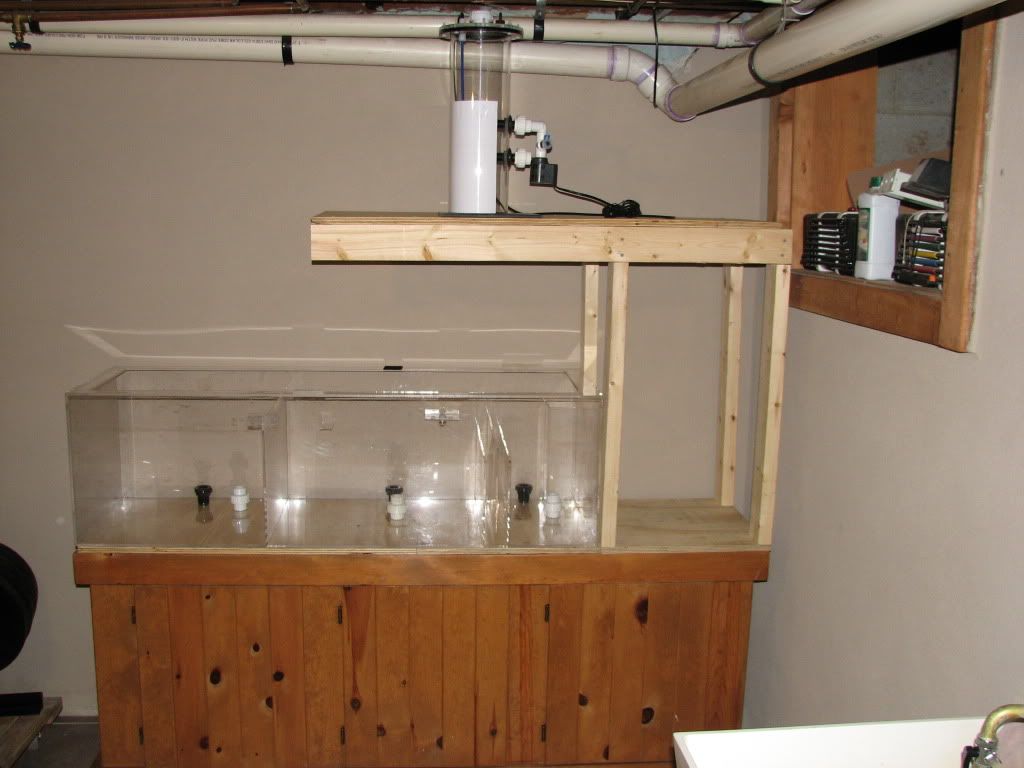
So I decided to start with the sump stand and this is what I got done so far. Not much, but progress. There is only so much I can do with a 3 and a 1 year old in the house.

This is going to be a painfully long build.

Stand.jpg


StandShelf.jpg


This is a 65 Gallon sump made by Melev. I will be modifing this sump so that I can drain each compartment individualy for water changes.

StandShelfSump.jpg


StandShelfSump2.jpg
 

TanksNStuff

Officer Emeritus
Officer Emeritus
Re: Ricwilli's 210 build

Hey, that stand looks familiar. ;D

Looking good so far Richie! I don't know how heavy the stuff going on top of that shelf is, but I'd suggest adding a brace between the 2 sets of legs at the bottom. That will help prevent it from toppling over. You may not need it, but if the shelf feels even a little wobbly, I'd add them to stiffen it up.

As for aquascaping the rock, if you only take out a few pieces of rock at a time, drill/glue them in smaller sections, then put back in the tub... the bacteria should be fine. Don't forget, you don't want them so big that it's hard to get them in the tank . And if they are heavy and you drop one while putting it in the display... well, that's not something you want to do. :eek: Nice pile of rock you are starting with though.
 
Re: Ricwilli's 210 build

that shelf should be strong enough but i would use some wire to hang from the ceiling to account for the leverage factor.
 
Top