• Folks, if you've recently upgraded or renewed your annual club membership but it's still not active, please reach out to the BOD or a moderator. The PayPal system has a slight bug which it doesn't allow it to activate the account on it's own.

Here's my Big Office System

I was at AO today and was checking out the tank. Can't wait to see it up and running! :)

That's funny! You may have spent more time with this tank then I have thus far!

I have to thank Will & Ethan they were very helpful and stand up about the whole DeepBlue-tempered glass issue!

And thank you Tristan for bringing it to my attention!
 

Fish Brain

Officer Emeritus
Officer Emeritus
Looking at the tank, the dimensions of it seem like the dimensions of my 65 on steroids. :D We talked about the whole deep blue tempered glass thing and Will showed me the breakdown they sent him. Interesting that some of the tanks are tempered bottom, front and back and not the sides. What made it interesting is that some of these tanks were cubes, so what is the front and what is the side?!? LoL
 
It was my understanding the the DB 150 XH was tempered all around. If it wasn't I'd have considered doing an end overflow and going with the DB tank. The Perfecto is fine ad I'll be perfectly happy with it, but I just liked the overall build quality of the DBs I looked at.

Today, we do some finishing work on the room and start building the stand!
 

Fish Brain

Officer Emeritus
Officer Emeritus
The 75 rimless, your 150 and a few others were tempered all around. :(

I really wanted a 75 rimless, but when I found out I could not dill the back for returns, that killed that tank for me.
 
It was my first look at 75 rimless that brought Deep Blue to my attention in the first place. For mass produced tanks they are vert clean builds.

I went with the 150 because my favorite tank ever was my 4x2 foot 120g. But it was AGA with those huge dual overflows. This tank gives me an extra 30 gallons to stock and all that extra floor space with the GH overflow. And, at 24" of depth it does not impead on marital bliss! ;)
 
I got the structural pieces of the stand cut and drilled out the pocket holes. I managed to screw & glue the top and bottom frames before the game. And after the GIANTS won!!!!!! , I was in no shape to handle power tools.

Tonight I mocked up the stand frame to confirm the stand elevation was on track but I had "one of those" days at work and didnt have the energy to finish attaching all the legs. But it was a good thing as my wife and I agreed that the stand shouls be just a hair lower.

... Tomorrow's another day ! I'll trim the legs and screw & glue them and maybe lay out the tank to drill the holes for the GH overflow/ I really want to have the tank on the stand by the weekend so I can begin laying out piping.

I have to get to my friends house to cut down the acrylic sheets I have there. These acrylic sheets will be glued up to become a sump in my final configutation. (I couldn't use my old 100 sump or a 75 g as I'd planned so I'll build a 40-50g that will fit and should work just fine) I will also use the acrylic to make stands for the rock work to elevate all the rock off the bare bottom.
 
Hey Bax,
I'm glad everything worked out with the tank. I ended up having to go with the same Perfecto tank! I getting mine with the side overflow though. I didn't trust myself drilling the Glass-Holes overflow and for some reason I feel as if the Glassholes overflow would be loud compared to a standard built in over flow. I plan to take a mould of the overflow box and design a live rock Wall that covers it using rubble rock etc.

My question to you is your STAND.. Are you using a plan you found to build the stand or are you just winging it?
 
Well, this will be my fourth stand .... and I havn't lost a tank yet!!! :D

I use a pocket hole jig and make all but joints with the pocket holes glued and screwed. Once a well laid out frame built like this is skinned, it's pretty bullet proof.

There will be picks of mine. I had another one of "those" days at work, so i'm sippin wine and not fretting over the tank ATM.
 
I had a staff meeting and training course all day Saturday it shot the whole day. So, I did not drill the tank, but I did get a lot of other stuff done.

I did pick up what I think will be me final lighting component for the display.... A 150W 10K Kessil LED cannon. Thanks Nick! So now I have two Orphek PR156 fixtures, these are just beautiful light fixtures, one with the UV add-on, and the Kessil. That should really be sharp lighting over the 4x2 footprint of the 150.

I also sorted out some ATO issues. I've been paying much attention to the SG in the holding tank and doing that has really improved the look of my SPS.
 
The 150 so far ....

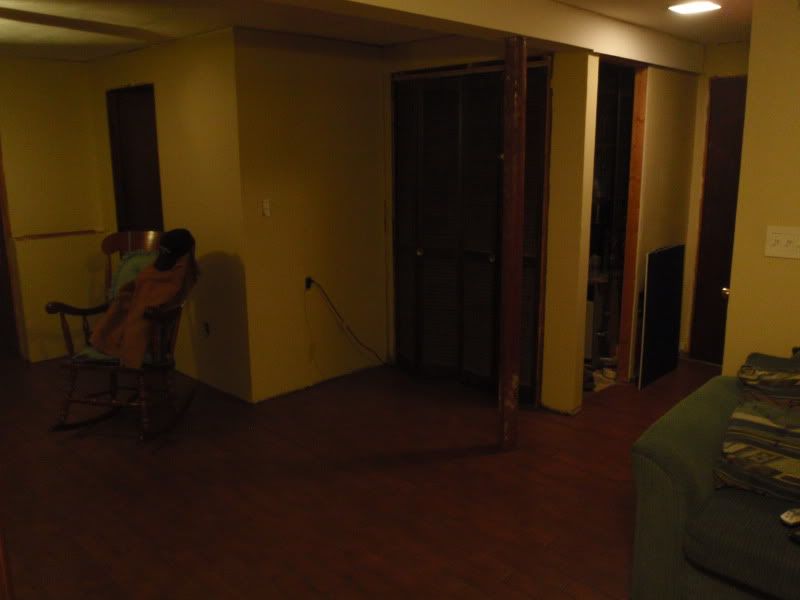
Here's the spot where the tank will go. The bi-fold doors will be removed and the tank will sit right in that doorwat allowing access from the utility space. I installed a new door from the hall to the garage.
P1182778.jpg


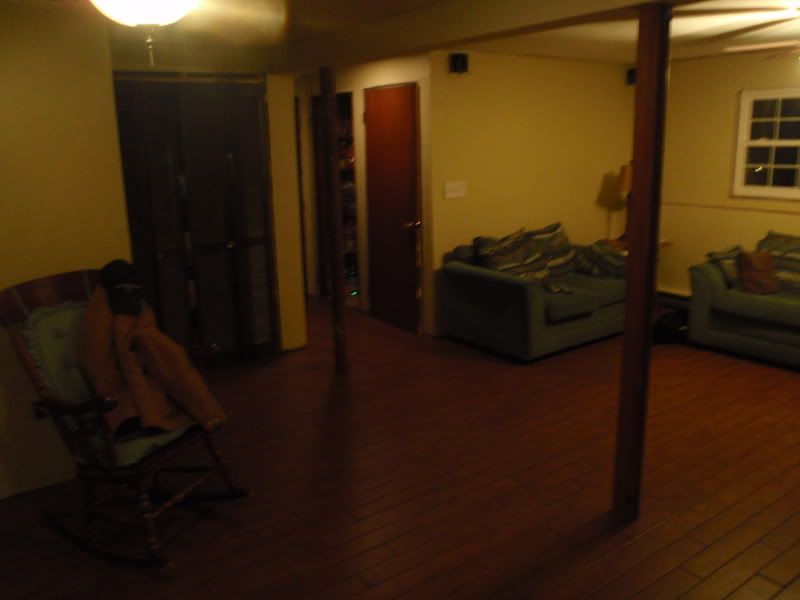
This is looking back from the other side of the room.
P1182780.jpg


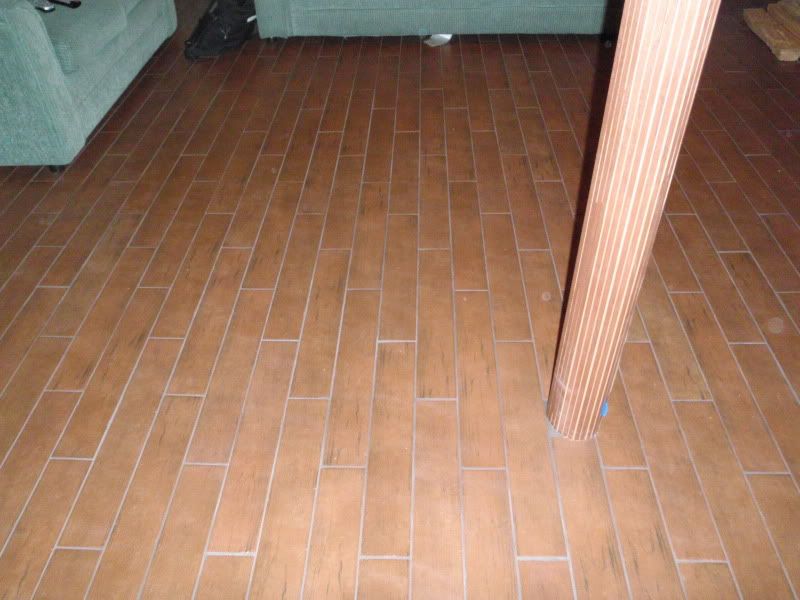
The new tile floor. Looks just like wood, I really like the look. You can also see the pole wrap that will go on the post by the tank.
P1182784.jpg


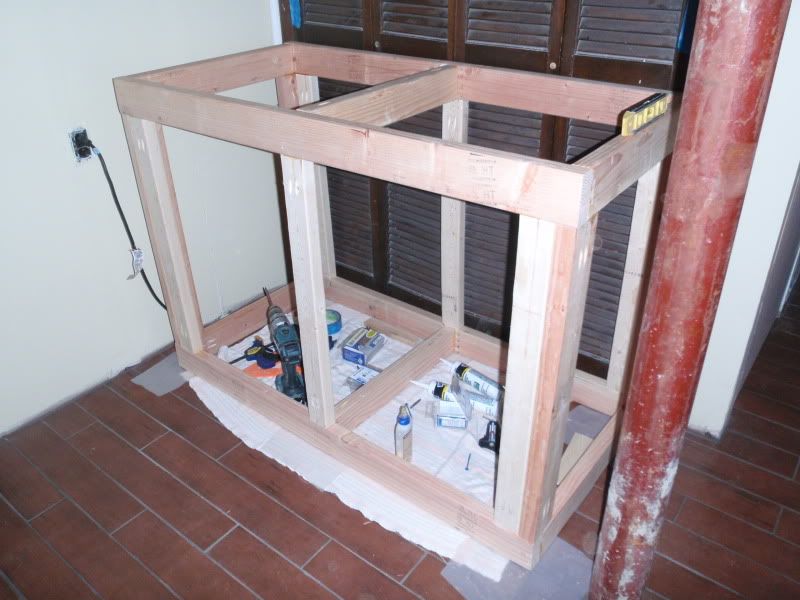
Here's the frame of the tank stand.
P2182787.jpg


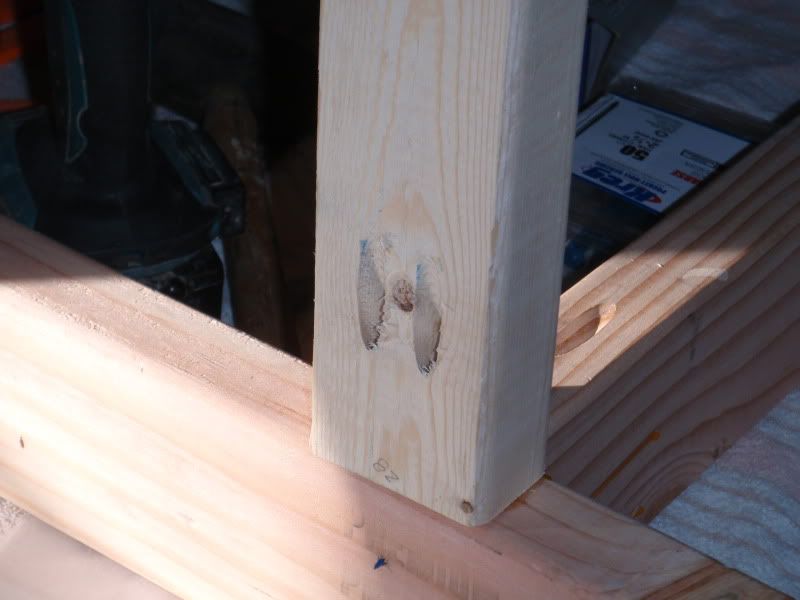
I used a pocket hole jig to make glued butt joints. Here's a center post.
P2182791.jpg


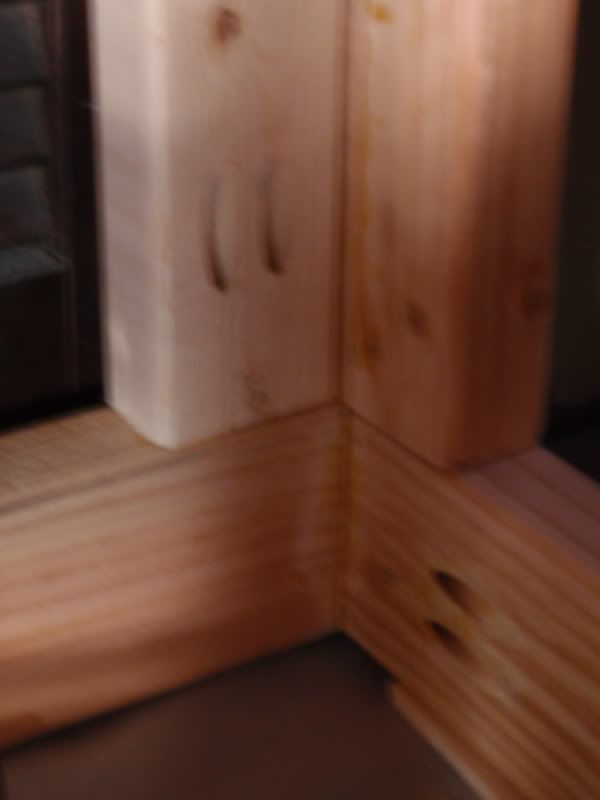
An inside corner.
P2182798.jpg


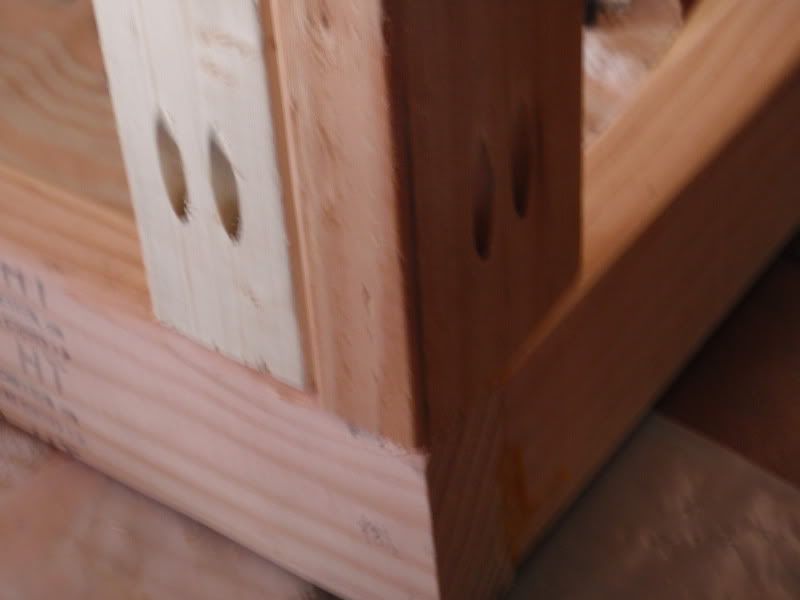
An outside corner.
P2182799.jpg


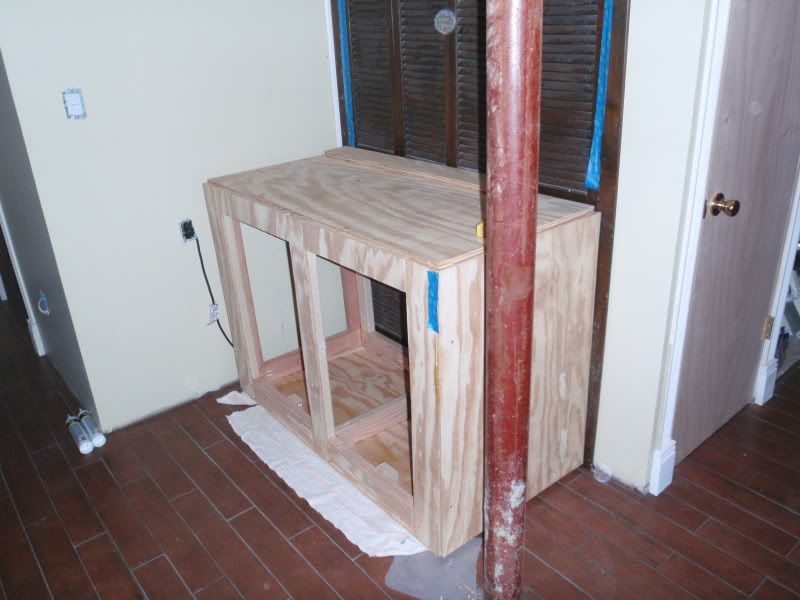
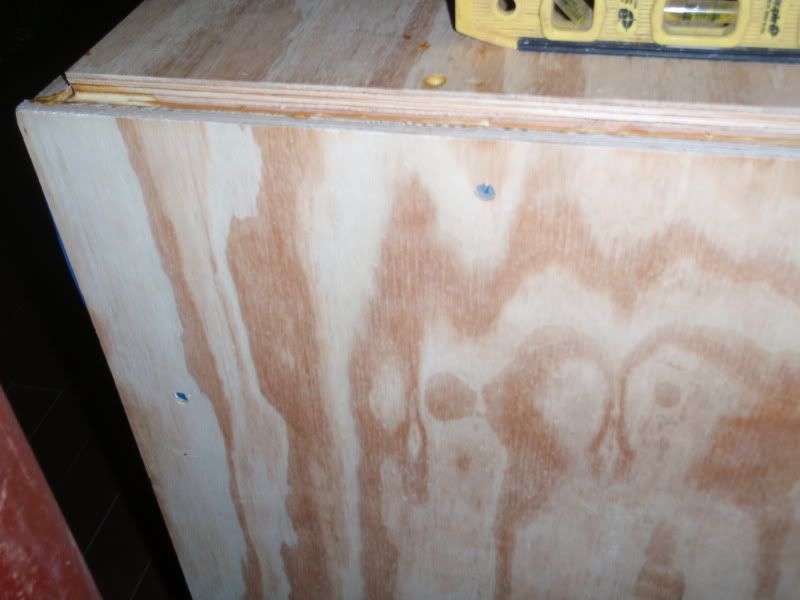
The tank stand with a structural skin. I'll install a decorative skin over this.
P2192805.jpg


The 1/2" ply structural skin ties into the frame to give it rigidity.
P2192807.jpg


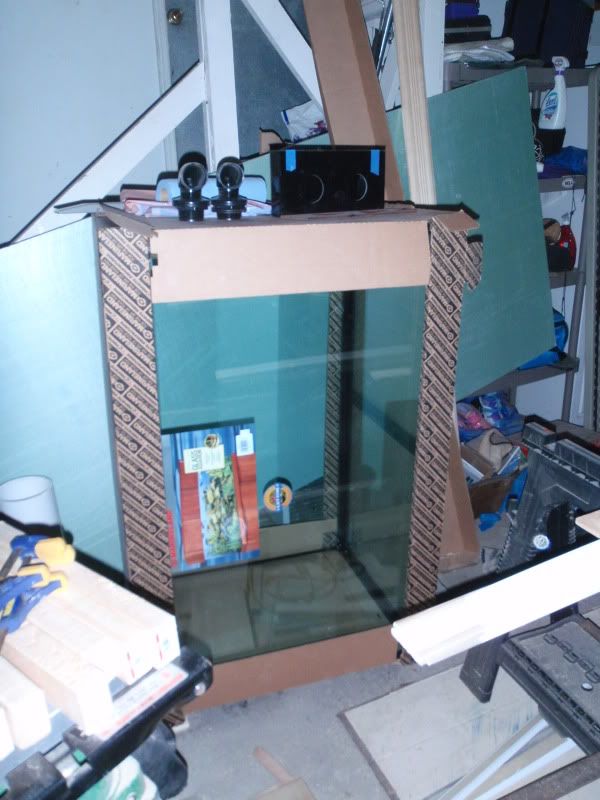
Here's the tank. I'd hoped I'd drill it today but other stuff happened.
150andGH1500.jpg


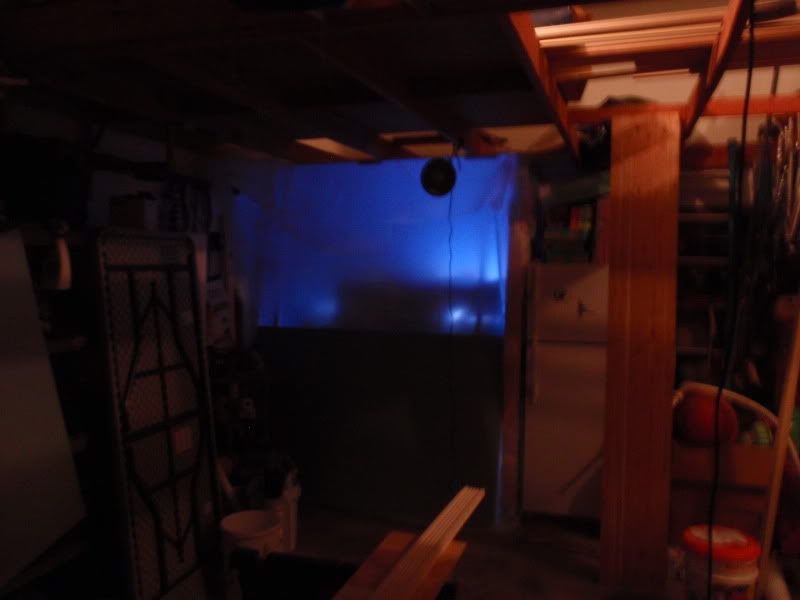
Here's the glow of the holding tank in my garage.
P2192802.jpg


The enclosure is framed up but I need to set final elevations on the drains and other system components before I can seal it up. The two 300 watt heaters are keeping up for now but burning about $100 a month!!! As a result, I'm trying to take every advantage of flow efficientcy to reduce pump wattage a related heat produced by pumps. I just want to make this as efficient a system as I can. The green 1" foam sheeting I've covered the holding tank with is doing an amazing job. Once the enclosure is complete and all the system plummed, I should enjoy pretty stable system temps. :congratulatory:
 
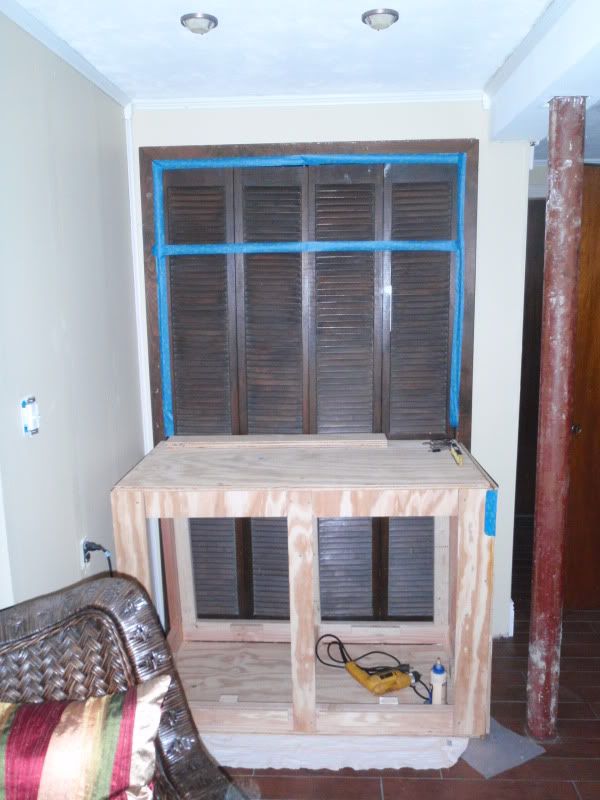
Here's a tape outline of the tank and canopy over the stand.
P2192809.jpg


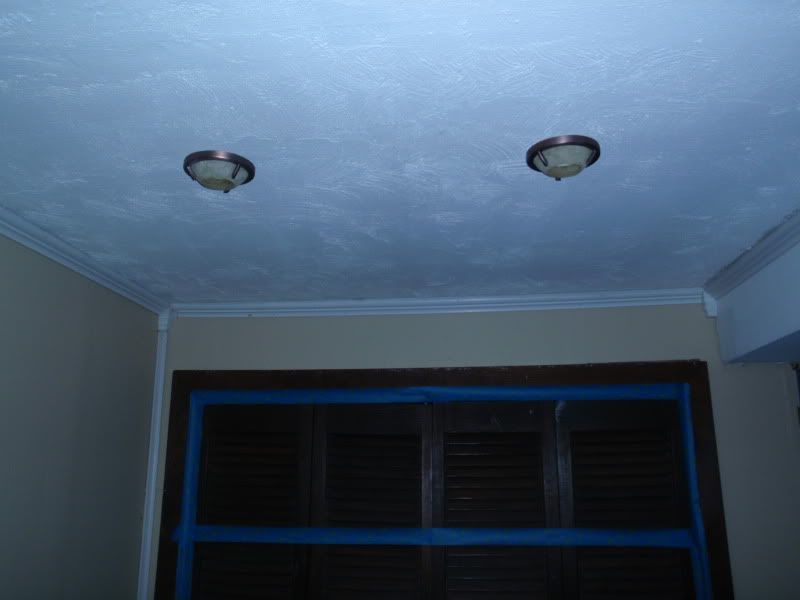
Here's the accent lights that will light up the beverage ledge.
P2192810.jpg
 
At one point I considered going with a GC tank cut to 54' long. That would have just fit in the space between the wall to the left and that darn post. My hope is, in the end this will look less crowded into the corner.

The tank is 4' long x 2' wide x 30" high.

I really wanted to go 30" x 30" but I also wanted to stay married! It was a compromise. I did begin negotiations with a 48 x 48 cube! :D
 

Tazmaniancowboy

Officer Emeritus
Officer Emeritus
I really wanted to go 30" x 30" but I also wanted to stay married! It was a compromise. I did begin negotiations with a 48 x 48 cube! :D

Someone once told me marriage was overrated. Should've listened. :banghead:

Sent from my PG86100 using Tapatalk
 
Top