-
Folks, if you've recently upgraded or renewed your annual club membership but it's still not active, please reach out to the BOD or a moderator. The PayPal system has a slight bug which it doesn't allow it to activate the account on it's own.
You are using an out of date browser. It may not display this or other websites correctly.
You should upgrade or use an alternative browser.
You should upgrade or use an alternative browser.
Here's my Big Office System
- Thread starter Baxreefs
- Start date
So tomorrow, I plan on going to a friends to cut up the 3/4" acryilic I salvaged out of the 260 g bullnose tank.
I'll be building a sump from the pieces. Originally I'd planned to use the 100g sump I had, but I felt it was too old and did not want to risk a leak so I scrapped the old sump. Then, I figured I'd use one of the many 75s I had, but after changing the filter room stand plans, in the final analysis, it wouldn't fit. The extra 75s were given away.
So now I plan to use the 3/4" acrylic to build a 40ish gallon sump. It'll be just about 38 x 15 x 15.
I'm looking for some local experience to help me weld this up. I've never worked on a acrylic tank before so if there are any local North Jersey DIYers who would be willing to solvent weld for beer, please let me know!
In terms of my SPS, I got some good news and some bad news....
I had my return line from my temporary sump spring a leak. Best i can figure it dumped 15 gallons of tank water on the garage floor. I refiled the tank & fixed the line (which was not glued .... stupid mistake!). But, I must have suffered an Alk swing. I bleached a big hunk of miami orchid which I still have a bunch of so a loss but not a huge loss. But, the sad part is that I RTN'd my Romle's Rainbow, probably one of the three rarest SPS I had!
... Bummer!
I lost a couple of other things including a granulosa earlier as well. Also a bummer, but these are replaceable and some losses are expected after such a move.
The good news is that everything else is holding up very well even looking great!
New tank should be drilled by the end of the weekend and the it's all about plumbing!
I have to get to Paterson to pick up some Weld On to weld up the sump, but I can still run all the plumbing and water test while that is going on.
Sorry to hear about the leak and corals. Which reminds me, that I also have to fix a leak as well. I totally forgot about it. Thanks for the reminder. lol
That's what I'am here for!
So I finally grew some nerve and drilled the tank for the GH overflow. A quick check showed that the top trim was not square so I used an angle square to orienate the overflow correctly.
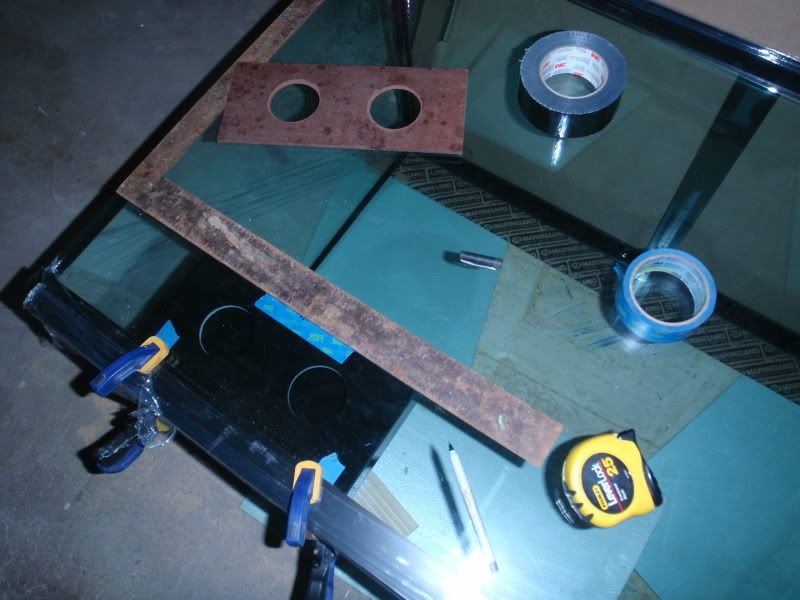
A further check showed the template supplied by GH was not square and the holes are missalined
Set on a slight angle it did line up on the holes and I tapped it into place.
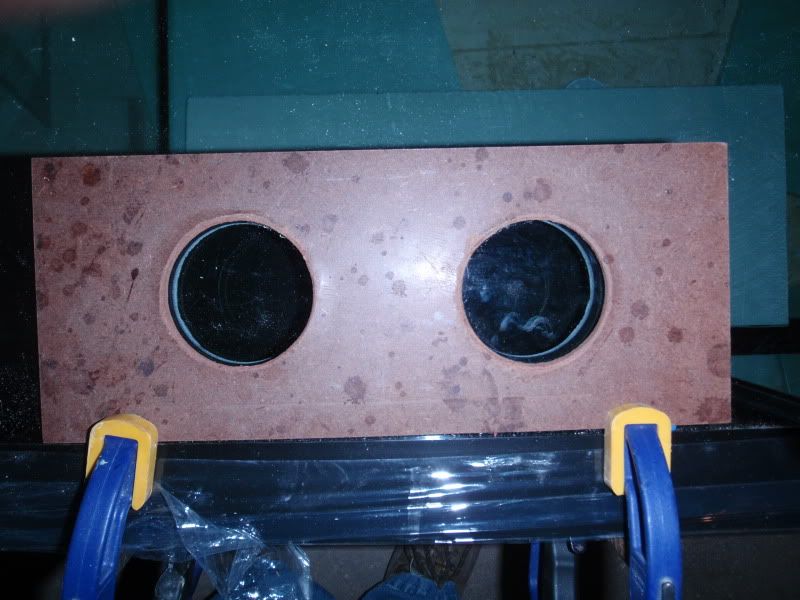
To be sure it stayed aligned, I started bothe holes with the box secured in place.
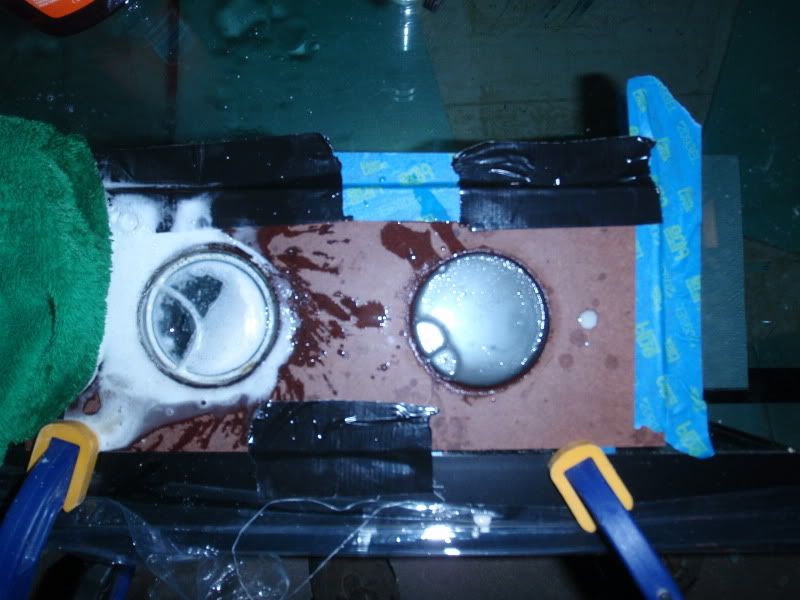
And what'a ya know! It worked!
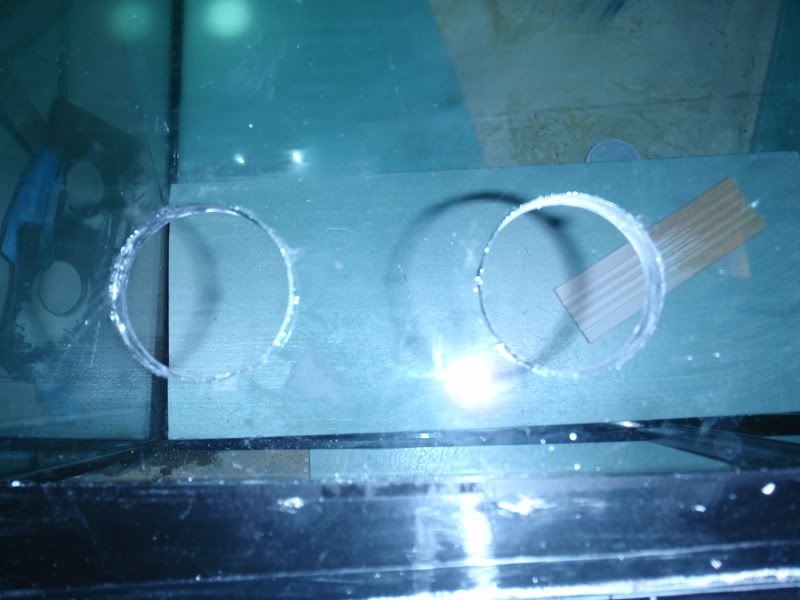
The GH fits!
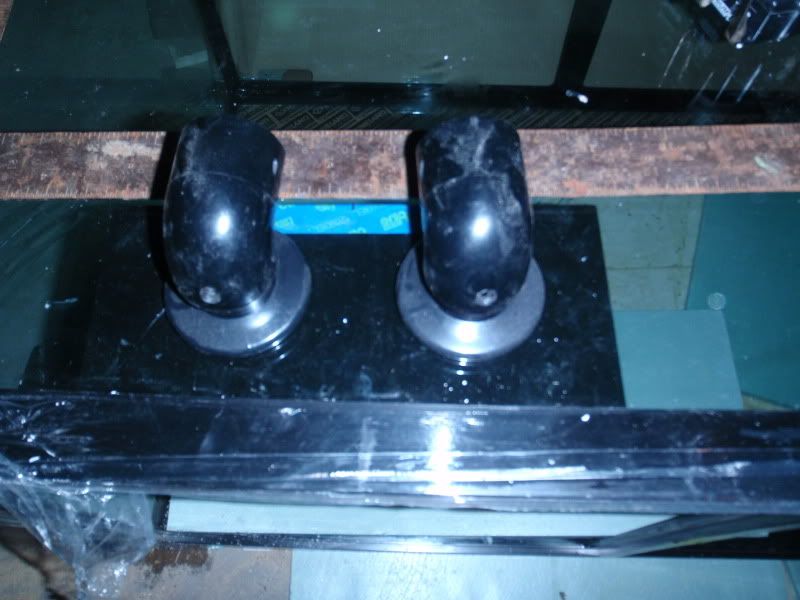
There's actually a little room for adjustment. This is loose in the holes and I can move it up a good 3/16" and still fit the cover on the overflow box.
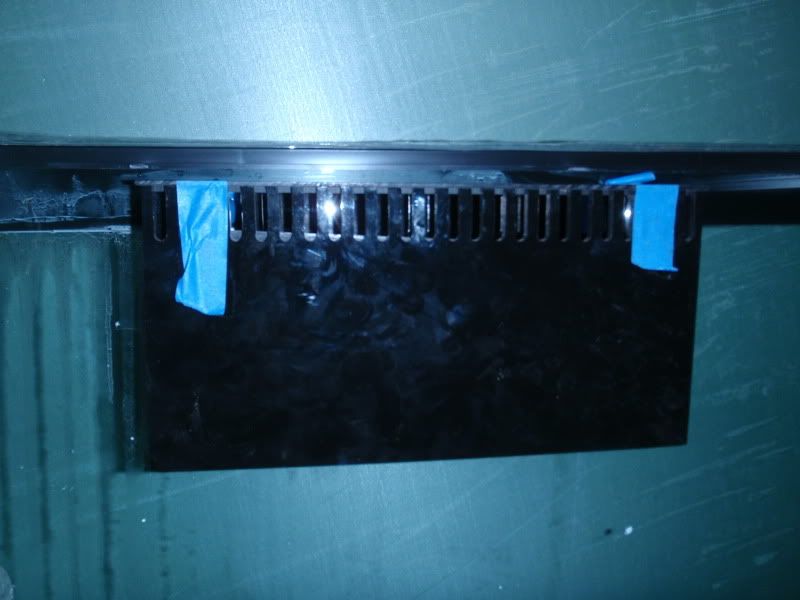
And look at all that floor space without overlows in the way! :love-struck:
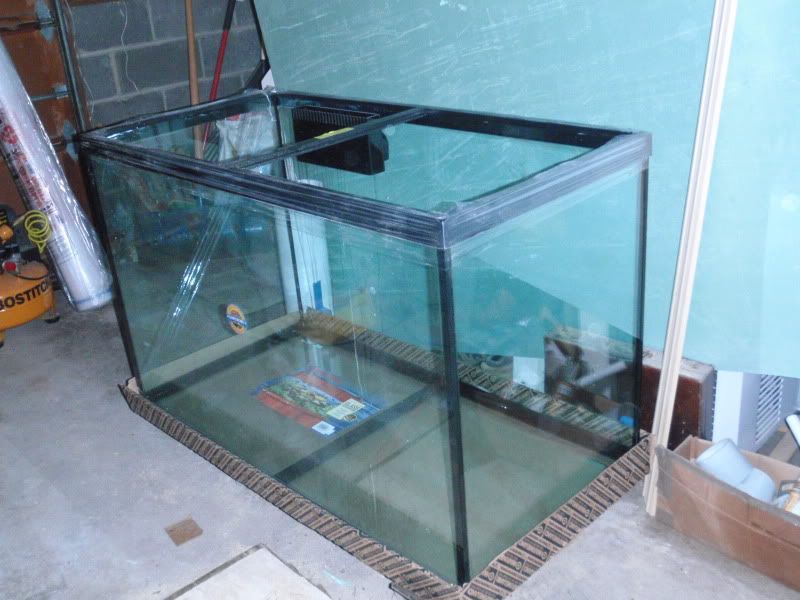


A further check showed the template supplied by GH was not square and the holes are missalined
Set on a slight angle it did line up on the holes and I tapped it into place.

To be sure it stayed aligned, I started bothe holes with the box secured in place.

And what'a ya know! It worked!

The GH fits!

There's actually a little room for adjustment. This is loose in the holes and I can move it up a good 3/16" and still fit the cover on the overflow box.

And look at all that floor space without overlows in the way! :love-struck:


How thick is the glass, and how long did it take to drill? It took, what seemed like forever (and two batteries in the cordless drill), to drill 3 holes in my 3/8" glass.
Yep! When I drill, I put the clutch on the lowest setting. As you get deeper into the glass, sometimes when you stop to flush, as you get restarted the bit will bite and stop. This is where the clutch comes in handy, no cracked glass!
After reading the intructions for the 100th time GH convinced me the clutch was key to a good cut. And, it absoluetly was. No one should drill glass with out a drill equiped with a clutch. The other critical thing is patients. You want to hold back the drill, not push at all and focus on a sraight cut.
It was really easy!
It was really easy!
Here are the main pieces of acrylic I cut for the sump, just clamped together at the moment, I still need to pick up some WeldOn and start wellding it up.
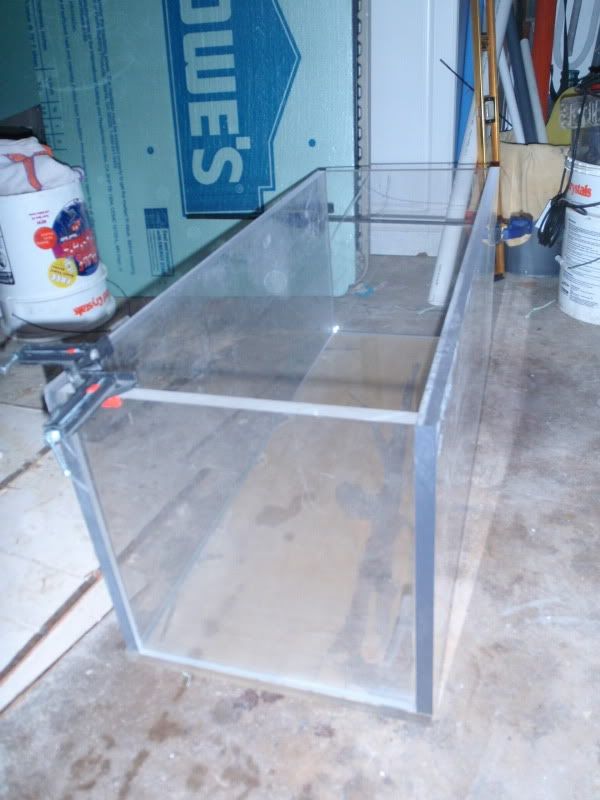
It 3/4" material and super heavy!
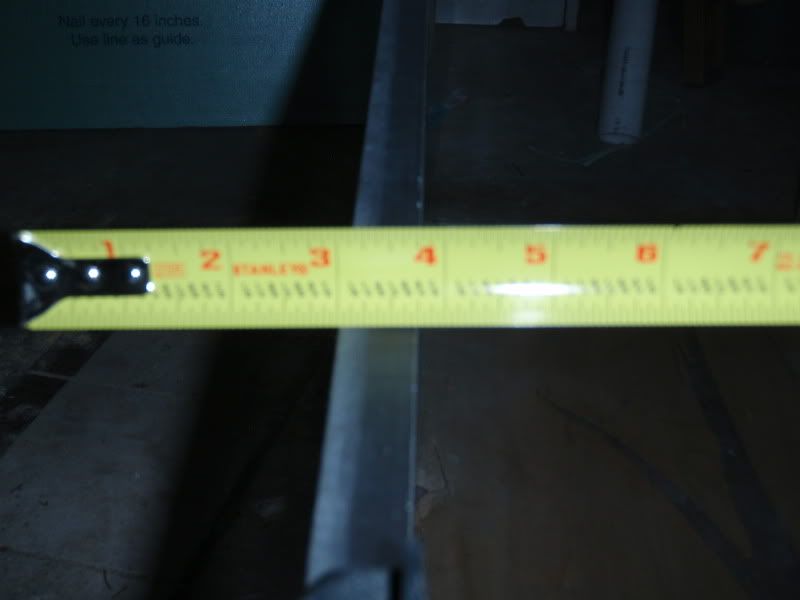
The sump will be 15" wide over all by 15" tall.
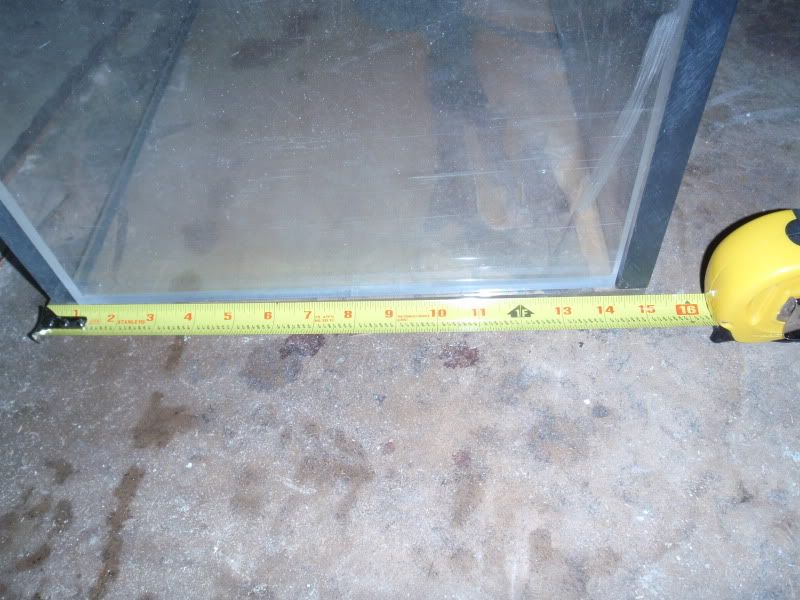
And 38" long. At these dims I'll be able to swap it out with the 20 long that has been serving as my temporary sump without pulling my 75 g and stand out of the filter closet in the garage.
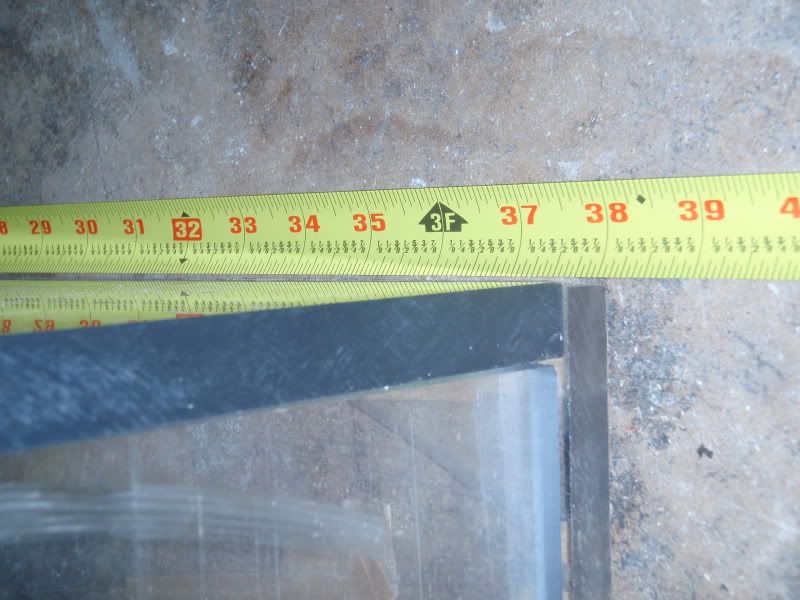
That makes the sump just about 40 gallons total volume, so it'll run at about 25 g. I plan to install a tray with three sock holders in the drain section. It'll have an open mid section, and a return section. The return section will have two bulkheads so I can swap pumps or split flow easily if needed like to feed a chiller if needed.

It 3/4" material and super heavy!

The sump will be 15" wide over all by 15" tall.

And 38" long. At these dims I'll be able to swap it out with the 20 long that has been serving as my temporary sump without pulling my 75 g and stand out of the filter closet in the garage.

That makes the sump just about 40 gallons total volume, so it'll run at about 25 g. I plan to install a tray with three sock holders in the drain section. It'll have an open mid section, and a return section. The return section will have two bulkheads so I can swap pumps or split flow easily if needed like to feed a chiller if needed.
howze01
NJRC Member
Very nice, that sumps looking to be bulletproof!
Hmmmm. I think we need to test that to be sure.

